
How To DIY a Hanging Lamp
Making a LED hanging lamp is simpler than you think. With a few basic materials and LED strip lights, you can create a custom pendant light for any room. This step-by-step guide walks you through the entire process.
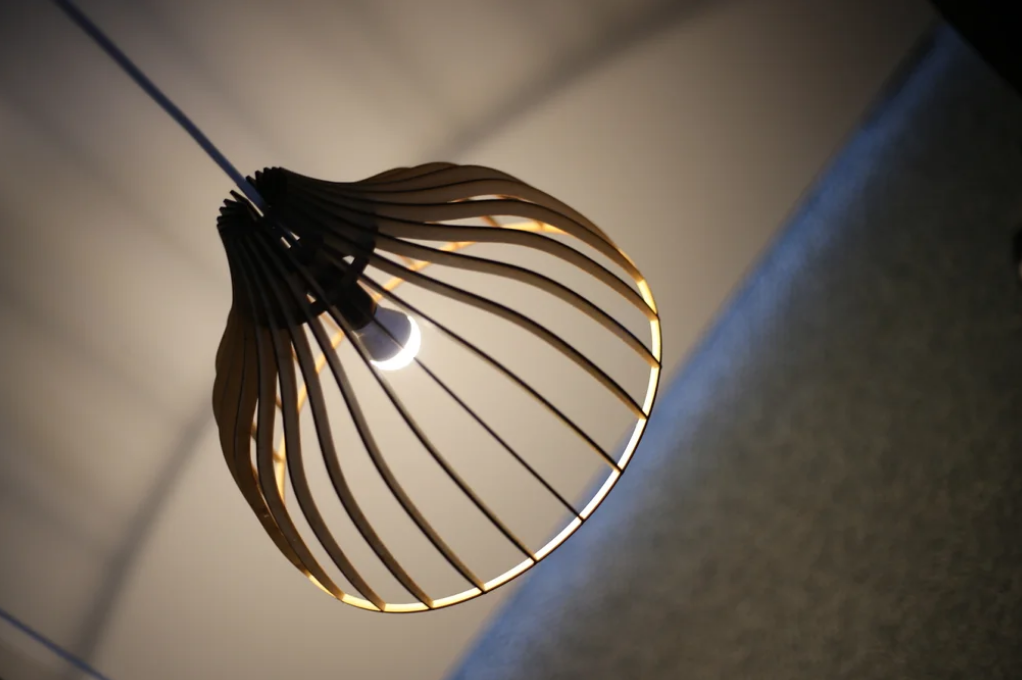
- Step 1: Design Your Lamp Shape
- Step 2: Prepare Materials
- Step 3: Cut and Bend the Acrylic Panel
- Step 4: Install the LED Strip
- Step 5: Assemble the Lamp Structure
- Step 6: Test and Adjust
- Safety Tips & Optional Upgrades
- SSS
Step 1: Design Your Lamp Shape
Start by sketching your desired shape on paper — geometric, circular, or freeform designs all work well. Look for inspiration in modern acrylic lamp designs like bent acrylic panels or modular shapes.
Tools needed: Pencil, ruler, marker, and a sharp utility knife or acrylic cutting tool.
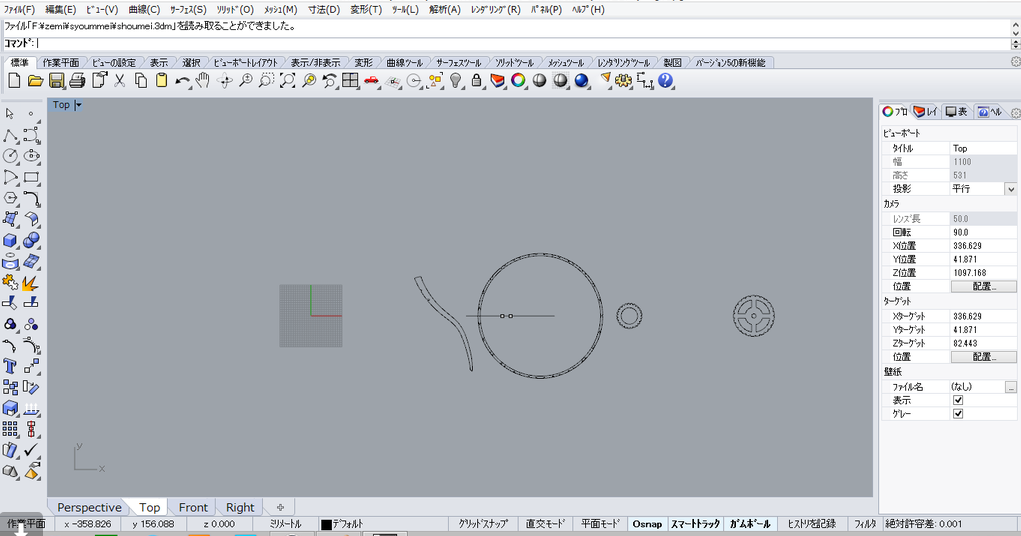
Step 2: Prepare Materials
- Acrylic panel (3-5mm thick, clear or frosted)
- LED şerit ışıkları (SMD2835 or SMD5050, warm white 2700-3000K recommended)
- LED driver / power supply (matched to strip wattage)
- Hanging wire or chain + ceiling canopy kit
- Wire connectors, electrical tape, heat-shrink tubing
- Screwdriver, drill, hot glue gun
Lightstec tip: For a clean, dotless look inside the acrylic, choose 120+ LEDs/m strips or COB strips. Always add 20% power headroom when selecting the driver.
Step 3: Cut and Bend the Acrylic Panel
Transfer your design onto the acrylic panel using a marker. Score along the lines with a utility knife, then snap cleanly along the score. For curved shapes, use a heat gun to soften the acrylic before bending.
Bir ipucu için: Wear safety glasses and work in a well-ventilated area. Sand the cut edges with fine-grit paper for a smooth finish.
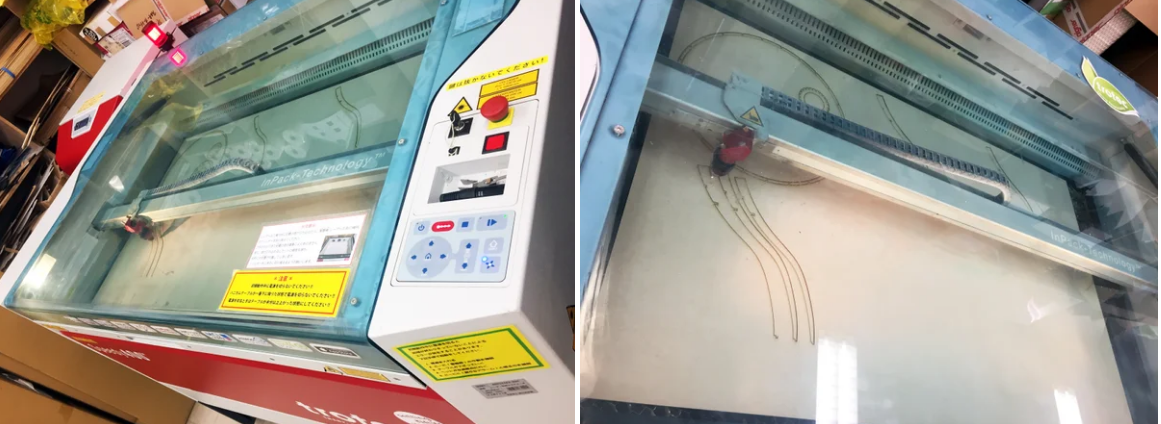
Step 4: Install the LED Strip
Clean the acrylic surface with rubbing alcohol. Peel the backing from the LED strip and press it firmly along the inner edge of the panel. For circular designs, curve the strip gently — avoid sharp bends that can damage the circuit.
Solder or connect the strip wires to the LED driver. Use heat-shrink tubing to insulate all connections. For dimmable setups, add a compatible dimmer between the driver and strip.
Step 5: Assemble the Lamp Structure
Mount the acrylic panels together using small screws or acrylic cement. Attach the hanging wire to the top of the structure. Run the power cable through the wire or along the chain to the ceiling canopy.
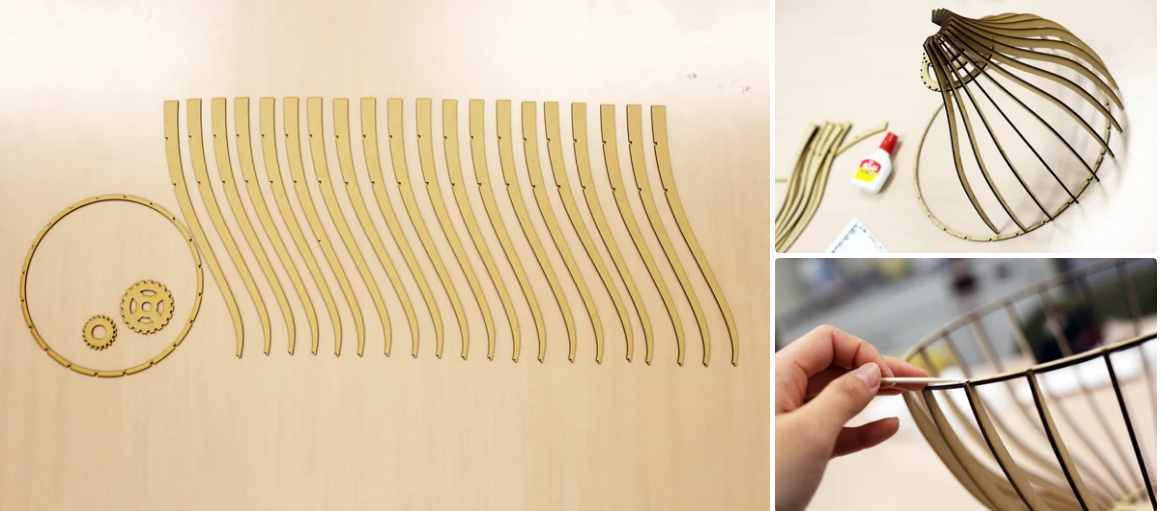
Step 6: Test and Adjust
Before hanging, connect the driver to power and test the light. Check for even illumination, loose connections, or overheating. Adjust the strip position if you see hot spots or dark areas.
Once satisfied, mount the ceiling canopy to a junction box and hang the lamp. Adjust the wire length for your desired height.
Safety Tips
- Always disconnect power before working on electrical connections.
- Use a driver with appropriate wattage — never overload the circuit.
- Ensure all wire connections are insulated with heat-shrink or electrical tape.
- Mount the canopy to a structural junction box, not just drywall.
- Leave adequate ventilation around the driver to prevent overheating.
- If unsure about wiring, consult a licensed electrician.
Optional Upgrades
Upgrade Ideas
- Dimmable driver — adjust brightness for different moods
- Tunable white strip — switch between warm and cool white
- RGB strip — add color-changing effects
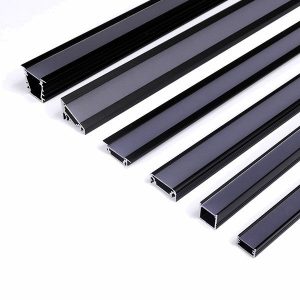
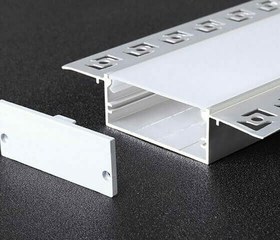
- Aluminum channel — better heat dissipation and cleaner look
- Motion sensor — hands-free convenience
Lightstec LED Strips for DIY Lamps
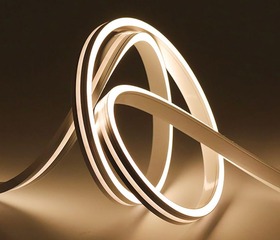
All Lightstec LED strips feature 3M adhesive backing, thick copper PCBs, and clean cutting points — perfect for DIY lamp projects. Click any product to view details:


SSS
En son kataloğumuzu PDF olarak indirin
Size zaman kazandırmak için ayrıca bir PDF versiyon kataloğu da hazırladık. En yeni LED ışık ürünlerimizin tamamını inceleyebilirsiniz. Sadece e-postanızı bırakın, PDF kataloğunu hemen alacaksınız.


Jerry Hu
Lightstec'in kurucusu. Mühendislik derecesi. LED aydınlatmada 13 yıldan fazla deneyim. LED aydınlatmaya yönelik bilgi ve çözümlerin paylaşılması.
Daha Fazla Bilgi Edinin Hata Yapmadan Önce Daha Az İnsanın Size Söyleyeceği Profesyonel Liderlik Dersleri.
Nice post. I learn something totally new and challenging on websites