
Làm một chiếc đèn LED không phức tạp lắm. Chúng ta có thể sử dụng một số vật liệu đơn giản để tự làm một chiếc đèn treo LED.
Đây là khóa học DIY từng bước để tạo ra một chiếc đèn treo.
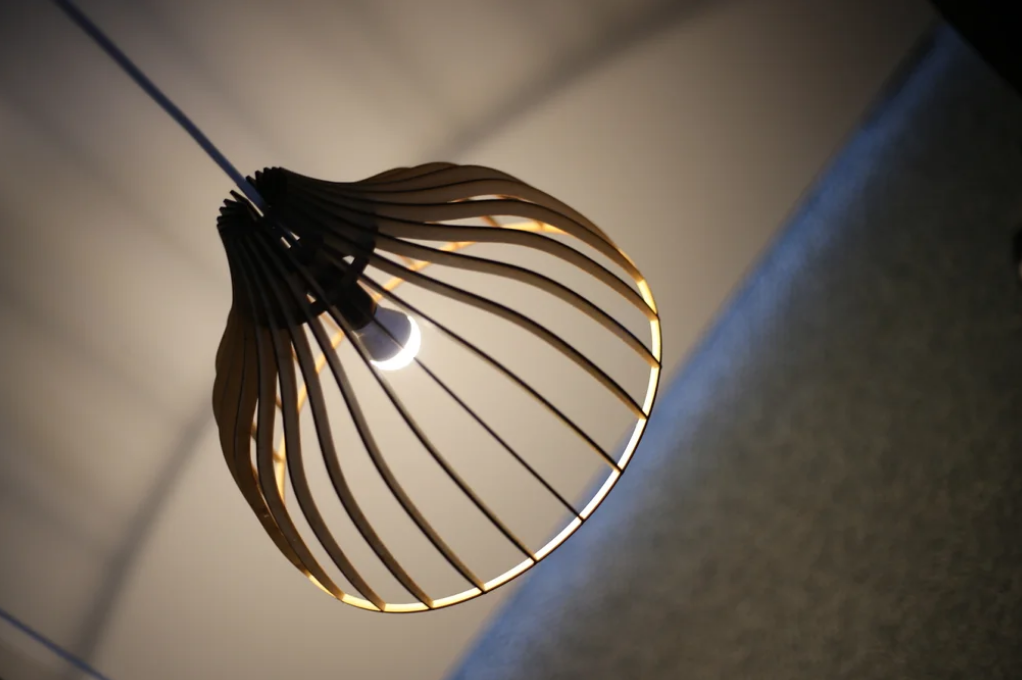
Bước 1: Thiết kế hình dạng đèn của bạn
- Cảm hứng: Tham khảo các thiết kế đèn acrylic sáng tạo như Bent Acrylic Lamp hay các tấm module hiện đại
. Phác thảo hình dạng bạn muốn (ví dụ: hình học, hình tròn hoặc dạng tự do) trên giấy.
- Công cụ cần thiết: Bút chì, thước kẻ, bút đánh dấu, dụng cụ cắt acrylic hoặc một con dao tiện ích sắc bén.
Đây là khóa học DIY từng bước để tạo ra một chiếc đèn treo bằng bóng đèn LED và tấm acrylic trong suốt:
Bước 2: Chuẩn bị nguyên liệu
- Yếu tố cần thiết:
- bóng đèn LED (chọn bóng đèn có đế rộng để tản nhiệt tốt hơn.
- Tấm acrylic trong suốt (độ dày 3-5mm được khuyên dùng để đảm bảo độ bền.
- Công cụ: Dao thủ công, thảm cắt, thước kẻ, kẹp, tuốc nơ vít, keo AB, móc treo.
- Không bắt buộc: Bộ điều khiển đèn LED (nếu bóng đèn của bạn yêu cầu), ống co nhiệt (để bảo vệ dây).
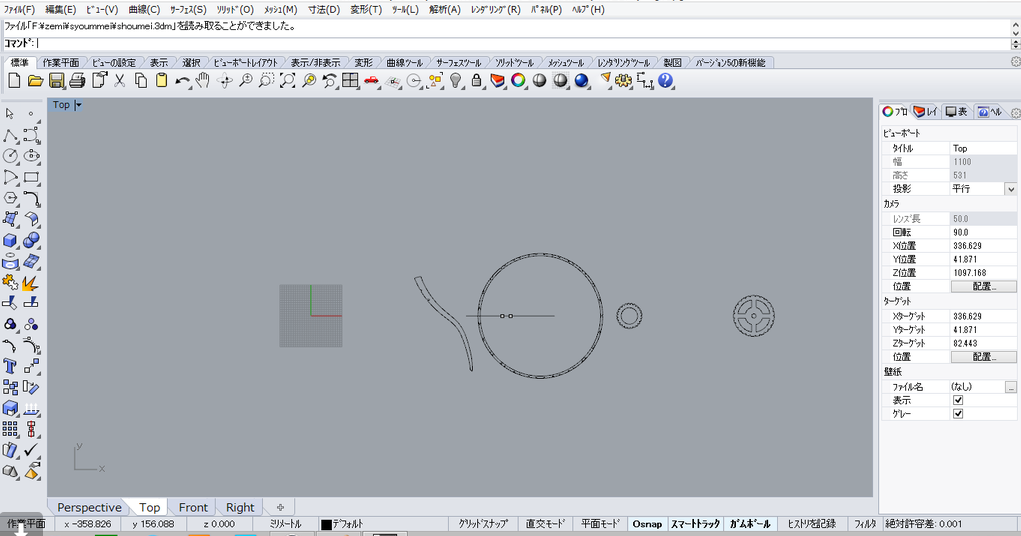
Bước 3: Cắt và uốn tấm acrylic
- Cắt bảng điều khiển:
- Chuyển thiết kế của bạn lên bảng acrylic.
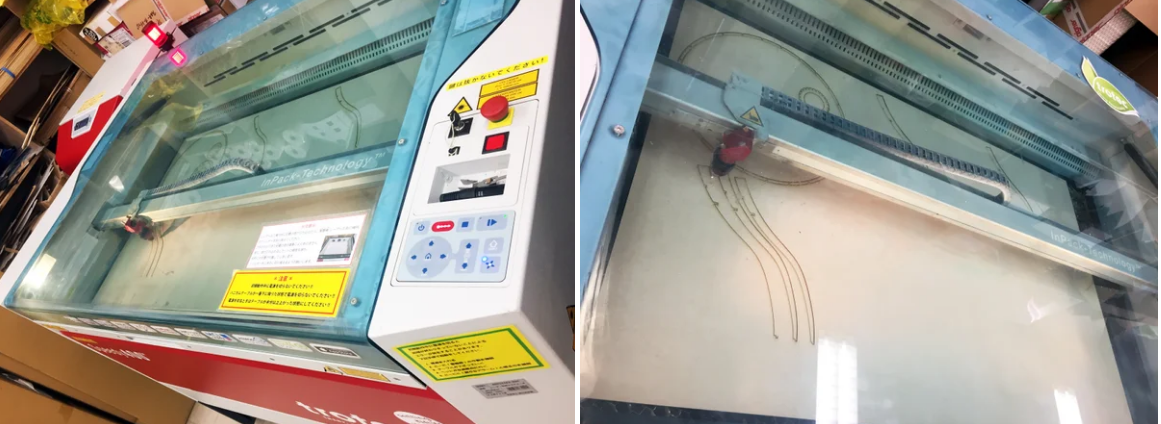
- Sử dụng dao thủ công và thước kẻ để ghi điểm và cắt acrylic dọc theo các đường (hoặc sử dụng máy cắt CNC để có độ chính xác).
- Đối với các đường cong, hãy làm nóng nhẹ acrylic bằng máy sấy tóc hoặc súng nhiệt, sau đó uốn cong trên khuôn cong (ví dụ: một cái bát).
- Các cạnh mịn:
- Chà nhám các cạnh cắt bằng giấy nhám mịn để loại bỏ các gờ sắc.
Bước 4: Lắp bóng đèn LED
- Chuẩn bị mạch LED:
- Nếu sử dụng một chuỗi đèn dải LED, kết nối chúng với nguồn điện (12V DC an toàn hơn cho acrylic).
- Đối với bóng đèn đơn, hãy đảm bảo ổ cắm khớp với đế đèn LED.
- Gắn đèn LED:
- Dán (các) đèn LED lên tấm acrylic bằng keo AB, định vị chúng đều nhau để có ánh sáng cân bằng.
- Để keo khô hoàn toàn (24 giờ).
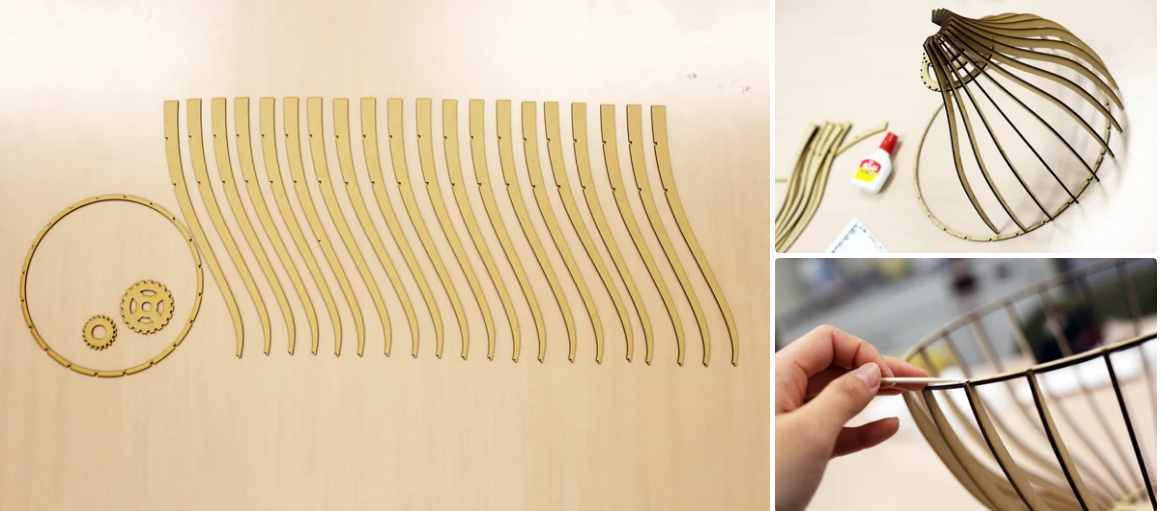
Bước 5: Lắp ráp cấu trúc đèn
- Xây dựng khung:
- Cắt các dải gỗ hoặc kim loại để tạo khung phù hợp với hình dạng acrylic của bạn.
- Vít hoặc dán khung vào mặt sau của tấm acrylic.
- Cơ chế treo:
- Gắn móc hoặc khoen vào đầu khung.
- Dùng dây hoặc dây chắc chắn để treo đèn lên trần nhà.
Bước 6: Kiểm tra và điều chỉnh
- Bật (các) đèn LED để kiểm tra ánh sáng đồng đều và kết nối phù hợp.
- Điều chỉnh góc của bảng acrylic hoặc đặt lại vị trí của đèn LED để có ánh sáng tối ưu.
Mẹo an toàn
- Đeo găng tay trong khi cắt acrylic để tránh bị cắt.
- Làm việc ở khu vực thông thoáng khi sử dụng chất kết dính hoặc dụng cụ nhiệt.
- Đảm bảo nguồn điện LED phù hợp với yêu cầu của bóng đèn để tránh hiện tượng quá nhiệt.
Nâng cấp tùy chọn
- Thêm một công tắc điều chỉnh độ sáng để điều chỉnh ánh sáng.
- Sử dụng bóng đèn LED RGB để tạo hiệu ứng đổi màu.
- Kết hợp cảm biến (ví dụ: cảm biến chuyển động hoặc ánh sáng) để có chức năng thông minh.
Dự án này kết hợp sự sáng tạo với kỹ năng thực tế, biến những vật liệu đơn giản thành một chiếc đèn treo độc đáo!
md2835 tại Trung Quốc")
tại Trung Quốc")
2835 tại Trung Quốc")
ại Trung Quốc")
")
2835 tại Trung Quốc")
Câu hỏi thường gặp
Hỏi: Tôi có thể kết nối lại các dải đã cắt mà không cần hàn không?
Đ: Vâng! Sử dụng đầu nối 4 chân không hàn (lý tưởng cho RGB), nhưng đảm bảo các miếng đồng sạch sẽ.
Hỏi: Tại sao một số đèn LED vẫn mờ sau khi cắt?
A: Có thể do sụt áp. Cài đặt mộtdải 24V hoặc thêm điểm phun điện.
Q: Làm thế nào để chống thấm các đầu cắt?
Trả lời: Bịt kín bằng đầu nối gel silicon hoặc nhựa epoxy.


Giới thiệu về tác giả
JerryHu
Người sáng lập Lightstec. Có bằng Kỹ sư. Hơn 13 năm kinh nghiệm làm việc trong lĩnh vực kinh doanh đèn led. Quen thuộc với việc sản xuất các sản phẩm chiếu sáng led. Blog này chia sẻ cho bạn kiến thức và giải pháp về đèn led. Chào mừng bạn tìm nguồn cung ứng đèn led từ Trung Quốc.
Tìm hiểu thêm các lớp hướng dẫn chuyên nghiệp mà ít người nhắc nhở bạn trước khi bạn mắc lỗi.


Bài viết hay. Tôi học được điều gì đó hoàn toàn mới và đầy thử thách trên các trang web