
Installing silicone LED strips is a straightforward task that requires some basic skills and tools. This detailed guide walks you through every step — from planning to testing — so you can install your strips like a pro.

Tools and Materials
Installation Steps
Determine where to install and measure the required length. Use a pen to outline the strip path on the surface.
Choose a suitable power adapter. Check that output voltage and current match the strip’s requirements.
Cut only at the marked cutting points with scissors to avoid damaging the circuit.

Step 4: Secure the Strip — Different Ways to Fix LED Strips
The simplest method — silicone strips have adhesive backing for smooth surfaces. Add double-sided tape for extra grip.
For surfaces that don’t suit adhesive. Drill holes, pass screws through the strip’s fixing holes, secure with nuts.
For strips that need frequent repositioning. Choose plastic or metal clamps matching the strip width.
For metallic surfaces — magnetic mounting makes installation and removal quick and easy.
Use wiring terminals or connectors to link the strip to the adapter. Follow the manufacturer’s guidance for positive/negative poles.
Use insulation tape or cable channels to keep wiring neat and protected.
Power on and check for any non-lit LEDs or connection issues.
Fine-tune position or angle to achieve the best lighting effect.
Considerations
Follow all safety guidelines, especially when handling power and wires.
For uneven or irregular surfaces, use screws or clamps instead of adhesive.
Avoid extreme temperatures — they affect performance and lifespan.
Regularly check strips and connections for looseness or damage.

Fitness & Sports Clubs
Lightstec custom LED strip projects

Outdoor Lighting
Lightstec custom LED strip projects

Commercial Spaces
Lightstec custom LED strip projects
Recommended LED Strip Products
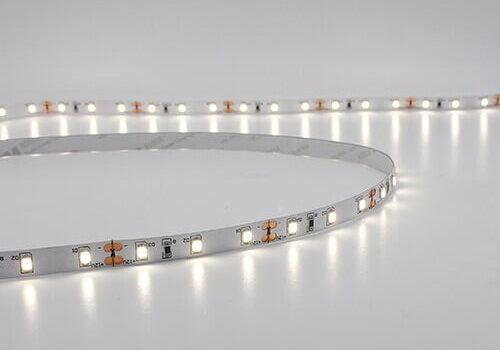
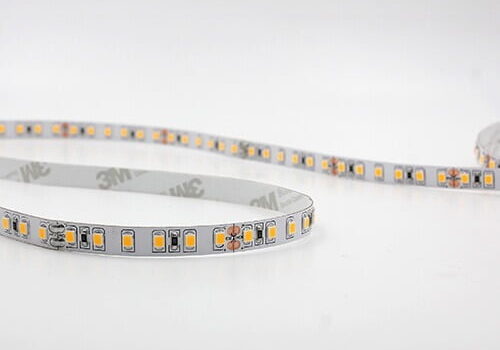
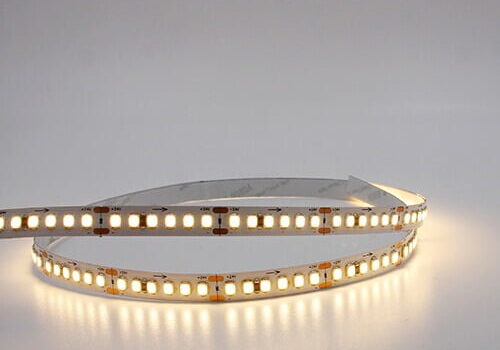
Factory-quality silicone LED strips from Lightstec:

Frequently Asked Questions
What surfaces can I install silicone LED strips on?
Silicone LED strips install well on wood, metal, glass, and plastic. The key is a clean, dry, and smooth surface for optimal adhesion.
How do I cut silicone LED strips without damaging them?
Always cut at the marked cutting points (usually every 3–5 LEDs). Use sharp scissors and cut straight across the marked line — never cut through the middle of a circuit.
Can I use LED strips outdoors?
Yes, but choose an IP65/IP67 waterproof-rated strip for rain and moisture protection. Avoid direct prolonged sun exposure, which can accelerate yellowing of silicone.
How do I hide the wires and connections?
Route wiring through aluminum profile channels, cable conduits, or false ceilings. Use connectors with shrink tubing for a clean, safe finish.
What kind of adhesive should I use for securing the LED strips?
Industrial-grade 3M VHB tape works best for most surfaces. For long runs or heat buildup, use aluminum profiles with clips for secure, professional mounting.
How do I fix the LED strips if the surface is uneven or textured?
Don’t rely on adhesive on uneven surfaces — use aluminum channels screwed into the surface, or clamp-based mounting for secure contact along the full length.
Can I bend the LED strips to create shapes or curves?
Yes, silicone strips bend more easily than regular ones. Avoid sharp kinks — keep the bend radius above ~30mm and never bend at the cutting points.
What should I do if the LED strip is not lighting up properly?
Check in order: 1) power adapter output, 2) polarity of connections, 3) solderless connector contact, 4) cut points for damage. Replace the faulty segment if needed.
How do I calculate the power requirements for my LED strips?
Use: Total Wattage = Length (m) × Wattage per Meter × 1.2 (safety buffer). Choose a power supply rated at or above this value — never run a supply at 100% load.
How do I clean silicone LED strips?
Disconnect power first, then wipe gently with a dry microfiber cloth. Avoid solvents or abrasive cleaners that can damage the silicone coating.
Need Help Installing Silicone LED Strips?
Contact Lightstec — we supply strips, profiles, and expert guidance for every project.

Download Our Latest Catalog as a PDF
To save you time, we have prepared a PDF catalog with all our latest LED light products. Leave your email and get it immediately.

JerryHu
Founder of Lightstec. Engineering degree. 13+ years in LED lighting. Sharing knowledge and solutions for LED lighting.
Learn More Professional Led Classes Which Less People Tell You Before You Make Mistake.

Great post! I found your insights both informative and engaging. You have a deep understanding. The way you explained particularly it’s helpful. Keep up the great work, and I look forward to reading more of your posts in the future!
Installing any kind of electrical component and dealing with wire is needed to be done carefully. Though quality information one can be safe for sure. Thanks. Keep up the good work!
Constant Voltage drivers