
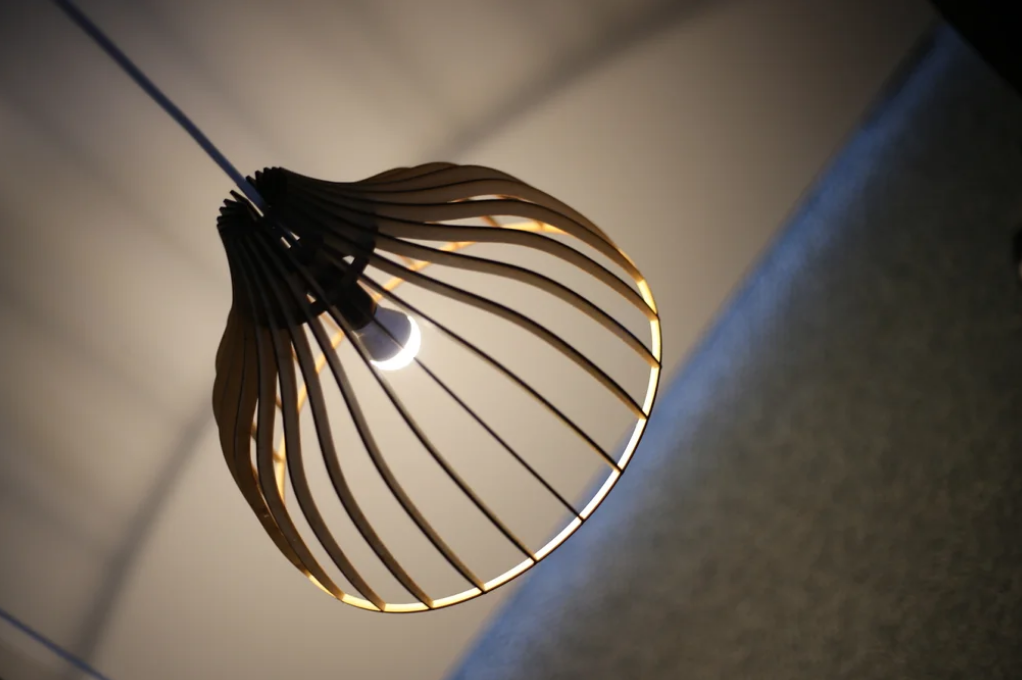
LED 램프를 만드는 것은 그리 복잡하지 않습니다. 간단한 재료를 사용하여 LED 행잉 램프를 DIY할 수 있습니다.
매달린 램프를 만드는 단계별 DIY 과정은 다음과 같습니다.
기사 가이드
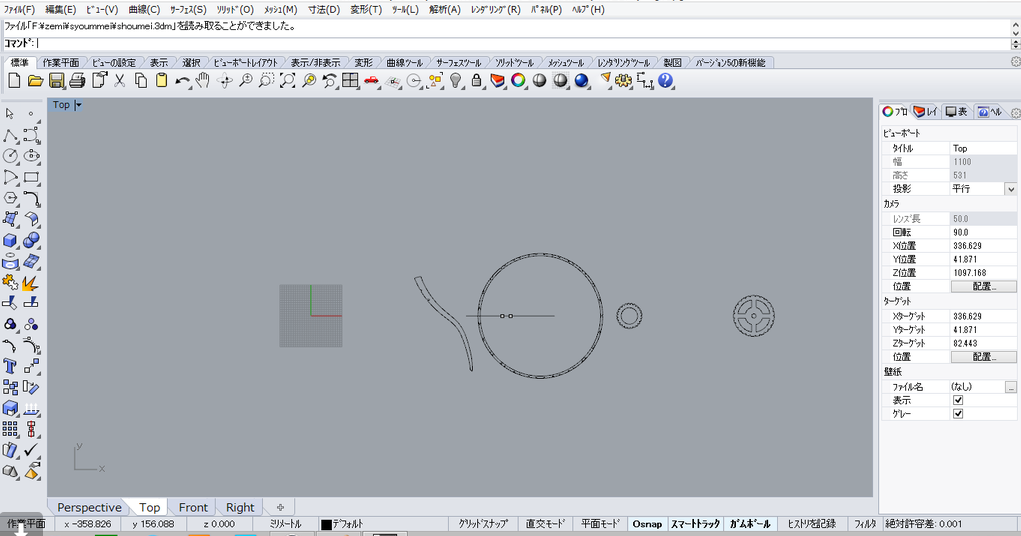
1단계: 램프 모양 디자인
- 영감: Bent Acrylic Lamp나 모던한 모듈형 패널 등 창의적인 아크릴 램프 디자인을 참고하세요.
. 종이에 원하는 모양(예: 기하학적, 원형 또는 자유형)을 스케치합니다.
- 필요한 도구: 연필, 자, 마커, 아크릴 절단 도구 또는 날카로운 만능 칼.
LED 전구와 아크릴 투명 패널을 사용하여 걸이형 램프를 만드는 단계별 DIY 과정은 다음과 같습니다.
2단계: 재료 준비
- 골자:
- LED 전구 (더 나은 열 방출을 위해 바닥이 넓은 전구를 선택하십시오.
- 아크릴 투명 패널 (내구성을 위해 두께 3~5mm를 권장합니다.
- 도구: 공예칼, 커팅매트, 자, 집게, 드라이버, AB접착제, 걸이용 후크.
- 선택 과목: LED 드라이버(전구에 필요한 경우), 열수축 튜브(와이어 보호용).
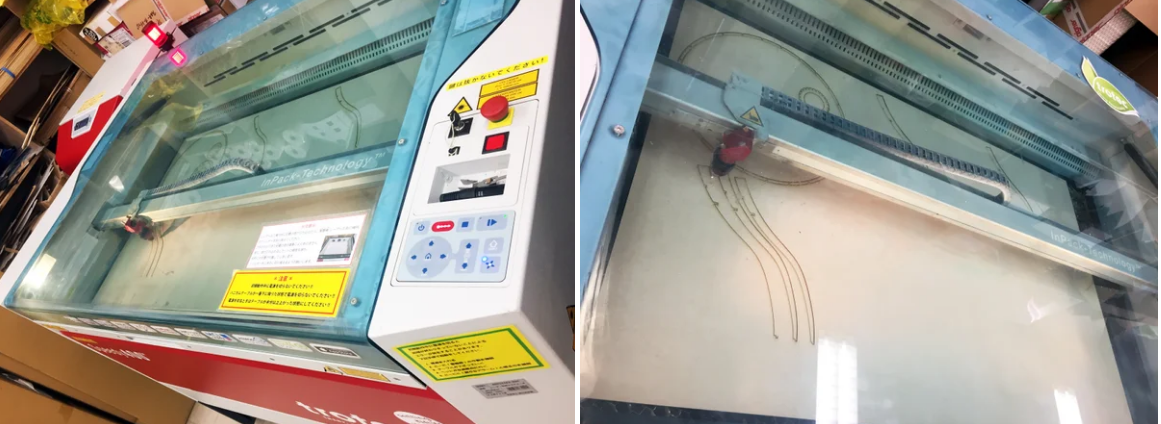
3단계: 아크릴 패널을 자르고 구부리기
- 패널 자르기:
- 디자인을 아크릴 패널에 옮깁니다.
- 공예용 칼과 자를 사용하여 선을 따라 아크릴에 점수를 매기고 고정합니다(또는 정밀도를 위해 CNC 커터를 사용).
- 곡선의 경우 헤어드라이어나 히트건으로 아크릴을 부드럽게 가열한 다음 곡선형 몰드(예: 그릇) 위로 구부립니다.
- 부드러운 가장자리:
- 날카로운 버를 제거하려면 잘린 가장자리를 고운 사포로 연마하십시오.
4단계: LED 전구 설치
- LED 회로 준비:
- 문자열을 사용하는 경우 LED 스트립 조명, 전원에 연결하십시오(아크릴의 경우 12V DC가 더 안전함).
- 단일 전구의 경우 소켓이 LED 베이스와 일치하는지 확인하세요.
- LED를 부착하세요:
- AB 접착제를 사용하여 LED를 아크릴 패널에 붙이고 균형 잡힌 조명을 위해 균등하게 배치합니다.
- 접착제가 완전히 건조되도록 기다립니다(24시간).
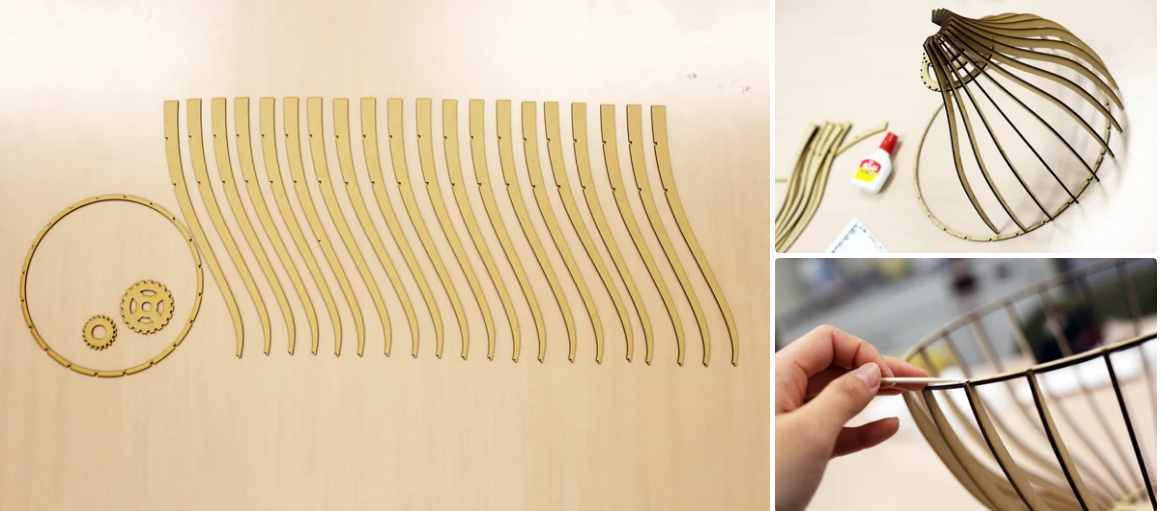
5단계: 램프 구조 조립
- 프레임 구성:
- 나무나 금속 스트립을 잘라서 아크릴 모양에 맞는 프레임을 만드세요.
- 프레임을 아크릴 패널 뒷면에 나사로 고정하거나 접착제로 붙입니다.
- 교수형 메커니즘:
- 프레임 상단에 후크나 구멍을 부착하세요.
- 철사나 튼튼한 끈을 사용하여 램프를 천장에 걸어주세요.
6단계: 테스트 및 조정
- LED를 켜서 조명이 균일하고 연결이 올바른지 확인하세요.
- 최적의 조명을 위해 아크릴 패널의 각도를 조정하거나 LED 위치를 조정하세요.
안전 수칙
- 절단을 방지하기 위해 아크릴을 절단하는 동안 장갑을 착용하십시오.
- 접착제나 열 도구를 사용할 때는 통풍이 잘 되는 곳에서 작업하십시오.
- 과열을 방지하려면 LED 전원이 전구 요구 사항과 일치하는지 확인하세요.
선택적 업그레이드
- 조명을 조절할 수 있도록 조광기 스위치를 추가하세요.
- RGB LED 전구를 사용하여 색상이 변하는 효과를 만들어 보세요.
- 스마트 기능을 위해 센서(예: 동작 또는 조도 센서)를 통합하세요.
이 프로젝트는 창의성과 실용적인 기술을 결합하여 단순한 재료를 독특한 걸이형 램프로 바꿔줍니다!
�명 제조 업체")
�조 업체")
�� 제조 업체")
조 업체")
조명 (4)")
�� 제조 업체")
FAQ
Q: 절단된 스트립을 납땜하지 않고 다시 연결할 수 있나요?
답: 그렇습니다! 무납땜 4핀 커넥터(RGB에 이상적)를 사용하되 구리 패드가 깨끗한지 확인하십시오.
Q: 절단 후에도 일부 LED가 계속 어두워지는 이유는 무엇입니까?
A: 전압 강하로 인한 것일 수 있습니다. 를 설치하세요24V 스트립 또는 전력 주입 지점을 추가하세요.
Q: 절단면을 방수 처리하는 방법은 무엇입니까?
A: 실리콘 젤 커넥터 또는 에폭시 수지로 밀봉하십시오.


저자 소개
제리후
Lightstec의 창립자. 엔지니어링 학위. LED 조명 사업 분야에서 13년 이상의 경력을 쌓았습니다. LED 조명 제품 생산에 익숙합니다. 이 블로그에서는 LED 조명에 대한 지식과 솔루션을 공유합니다. 중국에서 LED 조명을 소싱하는 것을 환영합니다.
실수하기 전에 더 적은 사람들이 알려주는 전문적인 진행 수업에 대해 자세히 알아보세요.


좋은 게시물입니다. 나는 웹사이트에서 완전히 새롭고 도전적인 것을 배웁니다.