
Make a LED lamp is not very complicated. We can use some simple material to DIY a LED hanging lamp.
Here is a step-by step DIY course to create a hanging lamp.
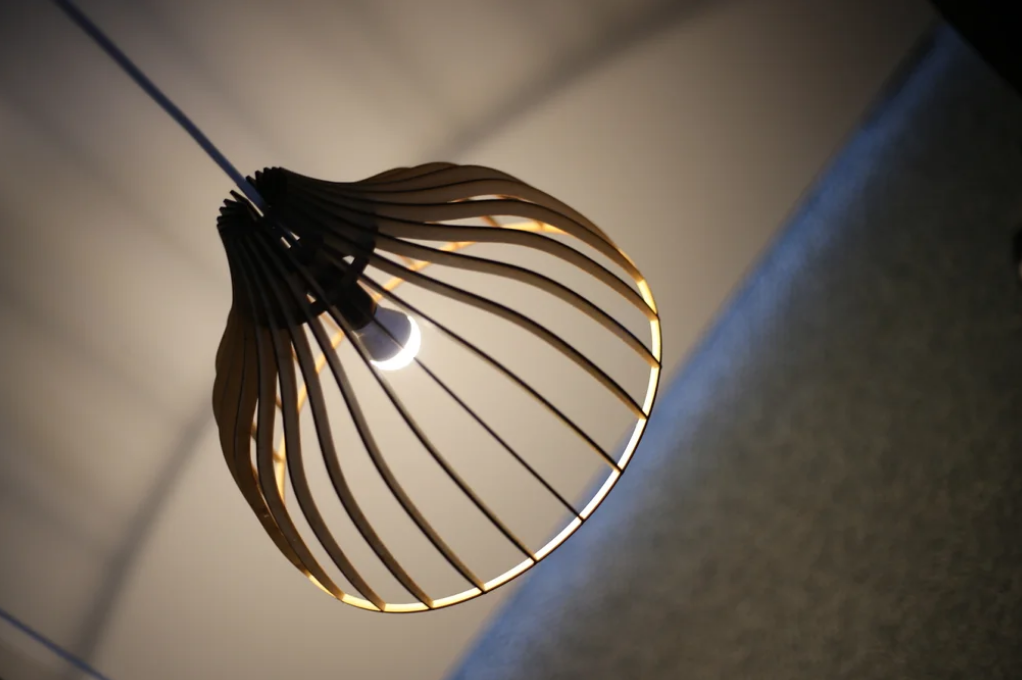
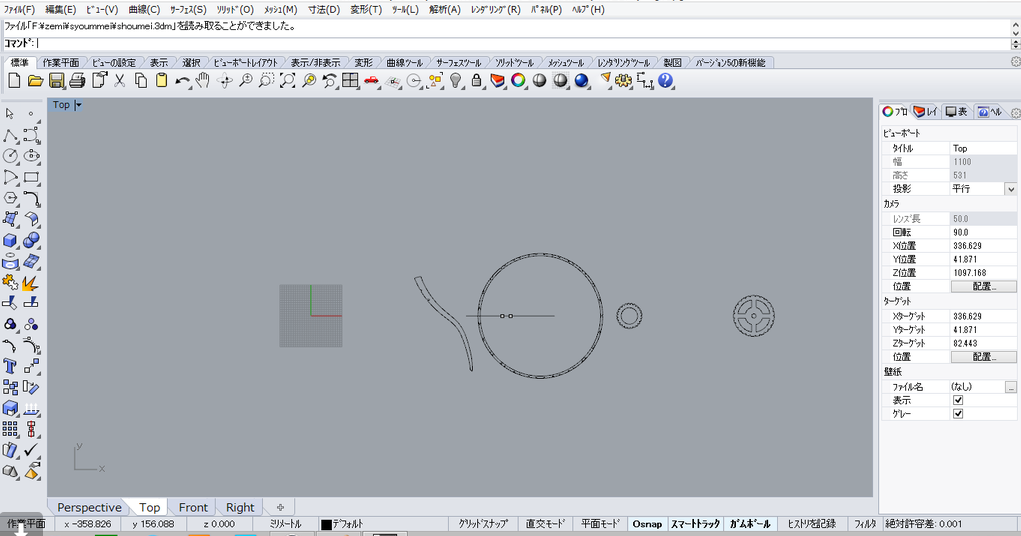
Step 1: Design Your Lamp Shape
- Inspiration: Refer to creative acrylic lamp designs like the Bent Acrylic Lamp or modern modular panels
. Sketch your desired shape (e.g., geometric, circular, or freeform) on paper.
- Tools Needed: Pencil, ruler, marker, acrylic cutting tool or a sharp utility knife.
Here's a step-by-step DIY course to create a hanging lamp using an LED bulb and acrylic transparent panel:
Step 2: Prepare Materials
- Essentials:
- LED bulb (choose a bulb with a wide base for better heat dissipation.
- Acrylic transparent panel (thickness 3-5mm recommended for durability.
- Công cụ: Craft knife, cutting mat, ruler, clamps, screwdriver, AB glue, hanging hooks.
- Optional: LED driver (if your bulb requires one), heat shrink tubing (for wire protection).
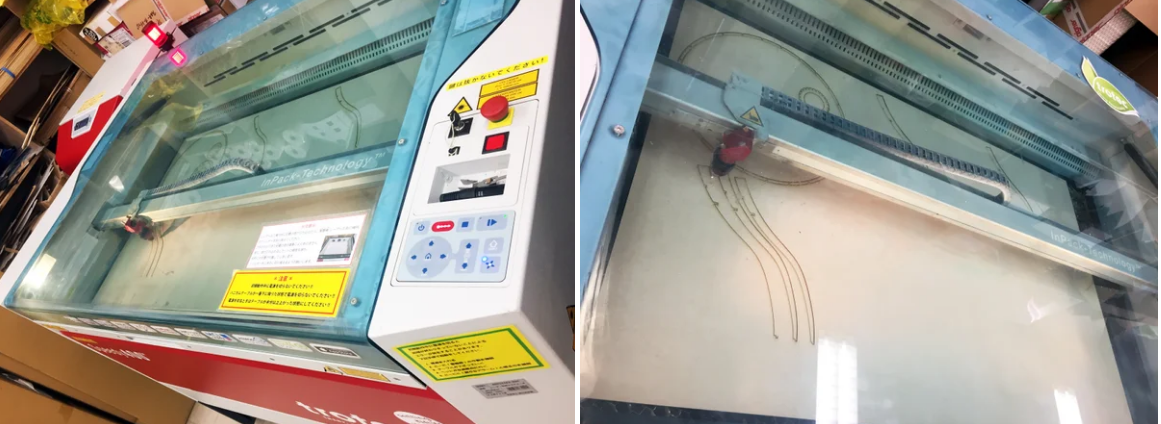
Step 3: Cut and Bend the Acrylic Panel
- Cut the Panel:
- Transfer your design onto the acrylic panel.
- Use a craft knife and ruler to score and snap the acrylic along the lines (or use a CNC cutter for precision).
- For curves, gently heat the acrylic with a hairdryer or heat gun, then bend it over a curved mold (e.g., a bowl).
- Smooth Edges:
- Sand the cut edges with fine-grit sandpaper to remove sharp burrs.
Step 4: Install the LED Bulb
- Prepare the LED Circuit:
- If using a string of Dải đèn LED, connect them to a power source (12V DC is safer for acrylic).
- For a single bulb, ensure the socket matches the LED base.
- Attach the LED:
- Glue the LED(s) onto the acrylic panel using AB glue, positioning them evenly for balanced lighting.
- Allow the glue to dry completely (24 hours).
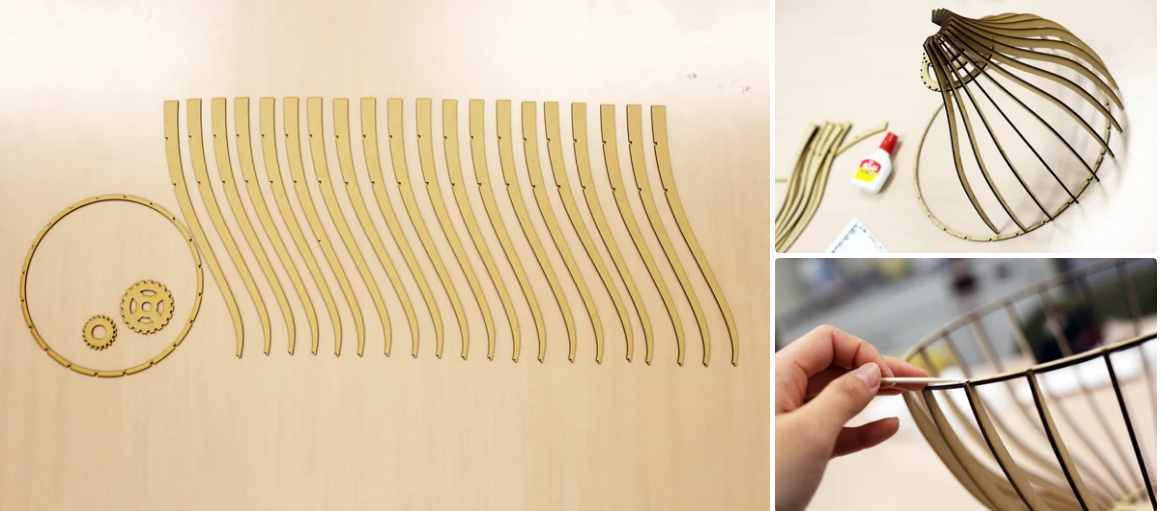
Step 5: Assemble the Lamp Structure
- Frame Construction:
- Cut wooden or metal strips to create a frame that matches your acrylic shape.
- Screw or glue the frame to the back of the acrylic panel.
- Hanging Mechanism:
- Attach hooks or eyelets to the top of the frame.
- Use wire or sturdy string to hang the lamp from the ceiling.
Step 6: Test and Adjust
- Turn on the LED(s) to check for even lighting and proper connectivity.
- Adjust the angle of the acrylic panel or reposition the LED(s) for optimal lighting.
Safety Tips
- Đeo găng tay trong khi cắt acrylic để tránh bị cắt.
- Làm việc ở khu vực thông thoáng khi sử dụng chất kết dính hoặc dụng cụ nhiệt.
- Đảm bảo nguồn điện LED phù hợp với yêu cầu của bóng đèn để tránh hiện tượng quá nhiệt.
Nâng cấp tùy chọn
- Thêm một công tắc điều chỉnh độ sáng để điều chỉnh ánh sáng.
- Sử dụng bóng đèn LED RGB để tạo hiệu ứng đổi màu.
- Kết hợp cảm biến (ví dụ: cảm biến chuyển động hoặc ánh sáng) để có chức năng thông minh.
Dự án này kết hợp sự sáng tạo với kỹ năng thực tế, biến những vật liệu đơn giản thành một chiếc đèn treo độc đáo!
smd2835 tại Trung Quốc")
 tại Trung Quốc")
d2835 tại Trung Quốc")
tại Trung Quốc")
")
d2835 tại Trung Quốc")
Câu hỏi thường gặp
Hỏi: Tôi có thể kết nối lại các dải đã cắt mà không cần hàn không?
Đ: Vâng! Sử dụng đầu nối 4 chân không hàn (lý tưởng cho RGB), nhưng đảm bảo các miếng đồng sạch sẽ.
Hỏi: Tại sao một số đèn LED vẫn mờ sau khi cắt?
A: Có thể do sụt áp. Cài đặt mộtdải 24V hoặc thêm điểm phun điện.
Q: Làm thế nào để chống thấm các đầu cắt?
Trả lời: Bịt kín bằng đầu nối gel silicon hoặc nhựa epoxy.


về tác giả
JerryHu
Người sáng lập Lightstec. Bằng kỹ sư. Hơn 13 năm kinh nghiệm làm việc trong lĩnh vực kinh doanh đèn led, Quen với việc sản xuất các sản phẩm đèn led. Blog này chia sẻ cho bạn kiến thức và giải pháp trong lĩnh vực chiếu sáng led. Chào mừng bạn tìm nguồn cung ứng đèn led từ Trung Quốc
Học Thêm Lớp Học Led Chuyên Nghiệp Mà Ít Người Nói Với Bạn Trước Khi Bạn Sai Lầm.


Nice post. I learn something totally new and challenging on websites