
Can you cut LED strip lights? Yes — but where you cut matters far more than most people realise. Standard LED strips can only be trimmed at marked points spaced every few centimetres, usually shown by copper pads and a small scissor icon. Newer free-cut LED strip lights remove that limitation entirely, letting you cut at almost any position — and when you pair them with solder-free connectors, you never need a soldering iron at all.
This complete guide covers both worlds: how to cut a standard LED strip correctly, what goes wrong if you cut in the wrong place, and why free-cut strips are changing the way modern lighting projects are installed. By the end you will know exactly how to cut, reconnect and choose the right strip for your project.
- Can you cut LED strip lights? (Short answer)
- Where to cut: finding the cut marks
- Step-by-step: cut and reconnect a standard strip
- What happens if you cut in the wrong place
- What is a free-cut LED strip light?
- Free-cut + solder-free connectors: cut, plug, done
- Free-cut vs standard: which should you choose?
- How to choose the right strip
- Aplicativos
- Perguntas frequentes
- Conclusão
Can You Cut LED Strip Lights? (Short Answer)
Yes. Almost every LED strip light can be cut to length. The rule is simple:
- Standard LED strips — cut only at the marked cut lines (copper pads + scissor icon), usually every 50–100 mm depending on the model.
- Free-cut LED strips — cut at nearly any point along the strip, thanks to an optimised circuit layout.
Cutting in the wrong place on a standard strip severs the internal copper traces and can break the circuit, making that section — and sometimes the whole remaining strip — stop working. That is exactly the problem free-cut strips were designed to solve.
Where to Cut: Finding the Cut Marks (Copper Pads & Scissor Icons)
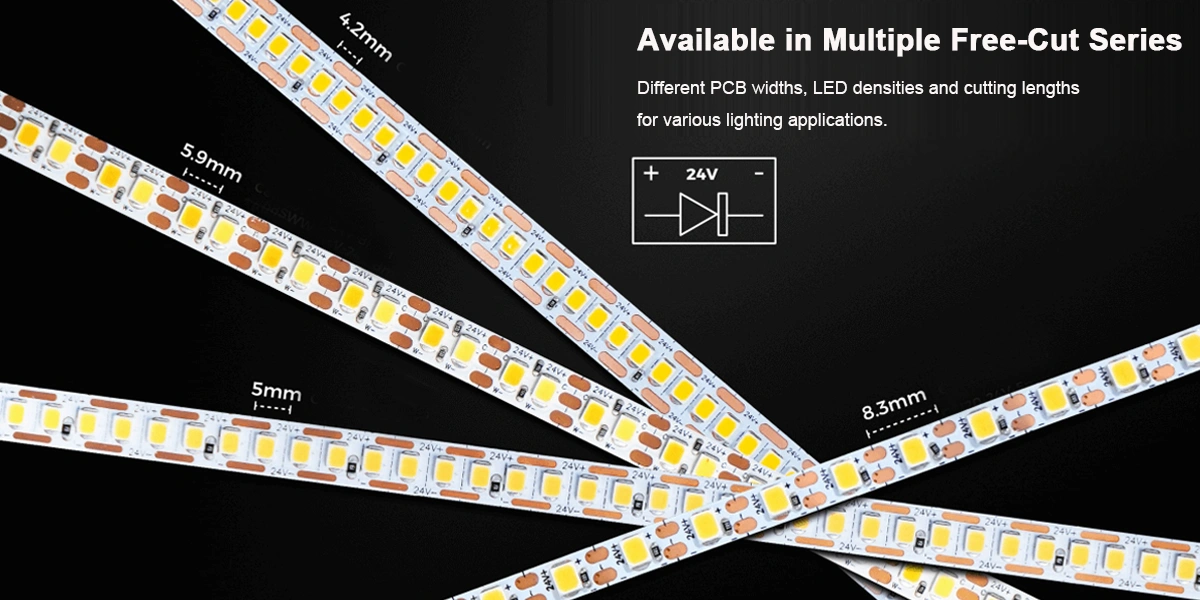
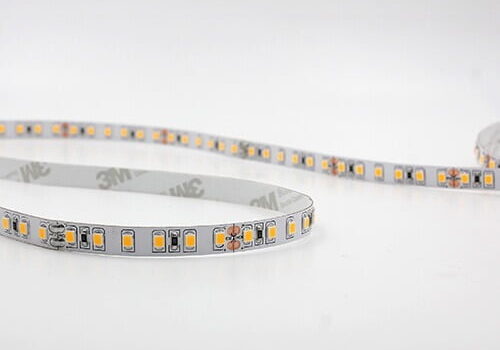
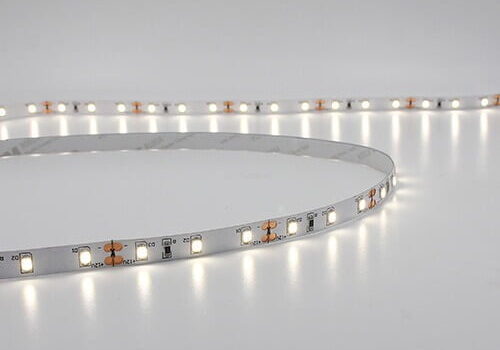
On a standard LED strip, look closely at the surface and you will see a repeating pattern every few centimetres: a transverse line cutting across a set of oval copper pads, often beside a printed scissor icon. These copper pads are the electrical contact points between independent circuit loops, and they are the only safe place to cut.
How to identify the cut point:
- Find the line of copper pads that crosses the whole width of the strip.
- Look for the printed scissor / cut icon beside it (not all models print it).
- Cut straight across the centre of the copper pads so both sides keep a clean contact surface.
The 12V and 24V versions work the same way — the cut marks sit between independent circuit segments, so trimming there never damages the loop.
Step-by-Step: How to Cut and Reconnect a Standard LED Strip
Follow these steps and a standard strip is easy to size and rejoin — no specialist tools required.
Switch off the power supply, then measure the exact run length and mark where the strip needs to end.
Locate the nearest copper-pad line with the scissor icon. Do not cut in the middle of a segment.
Use sharp scissors or a craft knife, cutting straight across the copper pads for a clean edge.
Gently peel the adhesive backing near the cut to expose the copper pads for connection.
Solder the joints, or — much faster — use a solder-free LED strip connector.
Power on briefly to confirm every segment lights before fixing the strip in place.
What Happens If You Cut in the Wrong Place?
Cutting a standard strip outside the marked line is the single most common mistake. Here is what actually happens:
- The segment is severed mid-circuit — cutting across a live trace breaks the electrical loop.
- The cut-off piece is useless — it no longer has a complete contact point on both ends.
- The remaining strip may not light — on some designs the whole rest of the strip goes dark or flickers.
- You waste material and time — and on a long commercial run that adds up quickly.
The fix is to always trim at a copper-pad line, or to choose a free-cut LED strip where this risk largely disappears.
What Is a Free-Cut LED Strip Light?
A free-cut LED strip uses an optimised, near-parallel circuit architecture so each short section works independently. Instead of being tied to fixed cut marks, you can trim the strip at almost any point along its length and the strip keeps running normally — even if one section is damaged, the rest stays on.
This design exists for one reason: real installations rarely match the standard 50–100 mm cutting intervals. With free-cut strips, installers get a precise fit, cut down material waste, and avoid the frustration of trimming to the “wrong” length.
Free-cut series are available across a range of PCB widths and LED densities — from compact 5 mm boards to wider 8.3 mm boards — so you can match brightness and smoothness to the project rather than being forced into a single spec.
Free-Cut + Solder-Free Connectors: Cut, Plug, Done
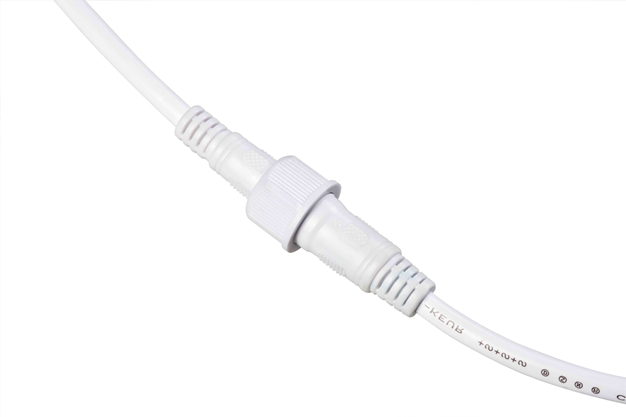
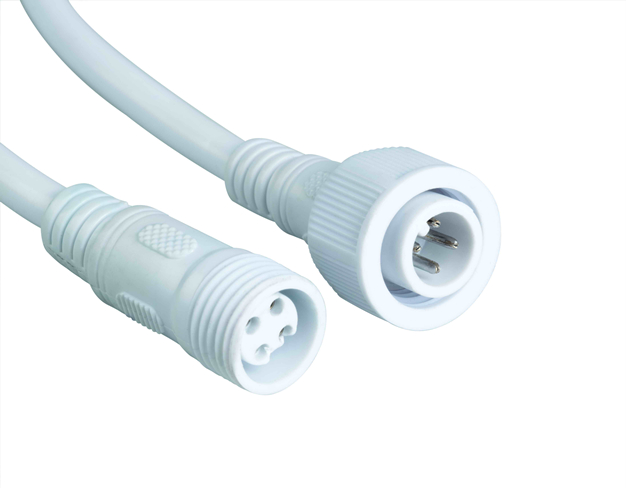
The real time-saver is combining free-cut strips with solder-free connectors. On a standard install you would have to locate a cut mark, strip wire, solder every joint and test each connection. With a solder-free connector, the trimmed end clicks into the connector in seconds — no soldering iron, no flux, no skill required.
Benefits of a solder-free system:
- Seconds to connect instead of minutes of soldering
- No soldering skills or tools needed on site
- More consistent connection quality, fewer failure points
- Easier maintenance — unplug, replace, reconnect
Free-Cut vs Standard: Which Should You Choose?
| Recurso | Standard LED Strip | Free-Cut LED Strip |
|---|---|---|
| Corte | Fixed cut marks only | Flexible, cut almost anywhere |
| Instalação | Often needs soldering | Solder-free connector ready |
| Installation time | Longer | Shorter |
| Material waste | Mais alto | Mais baixo |
| Fitting accuracy | Limited by cut marks | High precision fit |
| Melhor para | Standard layouts, predictable lengths | Custom, complex or repeated-fit projects |
For simple, predictable runs a standard strip is perfectly fine. For cabinets, retail displays, furniture and any install where length always needs to “just fit”, free-cut is worth the upgrade.
How to Choose the Right Strip (LED Density, Voltage, Waterproof)
Once you have decided on free-cut vs standard, three specs decide the right product:
- Densidade de LED — 120, 144, 180 or 240 LEDs per metre. Higher density means smoother, brighter, more even light with fewer hotspots (best for architectural and visible runs).
- Tensão de entrada — 5V, 12V or 24V. Higher voltage allows longer runs before voltage drop; 12V and 24V are the common choices for installed lighting.
- Classificação IP — IP20 for dry indoor; IP54/IP65 for humid or dusty areas; IP67/IP68 for outdoor or wet locations.
Applications: Where Cut-Anywhere Strips Shine
Flexible cutting and solder-free installation make free-cut strips a natural fit for projects where every millimetre matters:
- Cabinet & furniture lighting — kitchen cabinets, wardrobes, shelves and display cases that must match exact dimensions.
- Retail & display lighting — shelving, product showcases and supermarket fixtures where clean, even light sells the product.
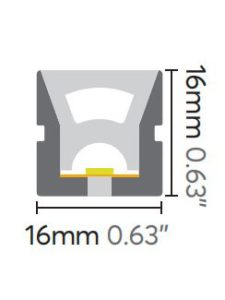
- Architectural linear lighting — cove ceilings, wall washing, corridors and contour lines, often inside aluminium profiles.
- Commercial & hospitality — hotels, restaurants, offices and reception areas where speed and consistency matter.
Perguntas frequentes
Can a free-cut LED strip be cut at any point?
Yes. The optimised circuit layout lets you trim at almost any position along the strip without breaking the remaining circuit. This is the main advantage over standard strips, which only allow cutting at marked copper-pad lines.
Do I still need to solder if I use a free-cut strip?
No. Free-cut strips are designed to work with solder-free LED strip connectors, so you can cut and plug sections together in seconds without a soldering iron.
Is a free-cut LED strip more expensive?
It can cost slightly more per metre than a basic strip, but the savings in installation labour, waste and rework usually outweigh the difference on real projects — which is why free-cut systems are growing quickly in commercial work.
12V or 24V for a long run?
For runs over roughly 5 m, Tiras de 24V are usually the better choice because they carry power further before voltage drop. For short, tight spaces, 12V is compact and flexible.
Conclusão
Cutting LED strip lights is easy once you know the one rule that matters: on a standard strip, cut at the copper-pad mark; on a free-cut strip, cut almost anywhere. Add a solder-free connector and you can size, cut and install a whole project without a soldering iron.
Whether you need standard strips for simple runs or free-cut, solder-free systems for complex projects, Lightstec supplies both factory-direct with the right density, voltage and IP rating for your application.
Get standard or free-cut LED strips, solder-free connectors and factory-direct pricing for your project.
Produtos recomendados para tiras de LED
Clique em qualquer produto para ver as especificações e solicitar um orçamento:
 |
Baixe nosso catálogo mais recente em PDF Para poupar seu tempo, preparamos um catálogo em PDF com todos os nossos mais recentes produtos de iluminação LED. Deixe seu e-mail e receba imediatamente. |

Jerry is the export manager at Lightstec, a China-based LED strip light manufacturer. He helps projects source cuttable LED strips, solder-free connectors and factory-direct lighting solutions.
Aprenda mais aulas ministradas por profissionais que menos pessoas lhe dirão antes de você cometer um erro.