
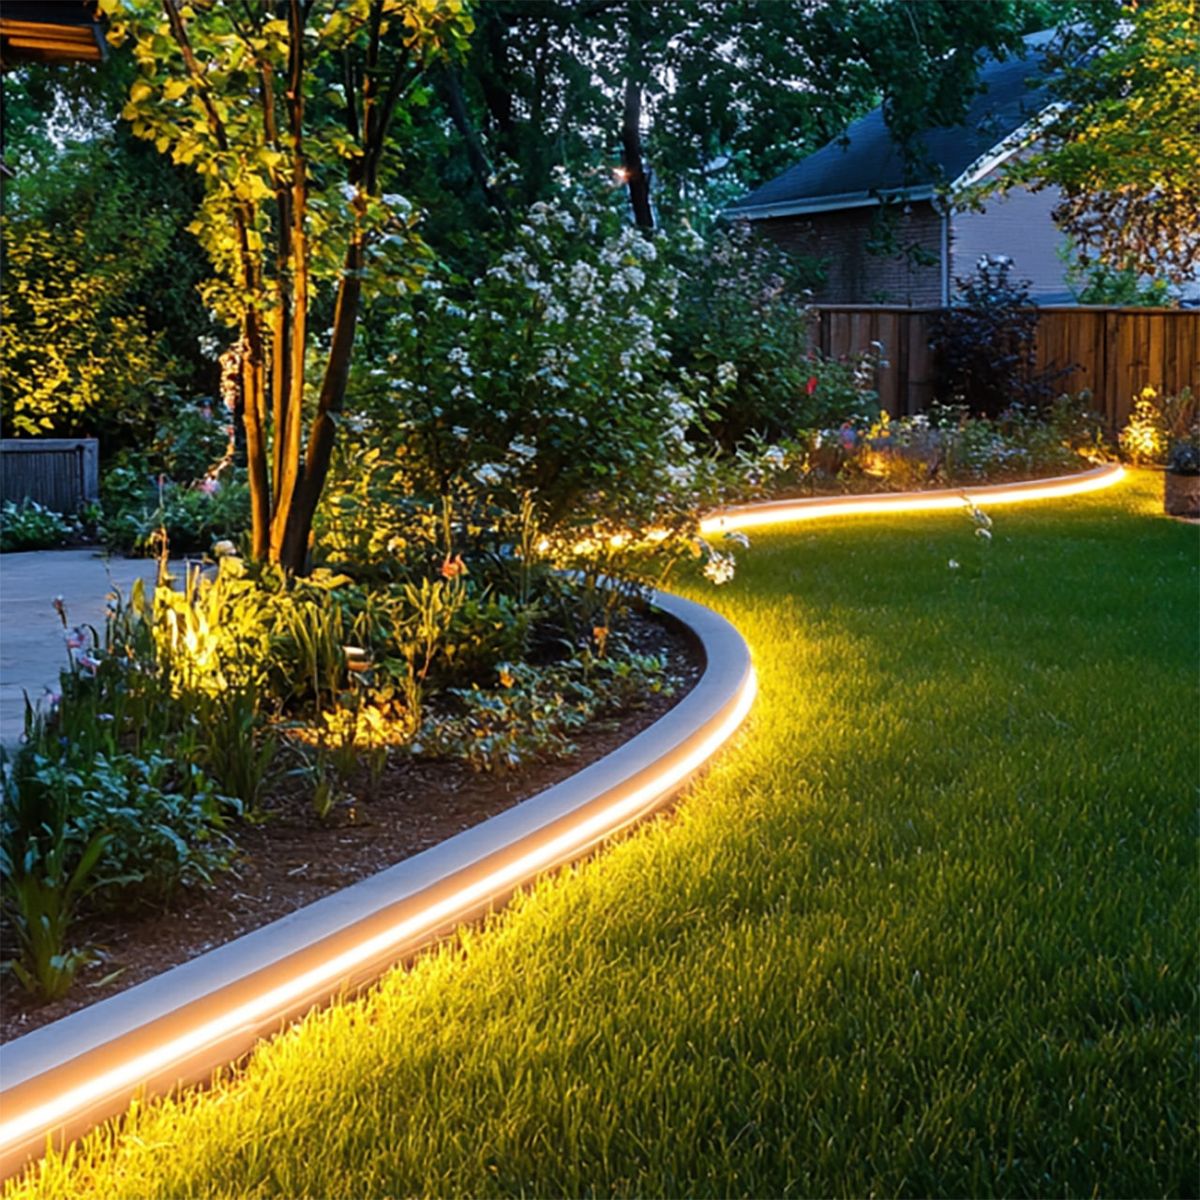
Želite spremeniti svoj vrt v topel, prijeten prostor po temi brez kosovnih naprav ali visokih računov za elektriko? LED vrtne trakove so eden najbolj prilagodljivih in stroškovno učinkovitih načinov za to. Tanek, upogljiv trak, nameščen pod stopnico, vzdolž poti ali za sadilnikom, ustvarja čist, sodoben sijaj, ki usmerja pogled in poudari vaše rastline in arhitekturo.
Sorodno: preberite naše ip68 vodnik za podvodne led trakove.
Pri Lightstecu že leta dobavljamo zunanjo razsvetljavo za krajinske projekte, hotele in stanovanjske vrtove. Videli smo, kaj deluje — in kaj ne uspe po prvi deževni sezoni. Ta vodnik temelji na resničnih namestitvah, ne le na listih s specifikacijami. Izvedeli boste kateri vodoodporne LED tračne luči za vrt uporabo dejansko potrebujejo, kako izbrati med 12V in 24V, kakšna svetlost in barvna temperatura ustrezata rastlinam in kamnu ter kako vse namestiti, da bo trajalo.
V tem vodniku
- Zakaj so LED trakovi popolni za vrtove
- Kje uporabiti vrtne trakove
- SMD proti COB proti RGB: Izbira prave vrste traku
- Ocene vodoodpornosti: razlaga IP65, IP67, IP68
- 12V proti 24V in velikost napajalnika
- Svetlost, barvna temperatura in CRI
- Navodila za namestitev po korakih
- Ideje za oblikovanje vrtne razsvetljave
- Vzdrževanje in dolgoživost
- Priporočeni izdelki za LED trakove za vrtove
- Pogosto zastavljena vprašanja
Zakaj so LED trakovi popolni za vrtove
Tradicionalna vrtna razsvetljava pogosto pomeni zajetne reflektorje, vidne kable in visoke tekoče stroške. LED trakovi rešijo večino tega v enem vitkem, prilagodljivem paketu. Zaradi tega so pametna izbira za vsak zunanji prostor.
Varnejše poti in koraki
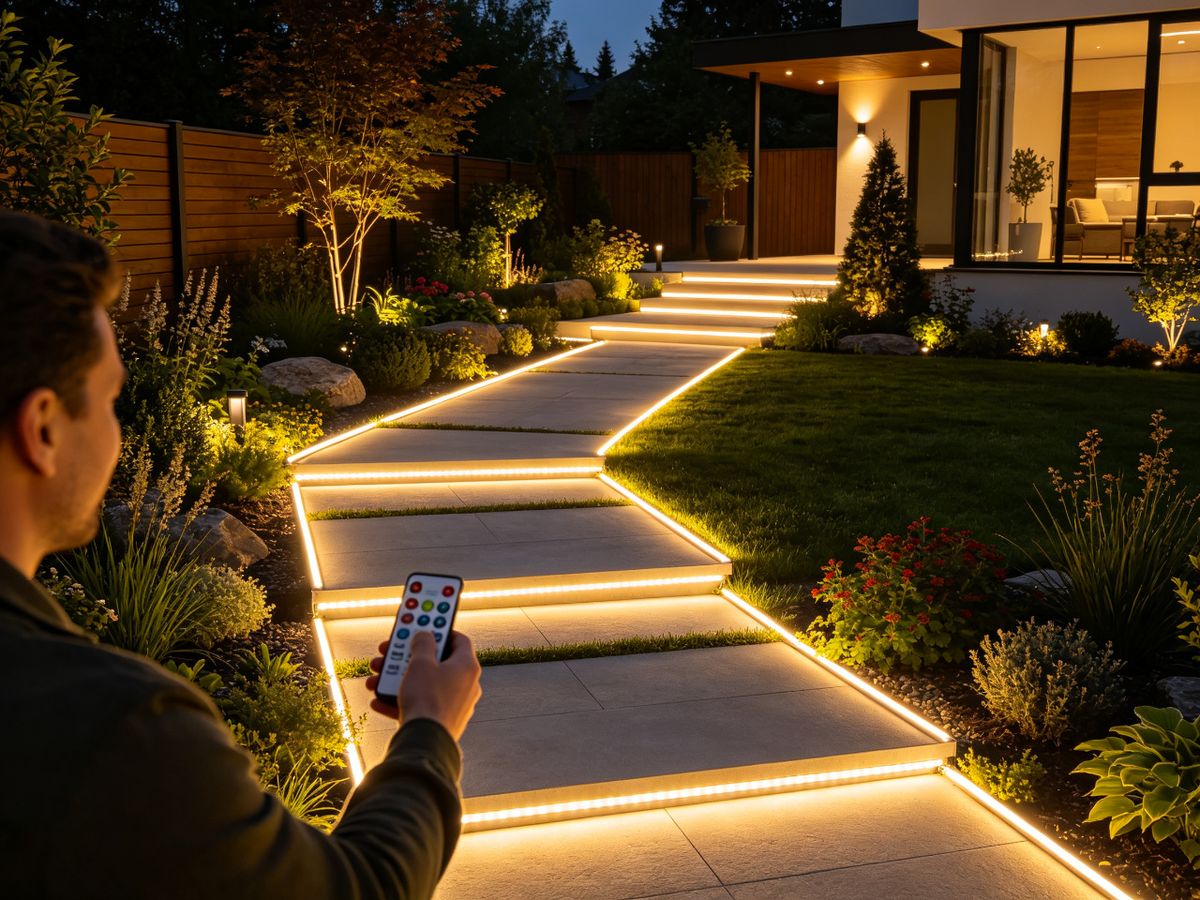
Tanek trak ob robu stopnice ali poti vrže mehko, enakomerno svetlobo točno tja, kamor jo potrebujete. Nizka neprekinjena svetloba naravno usmerja oko in zmanjšuje nevarnost spotikanja brez bleščečih reflektorjev.
Skrit, moderen videz
Trakovi se zlahka skrijejo pod ograje, znotraj pergol ali za sadilniki. Vidite sijaj, ne napeljave — učinek »skritega vira svetlobe«, ki daje vrhunskim vrtom čist, vrhunski občutek.
Dolga življenjska doba, nizki stroški
Kakovostni LED trakovi lahko zdržijo približno 50.000 ur, kar je veliko dlje kot halogenske ali žarnice, in porabijo veliko manj energije. Za vrt, ki je večino noči osvetljen, to pomeni resnične prihranke v preteklih letih.
Kje uporabiti vrtne trakove
Ko vidite, kako prilagodljivi so ti trakovi, je težji del izbrati, kam jih boste postavili. Tukaj so štiri točke, ki vam z najmanj truda zagotovijo najboljše rezultate.
1. Poti, stopnice in obloge
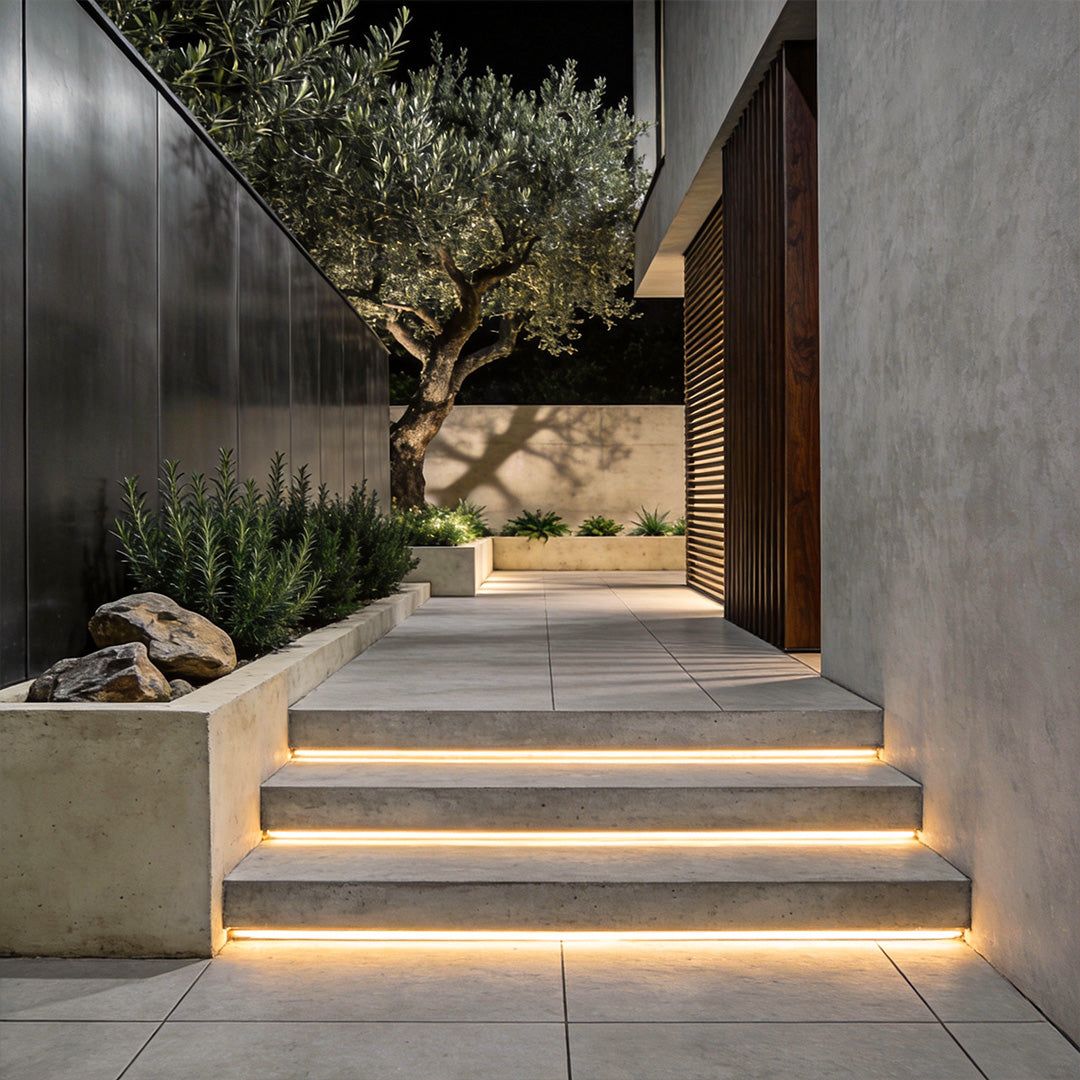
To je najbolj priljubljena uporaba in z dobrim razlogom. Potegnite trak vzdolž roba poti, pod robom stopnice ali pod zgornjo desko vaše talne obloge. Svetloba je usmerjena navzdol in navzven ter osvetljuje površino, ne da bi komur koli zasijala v oči. Aluminijaste kanalete pri tem veliko pomagajo: ščitijo trak pred prometom pešcev, bolj enakomerno porazdelijo svetlobo in dajejo urejen zaključen rob. Vedno jih priporočamo za vsako mesto, kjer se ljudje sprehajajo.
2. Cvetlična korita, drevesa in obrobe
Če trak zataknete za nizko obrobo ali vzdolž dna sadilnika, ustvarite mehak preliv svetlobe na vaših rastlinah. Ponoči popestri cvetlična korita in pritegne pozornost na oblike grmovnic in dreves. Za subtilen videz usmerite trak proč od gledalca, tako da bodo osvetljene samo rastline – preprost trik, s katerim se bo vrt v trenutku počutil oblikovano in ne samo osvetljeno.
3. Terase, pergole in jedilnice na prostem
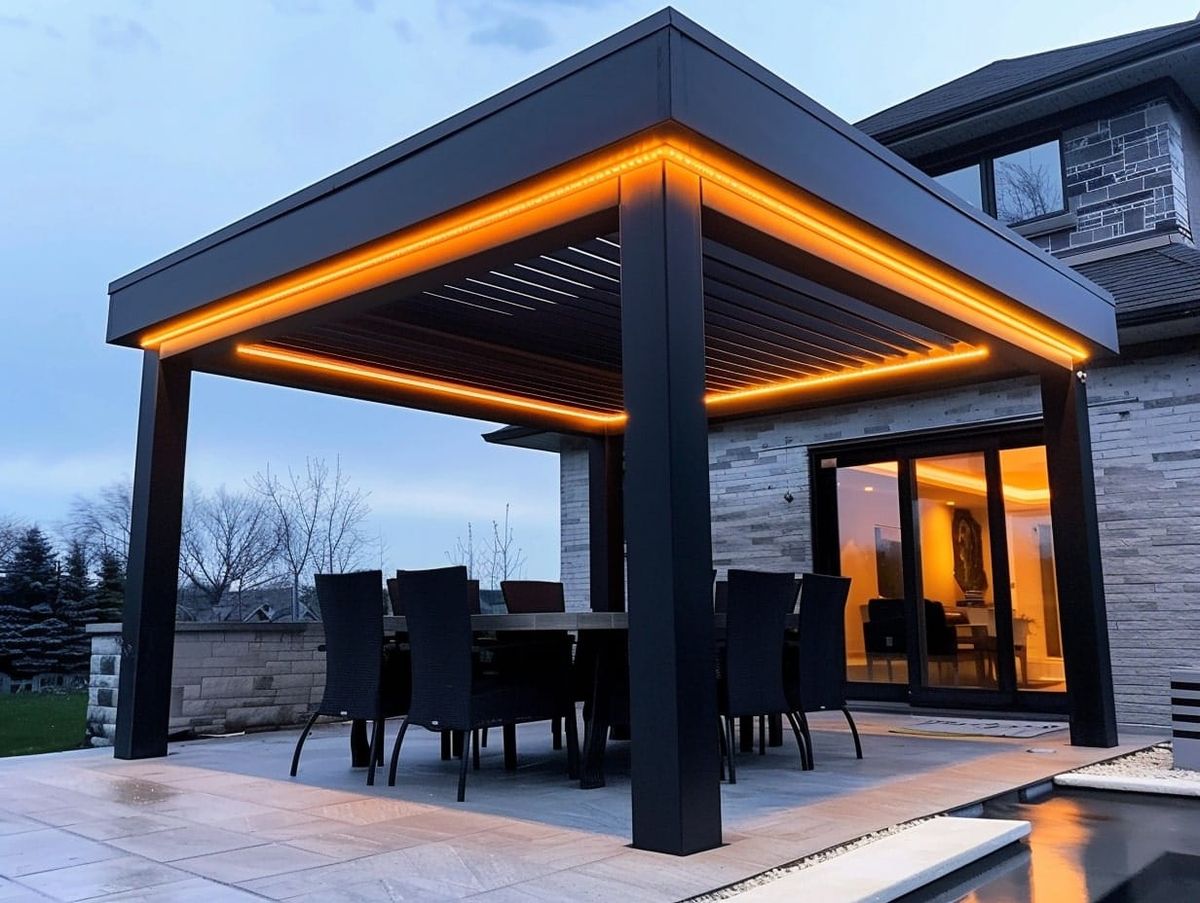
Pergola ali terasa je kraj, kjer vrtna razsvetljava resnično zasije. Potegnite trakove po spodnji strani tramov, okoli roba strehe pergole ali pod robom zunanjega kuhinjskega pulta. Topla bela svetloba ustvarja prijetno, vabljivo vzdušje za večerno večerjo in zabavo. Za dodatno prilagodljivost izberite nastavljiv bel ali RGB trak, tako da lahko preklopite razpoloženje iz sproščene tople bele v nastavitev zabave, ki spreminja barve.
4. Ribniki, vodni elementi in bazeni
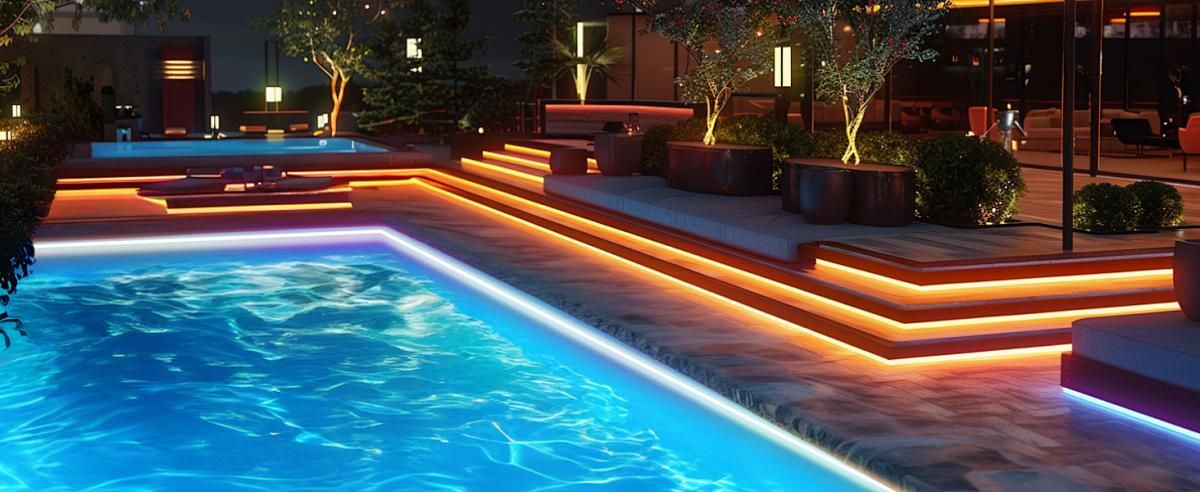
Voda in svetloba izgledata odlično skupaj, vendar je to tudi najtežja točka. Trak okoli vodnjaka, vzdolž roba ribnika ali pod pokrovom bazena doda čudovit lesket. Ulov je v tem, da vsak trak v bližini ali v vodi potrebuje pravo oceno vodoodpornosti - in če se to zmoti, je veliko projektov neuspešnih. Za karkoli v ali pod vodo, IP68 je edina ocena, ki ustreza, brez kompromisa. Več o ocenah vodotesnosti v naslednjem razdelku.
SMD proti COB proti RGB: Izbira prave vrste traku
Vsi trakovi niso zgrajeni enako. Poznavanje glavnih vrst vam bo pomagalo izbrati pravo za vaš vrt. Tu so tri pogoste vrste, na katere boste naleteli.
| Vrsta | Svetel videz | Najboljše za | Stroški |
|---|---|---|---|
| SMD | Posamezne LED pike vidne od blizu | Skrita mesta, poti, splošna poudarjena razsvetljava | Proračunu prijazno |
| COB (brez pik) | Gladka, neprekinjena linija svetlobe, brez vidnih pik | Vidni robovi, ograje, vrhunske arhitekturne linije | Srednje do visoko |
| RGB / nastavljiva bela | Spremenljiva barva ali nastavljiva topla do hladna bela | Terase, zabave, sezonske razstave, razsvetljava za vzdušje | Srednje do visoko |
SMD trakovi so najbolj razširjeni. Posamezne LED-čipe postavijo na določeno razdaljo vzdolž traku, tako da lahko vidite ločene točke svetlobe od blizu. Na voljo so v številnih stopnjah svetlosti in barvah in so običajno proračunsko najprijaznejša možnost – dobra vsestranska izbira za večino vrtnih uporab, zlasti tam, kjer je trak skrit pred neposrednim pogledom.
COB (Chip on Board) trakovi zapakirajte LED-diode tesno pod fosforno prevleko in ustvarite gladko, neprekinjeno linijo svetlobe brez vidnih pik. Za vrtne robove, ograje in katero koli mesto, kjer je trak na ogled, daje COB čistejši in bolj vrhunski videz. To je odlična izbira, ko je videz svetlobne črte pomemben toliko kot svetloba sama.
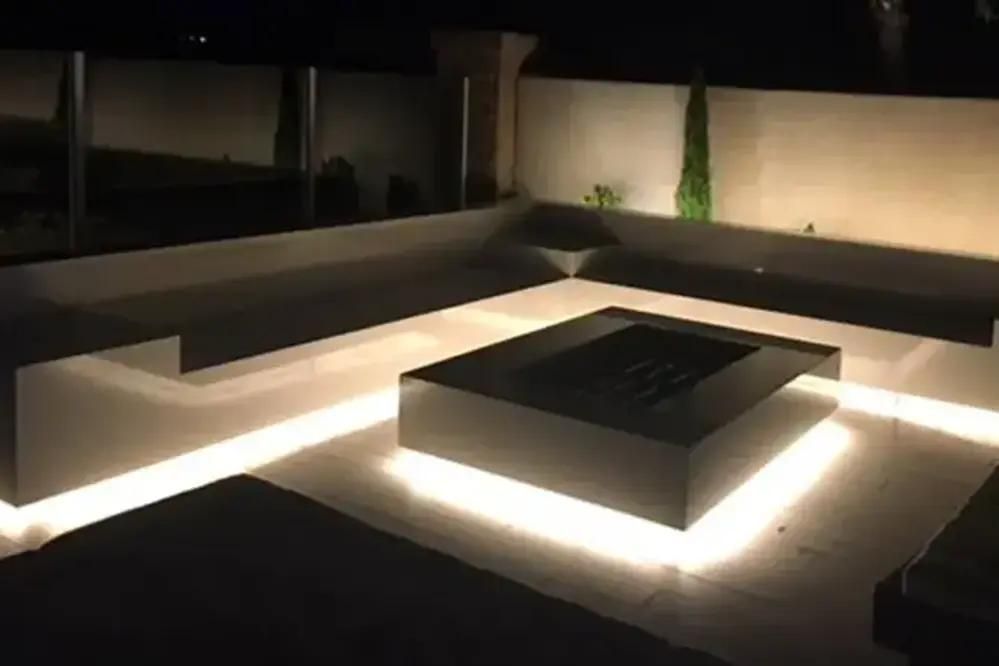
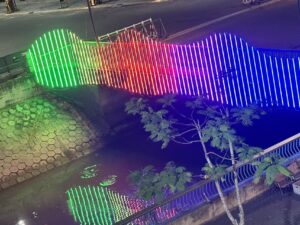
RGB in nastavljivi beli trakovi vam omogočajo, da spremenite videz svoje razsvetljave. Trakovi RGB se premikajo skozi celotno paleto barv, kar je priročno za zabave, počitnice in sezonske prikaze. Nastavljivi beli trakovi vam omogočajo prilagajanje med toplo in hladno belo, da lahko ustvarite razpoloženje za večer. Če želite prilagodljivost namesto ene fiksne barve, je ta vrsta vredna dodatnih stroškov.
Ocene vodoodpornosti: razlaga IP65, IP67, IP68
To je najpomembnejši del vrtne razsvetljave. Zunanji trakovi veliko pogosteje odpovejo zaradi poškodb zaradi vode kot zaradi česar koli drugega. Ocena IP vam pove, kako zaščiten je trak, zato ga razčlenimo.
IP pomeni zaščito pred vdorom. Dve števki povesta, kako dobro je trak odporen na trdne snovi in vodo. Za vrtove je treba paziti na drugo številko. Te ocene določa mednarodni standard IEC 60529.
| Ocena | Zaščita vode | Primerna vrtna cona |
|---|---|---|
| IP65 | Zaščiten pred vodnimi curki in dežjem | Pokriti prostori, pod napušči, pergole, mesta, ki jih samo škropi |
| IP67 | Zaščiten pred kratkotrajno potopitvijo | Odprte vrtne površine, poti, gredice, izpostavljene močnemu dežju |
| IP68 | Zaščiten pred neprekinjeno potopitvijo | Ribniki, fontane, bazeni - karkoli v ali pod vodo |
Katero stopnjo vodotesnosti potrebujete?
Pomislite na svoj vrt v conah. Zaščitena območja pod pergolo lahko uporabljajo IP65. Odprte postelje in poti, ki so izpostavljene neposrednemu dežju, morajo biti IP67. Vodne funkcije potrebujejo IP68 brez kompromisov. Kot preprosto pravilo: IP65 za zaščitene kraje, IP67 za odprta tla in IP68 za karkoli v ali pod vodo. Če ste v dvomih, pojdite eno stopnjo višje, kot mislite, da potrebujete.
12V proti 24V in velikost napajalnika
Pravilna električna stran ohranja vašo razsvetljavo varno, enakomerno in zanesljivo. Ni vam treba biti električar, morate pa načrtovati vnaprej.
12V proti 24V: Kateri je boljši za vrtove?
Večina vrtnih trakov deluje na 12 V ali 24 V DC, napaja pa se prek gonilnika, ki se spusti iz električnega omrežja. Oba sta nizkonapetostna, zato sta oba varna za uporabo v bližini vode in rastlin. Razlika je v zmogljivosti. 24 V skrbi za daljše delovanje z manjšo izgubo svetlobe kot 12 V, kar je pomembno, ko osvetljujete dolgo pot ali rob. Za večino vrtov je 24 V lažja in bolj prizanesljiva izbira — še posebej za vožnje nad 5 metrov.
Dimenzioniranje vašega napajalnika (gonilnik)
Vsak trak ima nazivno moč v vatih na meter. Pomnožite to s svojo skupno dolžino, da dobite obremenitev, nato izberite voznika, ki jo udobno presega. Če pustimo približno 20 % prostora za glavo, vozniku podaljšamo življenjsko doboin se prepričajte, da je gonilnik ocenjen za uporabo na prostem (IP65 ali višje). Izbira napačnega napajalnika je najpogostejši razlog za odpoved namestitve v 12 mesecih – premajhen gonilnik se pregreje, neusklajena ocena IP pa povzroči notranjo korozijo v trenutku, ko vlaga doseže PCB. Za podroben potek si oglejte naš vodnik na kako izbrati pravi napajalnik za LED trakove.
Padec napetosti: Zakaj oddaljeni konec zatemni
Pri dolgih vožnjah je lahko skrajni konec traku videti temnejši od začetka. To je padec napetosti in je ena najpogostejših pritožb pri vrtnih napeljavah. Ljudje pogosto krivijo pokvarjen trak, čeprav je resnični vzrok preprosto dovajanje enega dolgega kroga iz ene same točke. Popravek je enostaven, če ga načrtujete: za vožnje, ki presegajo nazivno največjo dolžino traku, dovajajte moč z obeh koncev ali razdelite tek na krajše odseke, in izberite 24 V, da svetloba prenaša dlje. Razvrščanje tega v fazi načrtovanja ne stane nič, toda popraviti, ko je vse zlepljeno in kanalizirano, je pravi glavobol.
Omrežje, nizka napetost ali solar?
Nizkonapetostni sistemi (omrežni pogon, ki se zniža na 12 V ali 24 V) so standardna izbira za zanesljivo, svetlo vrtno razsvetljavo. Zagotavljajo dosleden rezultat in podpirajo daljše vožnje. Trakovi na sončno energijo so primerni tam, kjer je napeljava kabla težavna, vendar sta izhod in čas delovanja odvisna od sončne svetlobe, zato se svetlost lahko spreminja. Za poudarjeno osvetlitev v težko dostopnem kotu se dobro obnesejo; za glavno pot, na katero se zanašate vsako noč, je žična nizkonapetostna nastavitev varnejša stava.
Svetlost, barvna temperatura in CRI
Svetlost in barvna temperatura oblikujeta celotno razpoloženje vrta ponoči. Postavite jih pravilno in prostor bo topel in vabljiv; jih razumeti narobe in videti je bodisi medlo in mračno ali ostro in klinično.
Kako svetli naj bodo vrtni trakovi?
Svetlost se meri v lumnov na meter, ne le vate. Pri večini del na vrtu potrebujete izhod na ravni poudarka, ne ravni reflektorja. Preveč svetli trakovi izperejo prav tiste poteze, ki jih želite poudariti, in povzročijo bleščanje. Kot splošno vodilo uporabite nižjo moč za ambientalni sij ozadja vzdolž robov in večjo moč, kjer morate zaradi varnosti določiti pot ali osvetliti stopnico. Poti in stopnice imajo iz praktičnih razlogov več svetlobe; cvetlična korita in stene so običajno videti najbolje z mehkejšim, bolj zadržanim sijajem.
Topla bela proti hladni beli
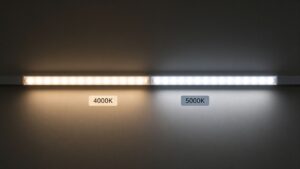
Barvna temperatura se meri v Kelvinih (K). Topla bela je okoli 2700K–3000K, hladna bela pa 5000K in več. Za vrtove, topla bela je skoraj vedno boljša izbira. Deluje naravno in sproščujoče, dopolnjuje rastline in les ter se ujema z odtenkom, ki ga večina ljudi želi v zunanjem bivalnem prostoru. Hladna bela je lahko na prostem videti ostra in rahlo hladna, čeprav ima svoje mesto za varnostno razsvetljavo ali sodoben, minimalističen dizajn. Če niste prepričani, je topla bela okoli 3000 K varna privzeta vrednost za rastline, terase in sedežne površine.
Zakaj je CRI pomemben za rastline in kamen
Poleg barvne temperature je pomembna kakovost svetlobe, ki se nanaša na CRI (indeks barvne reprodukcije). CRI meri, kako natančno svetlobni vir prikazuje prave barve, na lestvici do 100. Dnevna svetloba ima oceno 100. Trakovi z nizkim CRI poskrbijo, da je zelenje videti ravno, kamen pa izpran. Trak z CRI 90 ali več veliko bolj pristno prenese rdeče barve v rožah, zelene v listju in naravne tone v kamnu in lesu. Po naših izkušnjah je CRI specifikacija, ki jo kupci najpogosteje spregledajo. Dva trakova si lahko delita enako moč in barvno temperaturo, a na isti steni izgledata povsem drugače, zgolj zaradi CRI. Za vrtove, kjer osvetljujete rastline in naravne materiale, je izbira CRI 90+ vredna majhnih dodatnih stroškov. Več o tem v našem članku o razmerje med CRI LED trakom in svetlostjo.
Navodila za namestitev po korakih
Namestitev vrtnih LED trakov je enostavna, če sledite pravilnemu vrstnemu redu. Tukaj je dokazan postopek v petih korakih, ki zagotavlja čist in trajen rezultat. Za globlji pogled na montažo kanalov si oglejte naš vodnik na Kako namestiti LED aluminijast profil.
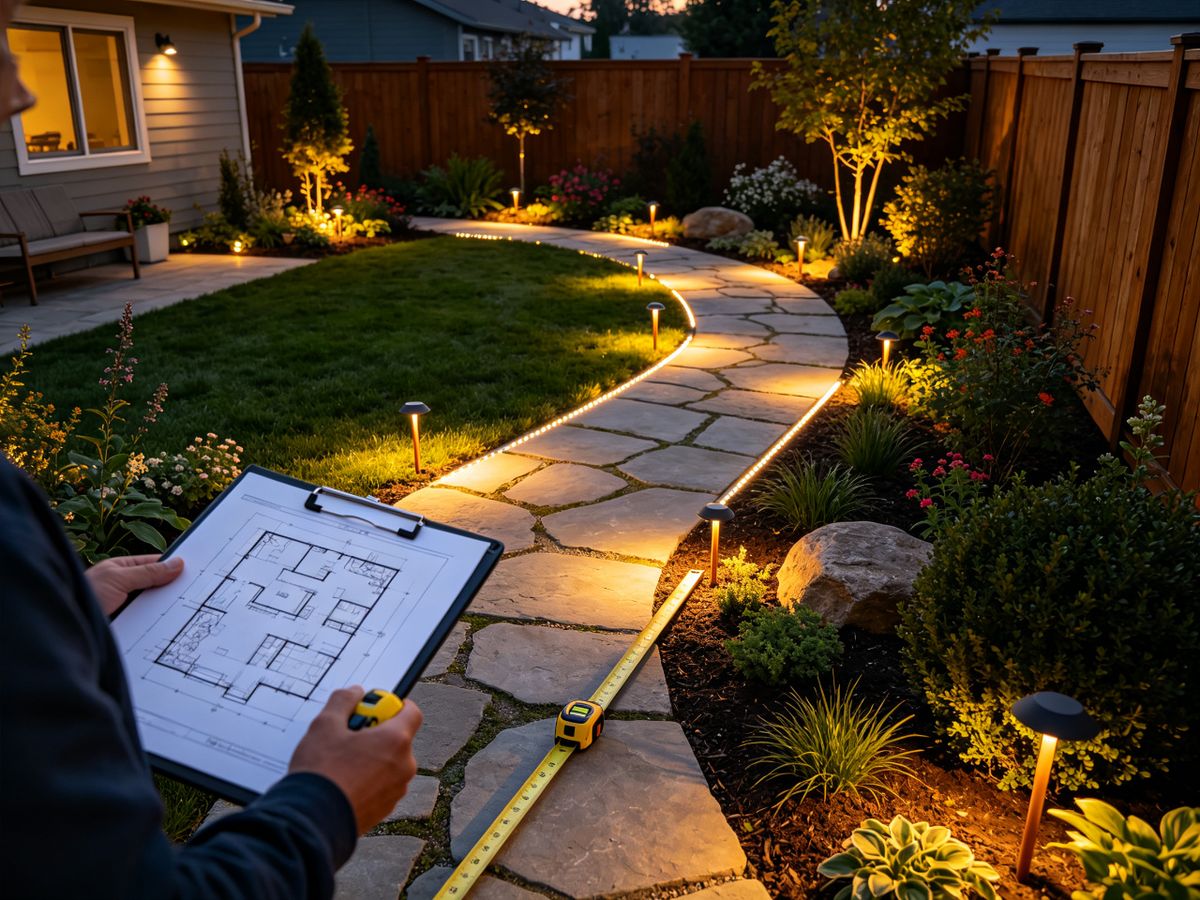
Načrtujte in izmerite
Načrtujte svoje cone, izmerite skupno dolžino traku in izračunajte obremenitev moči (vati/m × dolžina). Odločite se, kje bo živel voznik (suho, prezračevano mesto) in kje bodo speljani kabli. Načrtujte padec napetosti na poteh nad 5 m — napajajte z obeh koncev ali razdelite na odseke.
Montaža v aluminijaste kanale
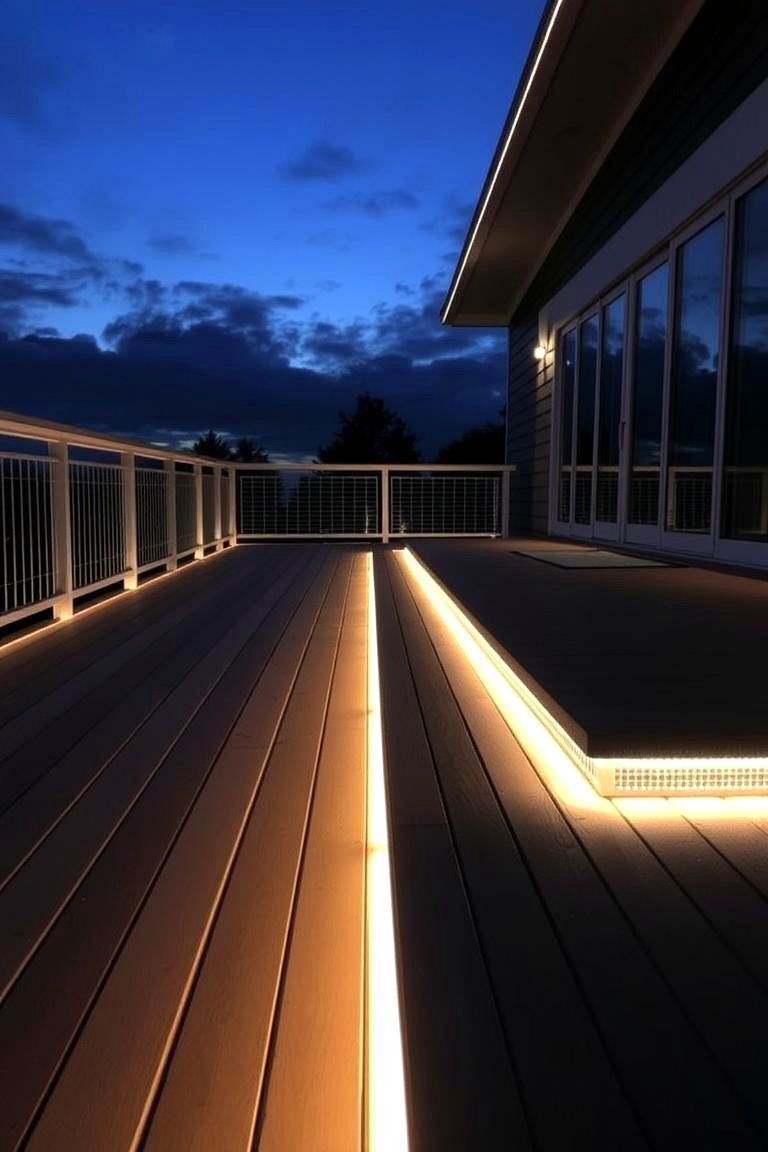
Za vsako vidno ali peš prometno površino namestite trak znotraj aluminijastega kanala z difuzorjem. Kanal ščiti trak, deluje kot hladilnik in daje oster, zaključen rob. Odlepite lepilno podlago in trak trdno pritisnite v kanal. Uporabite končne kapice na obeh koncih.
Povežite gonilnik in krmilnik
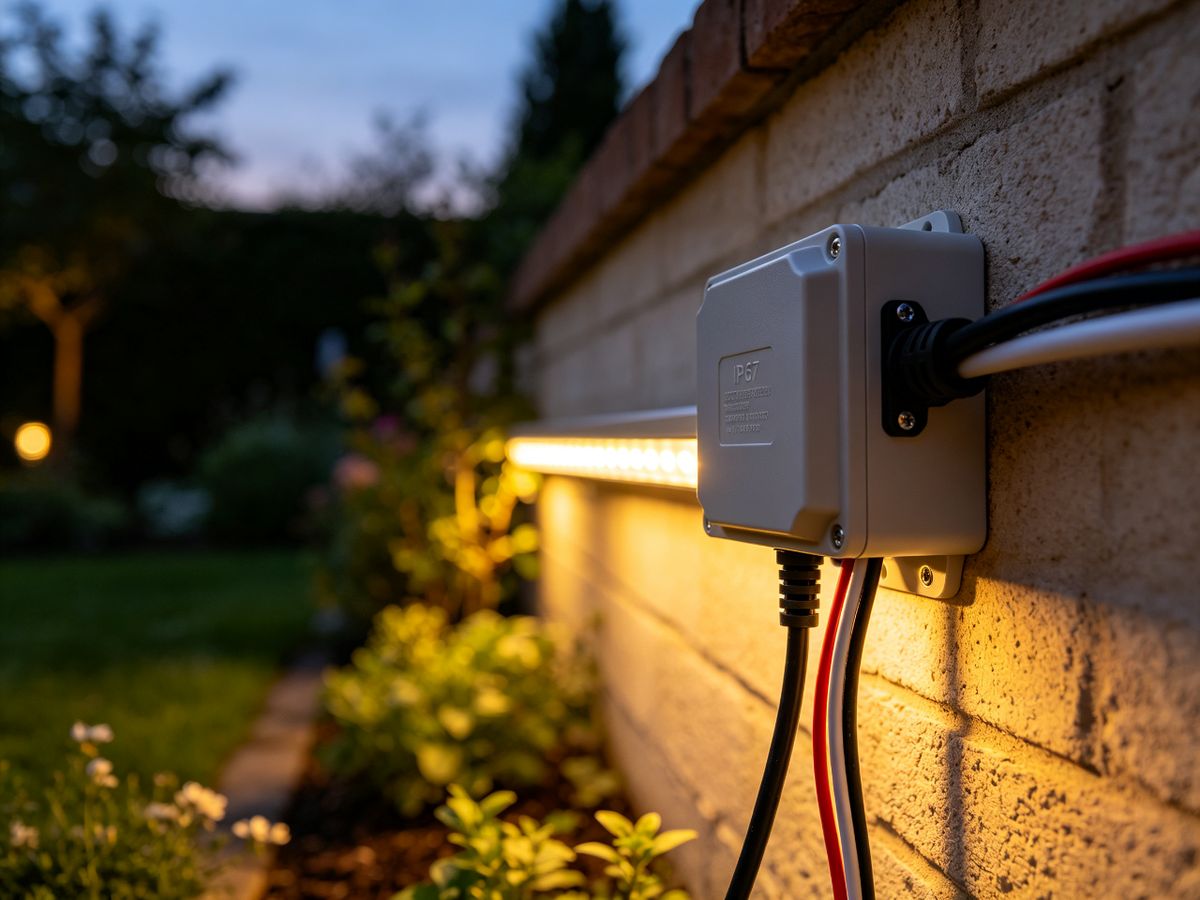
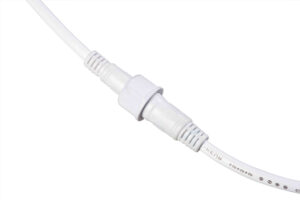
Povežite trak z zvočnikom za uporabo na prostem, pri čemer pustite 20 % prostora za višino zmogljivosti zvočnika. Če uporabljate zatemnilnik ali krmilnik, ga namestite med gonilnik in trak. Vse povezave naj bodo suhe — uporabljajte vodotesne konektorje ali priključne omarice, namenjene uporabi na prostem.
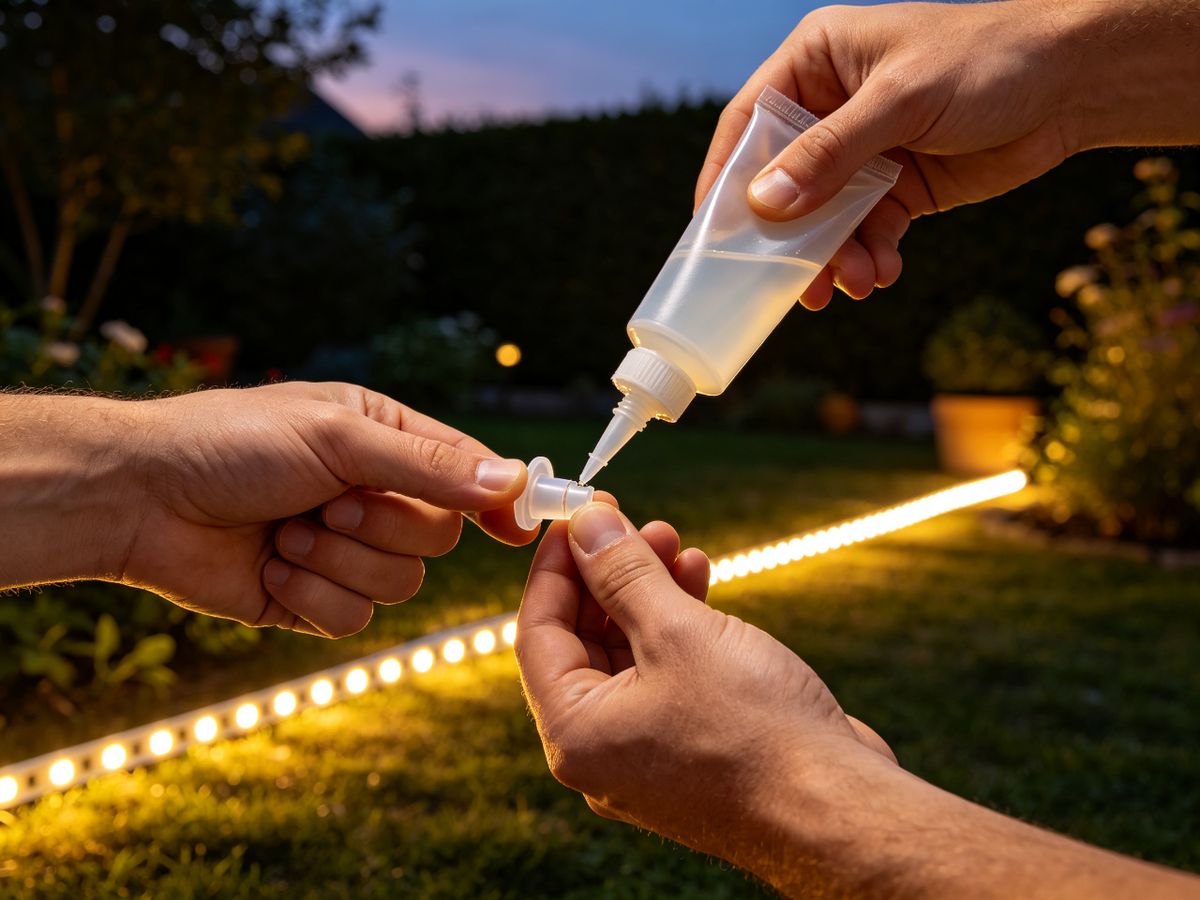
Zatesnite vsak odrezan konec
This is the most important step for outdoor longevity. Every cut end must be resealed with silicone or the supplied end cap to keep water out. Unsealed cut ends are the #1 cause of early outdoor strip failure. Also seal any wire connections and keep connectors out of standing water.
Test & Adjust
Power on and check that the full length is evenly lit (no dim far end = good voltage planning). Check that all zones respond to the dimmer or controller if used. Once confirmed, tidy up cables, secure any loose channel sections, and enjoy your new garden lighting.
Ideje za oblikovanje vrtne razsvetljave
With the technical choices settled, this is where the fun begins. A few simple techniques make a big difference to how professional the final result looks.
Continuous Dotless Lighting
Standard strips can show individual LED dots, especially through a diffuser or up close. COB dotless strips spread the light evenly for a smooth, continuous line. For clean architectural lines, hidden coving, or any place the strip is visible, dotless strips give a far more premium finish.
Hidden & Discreet Placement
Najboljša vrtna razsvetljava skrije izvor in pokaže le učinek. Zataknite trakove pod robove stopnic, vzdolž spodnje strani ograj, za sadilniki ali znotraj aluminijastih kanalov, poglobljenih v stene. Skrita postavitev spremeni trak luči v oblikovan svetlobni učinek.
Zatemnitev in nadzor območja
Vrt se v različnih časih uporablja na različne načine, zato ena fiksna svetlost redko ustreza vsaki priložnosti. Če dodate zatemnilnik, lahko izpustite izhod za miren večer ali ga dvignete, ko se zabavate. Razdelitev vrta na cone – terasa, pot, posebne zasaditve – vam omogoča, da natančno nastavite razpoloženje in osvetlite samo območja, ki jih dejansko uporabljate.
Vzdrževanje in dolgoživost
Dobre vrtne tračne luči bi morale trajati leta z zelo malo pozornosti. Malo rutinske nege veliko pripomore k zaščiti vaše naložbe in ohranjanju dosledne svetlobne moči.
Preprosto sezonsko vzdrževanje
Večina vzdrževanja je hitra in sezonska. Obrišite trakove in morebitne difuzorje, da očistite prah, cvetni prah in umazanijo, ki sčasoma zameglijo svetlobo. Preverite, ali so konektorji in odrezani konci še vedno zatesnjeni, in odstranite listje ali zemljo, ki zadržuje vlago na traku. Enkrat ali dvakrat letno preglejte gonilnik in se prepričajte, da je njegovo ohišje suho in da je prezračevanje prosto. Če zgodnje odkrijete ohlapno povezavo ali počeno tesnilo, preprečite, da bi majhna težava kasneje postala neuspešen del.
Zaščitni trakovi pred vremenskimi vplivi, UV žarki in škodljivci
Zunanji trakovi se soočajo s tremi dolgoročnimi sovražniki: voda, UV in škodljivci. Voda se upravlja s pravo oceno IP in zaprtimi povezavami, kot je opisano prej. UV je počasen - z leti lahko sončna svetloba porumeni slabo kakovostne silikonske premaze in difuzorje, spremeni barvo in zmanjša učinek. Izbira UV-odpornih trakov in kanalov je pomembna za vse trakove, ki so izpostavljeni neposrednemu soncu. Škodljivci so spregledani - glodavci in žuželke lahko prežvečijo izpostavljene kable. Vodenje žic znotraj aluminijastih kanalov ali cevi jih ščiti in hkrati ohranja čistost napeljave.
Priporočeni izdelki za LED trakove za vrtove
Tovarniško neposredno izdelani trakovi podjetja Lightstec, narejeni za resnične zunanje pogoje. Kliknite kateri koli izdelek, da si ogledate celotne specifikacije in zahtevate ponudbo:
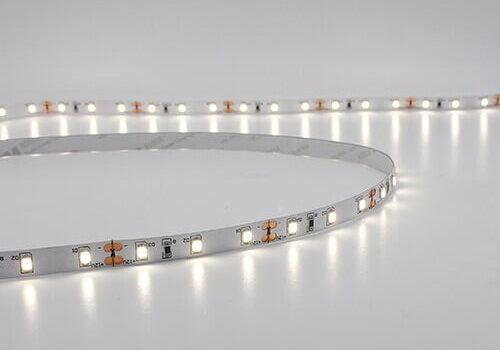
SMD2835 60 LED/m — 12V
Cenovno ugoden toplo bel trak, idealen za zaščitene poudarke na vrtu in osvetlitev pergole. Na voljo so možnosti IP65/IP67.
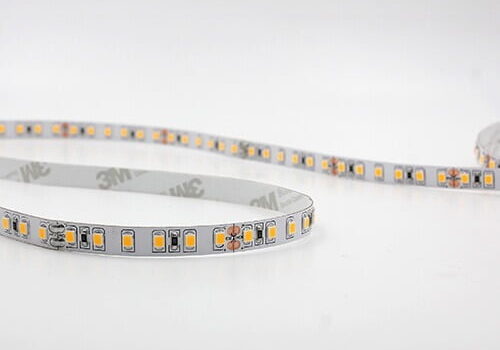
SMD2835 120 LED/m — 24V
Večja svetlost za poti in stopnice, kjer je pomembna varnost. 24 V za daljše vožnje z manjšim padcem napetosti.

SMD2835 Dvobarvni CCT
Nastavljiva topla do hladna bela — preklapljajte med prijetnim večernim sijajem in svetlejšo delovno osvetlitvijo z enim trakom.

SMD5050 30 LED/m — 12V
Začetni RGB trak za majhne vrtove in sezonske barvne zaslone. Odlično za zabave na terasi in praznično osvetlitev.

SMD5050 60 LED/m — 24V
Svetel RGB trak za večje terase in pergole. Celoten obseg spreminjanja barv z zanesljivo zmogljivostjo 24 V.

SMD5050 120 LED/m — 24V
RGB visoke gostote za vrhunske barvne učinke in velike zunanje prostore. Gladko mešanje barv za profesionalne rezultate.
Pogosto zastavljena vprašanja
Ali lahko vrtne trakove razrežem na poljubno dolžino?
Režete lahko večino trakov, vendar samo na označenih točkah reza, običajno vsakih 50 mm ali 100 mm. Rezanje drugje lahko onemogoči cel segment. Za zunanjo uporabo je treba vsak odrezan konec ponovno zatesniti s končnim pokrovčkom ali lepilom, da preprečite vstop vode – to je najpomembnejši korak za dolgo življenjsko dobo na prostem.
Ali se vrtne luči dovolj segrejejo, da predstavljajo nevarnost požara?
Quality low-voltage LED strips run cool compared to older lighting, so the fire risk is very low. Heat becomes an issue only when strips are coiled up, run undersized, or paired with an overloaded driver. Mounting them on an aluminum channel dissipates heat and helps them run cooler and last longer.
Will garden strip lights attract insects?
LEDs attract far fewer insects than traditional bulbs because they emit little to no UV. Warm white strips attract even fewer bugs than cool white, which is another reason warm white suits outdoor seating and dining areas.
How much does it cost to run garden strip lights?
Tekoči stroški so nizki. LED-trakovi porabijo le nekaj vatov na meter, tako da celo postavitev velikega vrta stane zelo malo, če jo lahko uporabljate vsak večer. Če dodate regulator zatemnitve ali območni nadzor in časovnik, to dodatno znižate, tako da osvetlite samo območja, ki so v uporabi.
Ali lahko za svoj projekt dobim vrtne LED trakove po meri?
ja Za večje ali nestandardne projekte je razsvetljava po meri pogosto boljša pot kot prilagajanje trakov, ki so že na policah. Možnosti po meri običajno vključujejo razrez na dolžino, specifične barvne temperature in ravni CRI, prilagojene ocene IP za vsako cono, aluminijaste profile kanalov po meri in vnaprej nameščene priključke, ki ustrezajo vaši natančni postavitvi.
Kakšna je razlika med IP65, IP67 in IP68 za uporabo na vrtu?
IP65 je odporen proti dežju in vodnim curkom – primeren za pokrite površine, kot so pergole in napušči. IP67 vzdržuje kratko potopitev — primerno za odprte poti in gredice, izpostavljene močnemu dežju. IP68 je za stalno potapljanje – edina ocena za ribnike, fontane in bazene. Če ste v dvomih, pojdite eno stopnjo višje.
Zaključek
Izbira vrtnih trakov je odvisna od nekaj jasnih odločitev: prava ocena IP za vsako cono, varen nizkonapetostni sistem z dovolj moči in višine, topla bela svetloba s CRI 90+ za naravni videz zasaditev in kamnov ter pametna, skrita postavitev za čist zaključek. Pravilno določite te osnove in ostalo je enostavno. Zatesnite svoje odrezane konce, načrtujte padec napetosti na dolgih vožnjah in trakom privoščite malo sezonske nege. Naredite to in vaša vrtna razsvetljava bo izgledala odlično in delovala več let.
Pri Lightstecu izdelujemo vrtne trakove za resnične zunanje pogoje. Naša ponudba vključuje ustrezno ocenjene možnosti IP65, IP67 in IP68, premaze, odporne na UV žarke za dolgotrajno izpostavljenost soncu, toplo belo z visokim CRI za pristne barve in trakove COB brez pik za vrhunsko neprekinjeno končno obdelavo. Pomagamo tudi pri podrobnostih, ki so pomembne, od pravilne velikosti gonilnika do načrtovanja padca napetosti pri dolgih vožnjah.
Načrtujete projekt vrtne razsvetljave?
Pošljite nam svojo postavitev vrta in zahteve in naša tehnična ekipa bo priporočila prave ocene IP, napetost, svetlost in možnosti kanala za vsako cono.
Izvedite več strokovnih tečajev, ki vam jih pove manj ljudi, preden se zmotite.
Vrtna razsvetljava je naš stalnica in ta članek o pravilni oceni IP in pritrditvi za vrtne poti je na mestu. Dobra sezonska referenca.
Odličen vodnik za kupce vrtnih trakov. Za vrtno razsvetljavo smo uporabili izdelke Lightstec in izkušnja je bila odlična. Strokovno in zanesljivo. Zagotovo bomo še sodelovali z njimi.