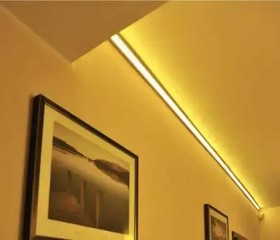
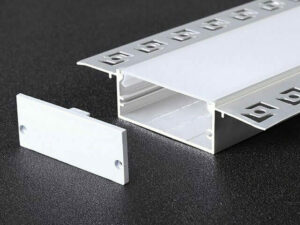
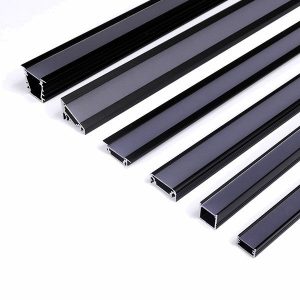
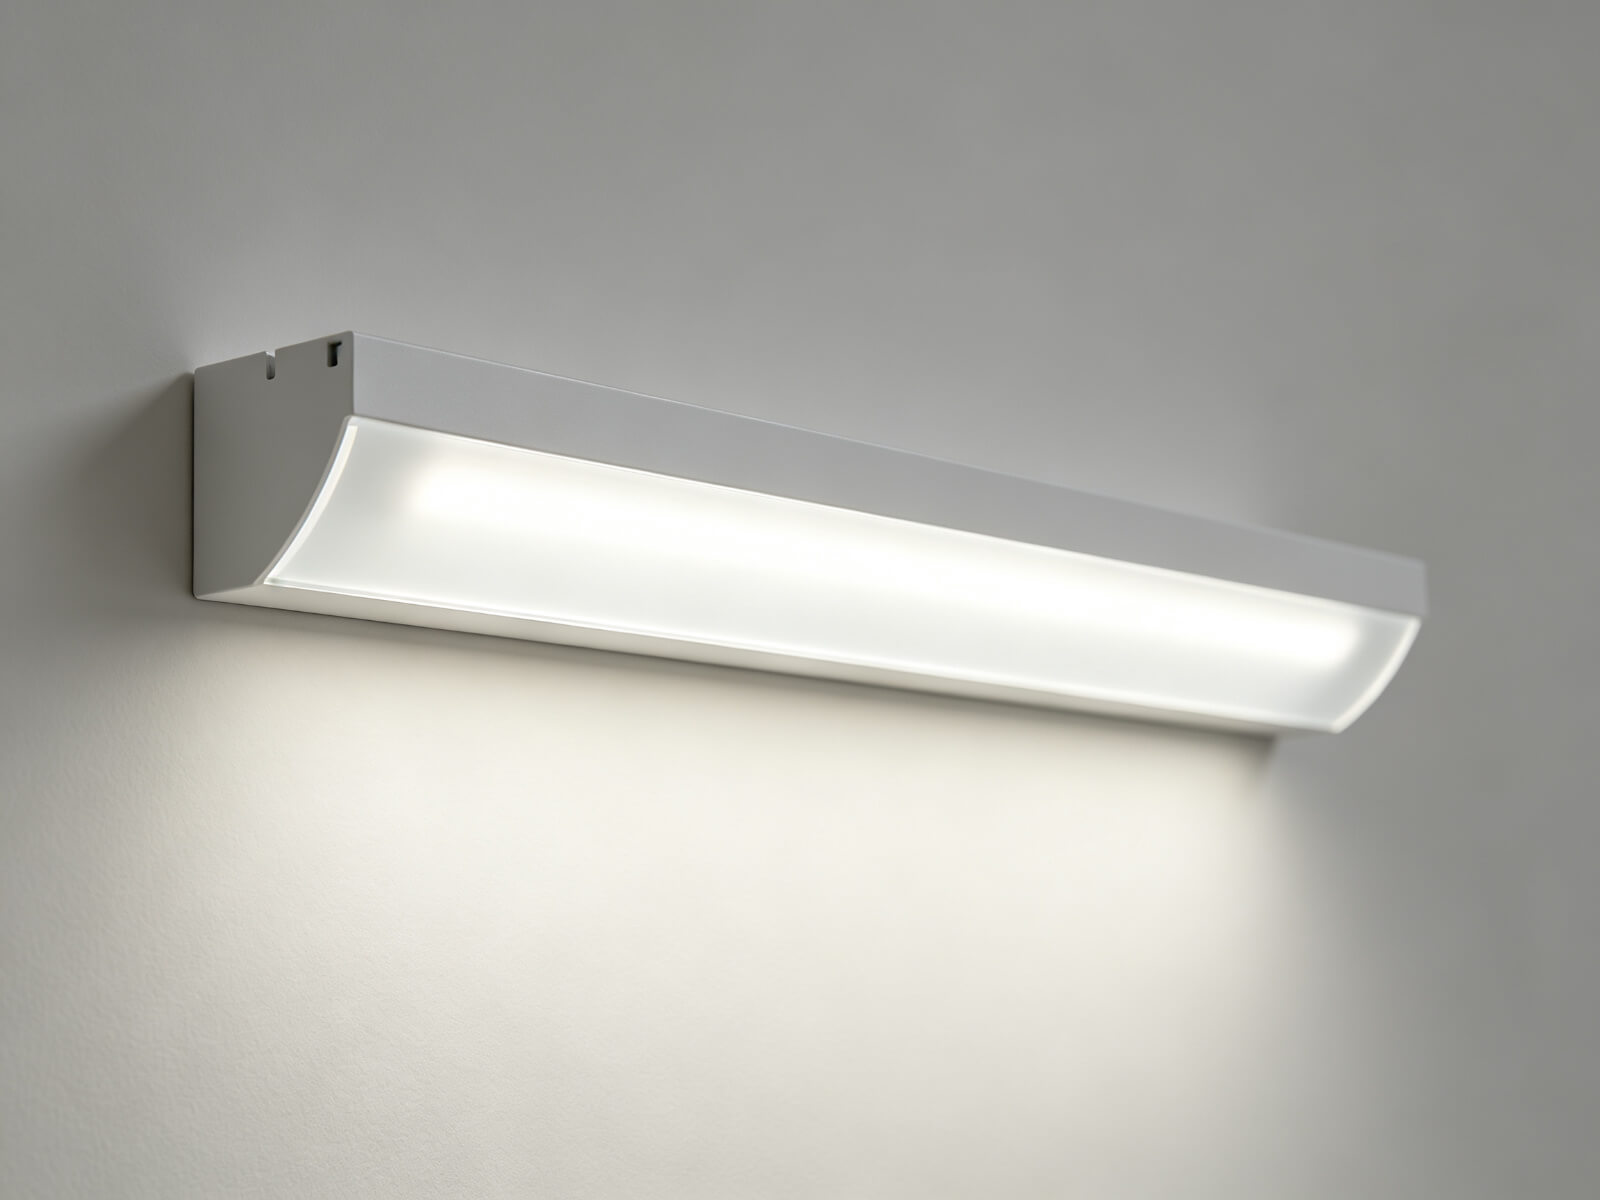
Surface mounted LED channels are the fastest way to turn a bare LED strip into a clean, professional light line — no cutting into cabinets, walls or ceilings. The aluminum profile is simply fixed onto the surface, then the strip and diffuser snap in. This makes surface mount profiles the default choice for under-cabinet kitchen lighting, shelf accent lighting, wardrobe interiors, display cases and retrofit projects where recessing is impractical.
Choosing the right profile, however, is not just about picking a size. Internal width, profile height, diffuser type, mounting method and thermal performance all affect the final result — a wrong diffuser can leave visible LED dots, and an undersized channel can overheat a high-wattage strip.
This guide walks through every selection factor in plain English, then gives a step-by-step installation guide and a shortlist of recommended perfiles de aluminio LED from our factory.
Guía de artículos
- What Is a Surface Mounted LED Channel?
- Why Choose a Surface Mounted LED Channel?
- 1. Start With the Installation Location
- 2. Match the Channel to Your LED Strip
- 3. Choose the Height and Diffuser for a Dot-Free Line
- 4. Plan for Heat Dissipation
- 5. Pick the Right Mounting Method
- Surface Mounted vs. Recessed: Which One?
- Quick Selection Checklist
- Step-by-Step Installation
- Recommended Surface Mounted LED Channels
- Preguntas frecuentes
What Is a Surface Mounted LED Channel?
A surface mounted LED channel is an aluminum extrusion that holds an LED strip and a snap-in diffuser while being fixed directly onto a wall, ceiling, cabinet or other flat surface. Unlike a recessed profile, it does not need a groove or opening in the substrate — the whole assembly sits proud of the surface by a few millimetres.
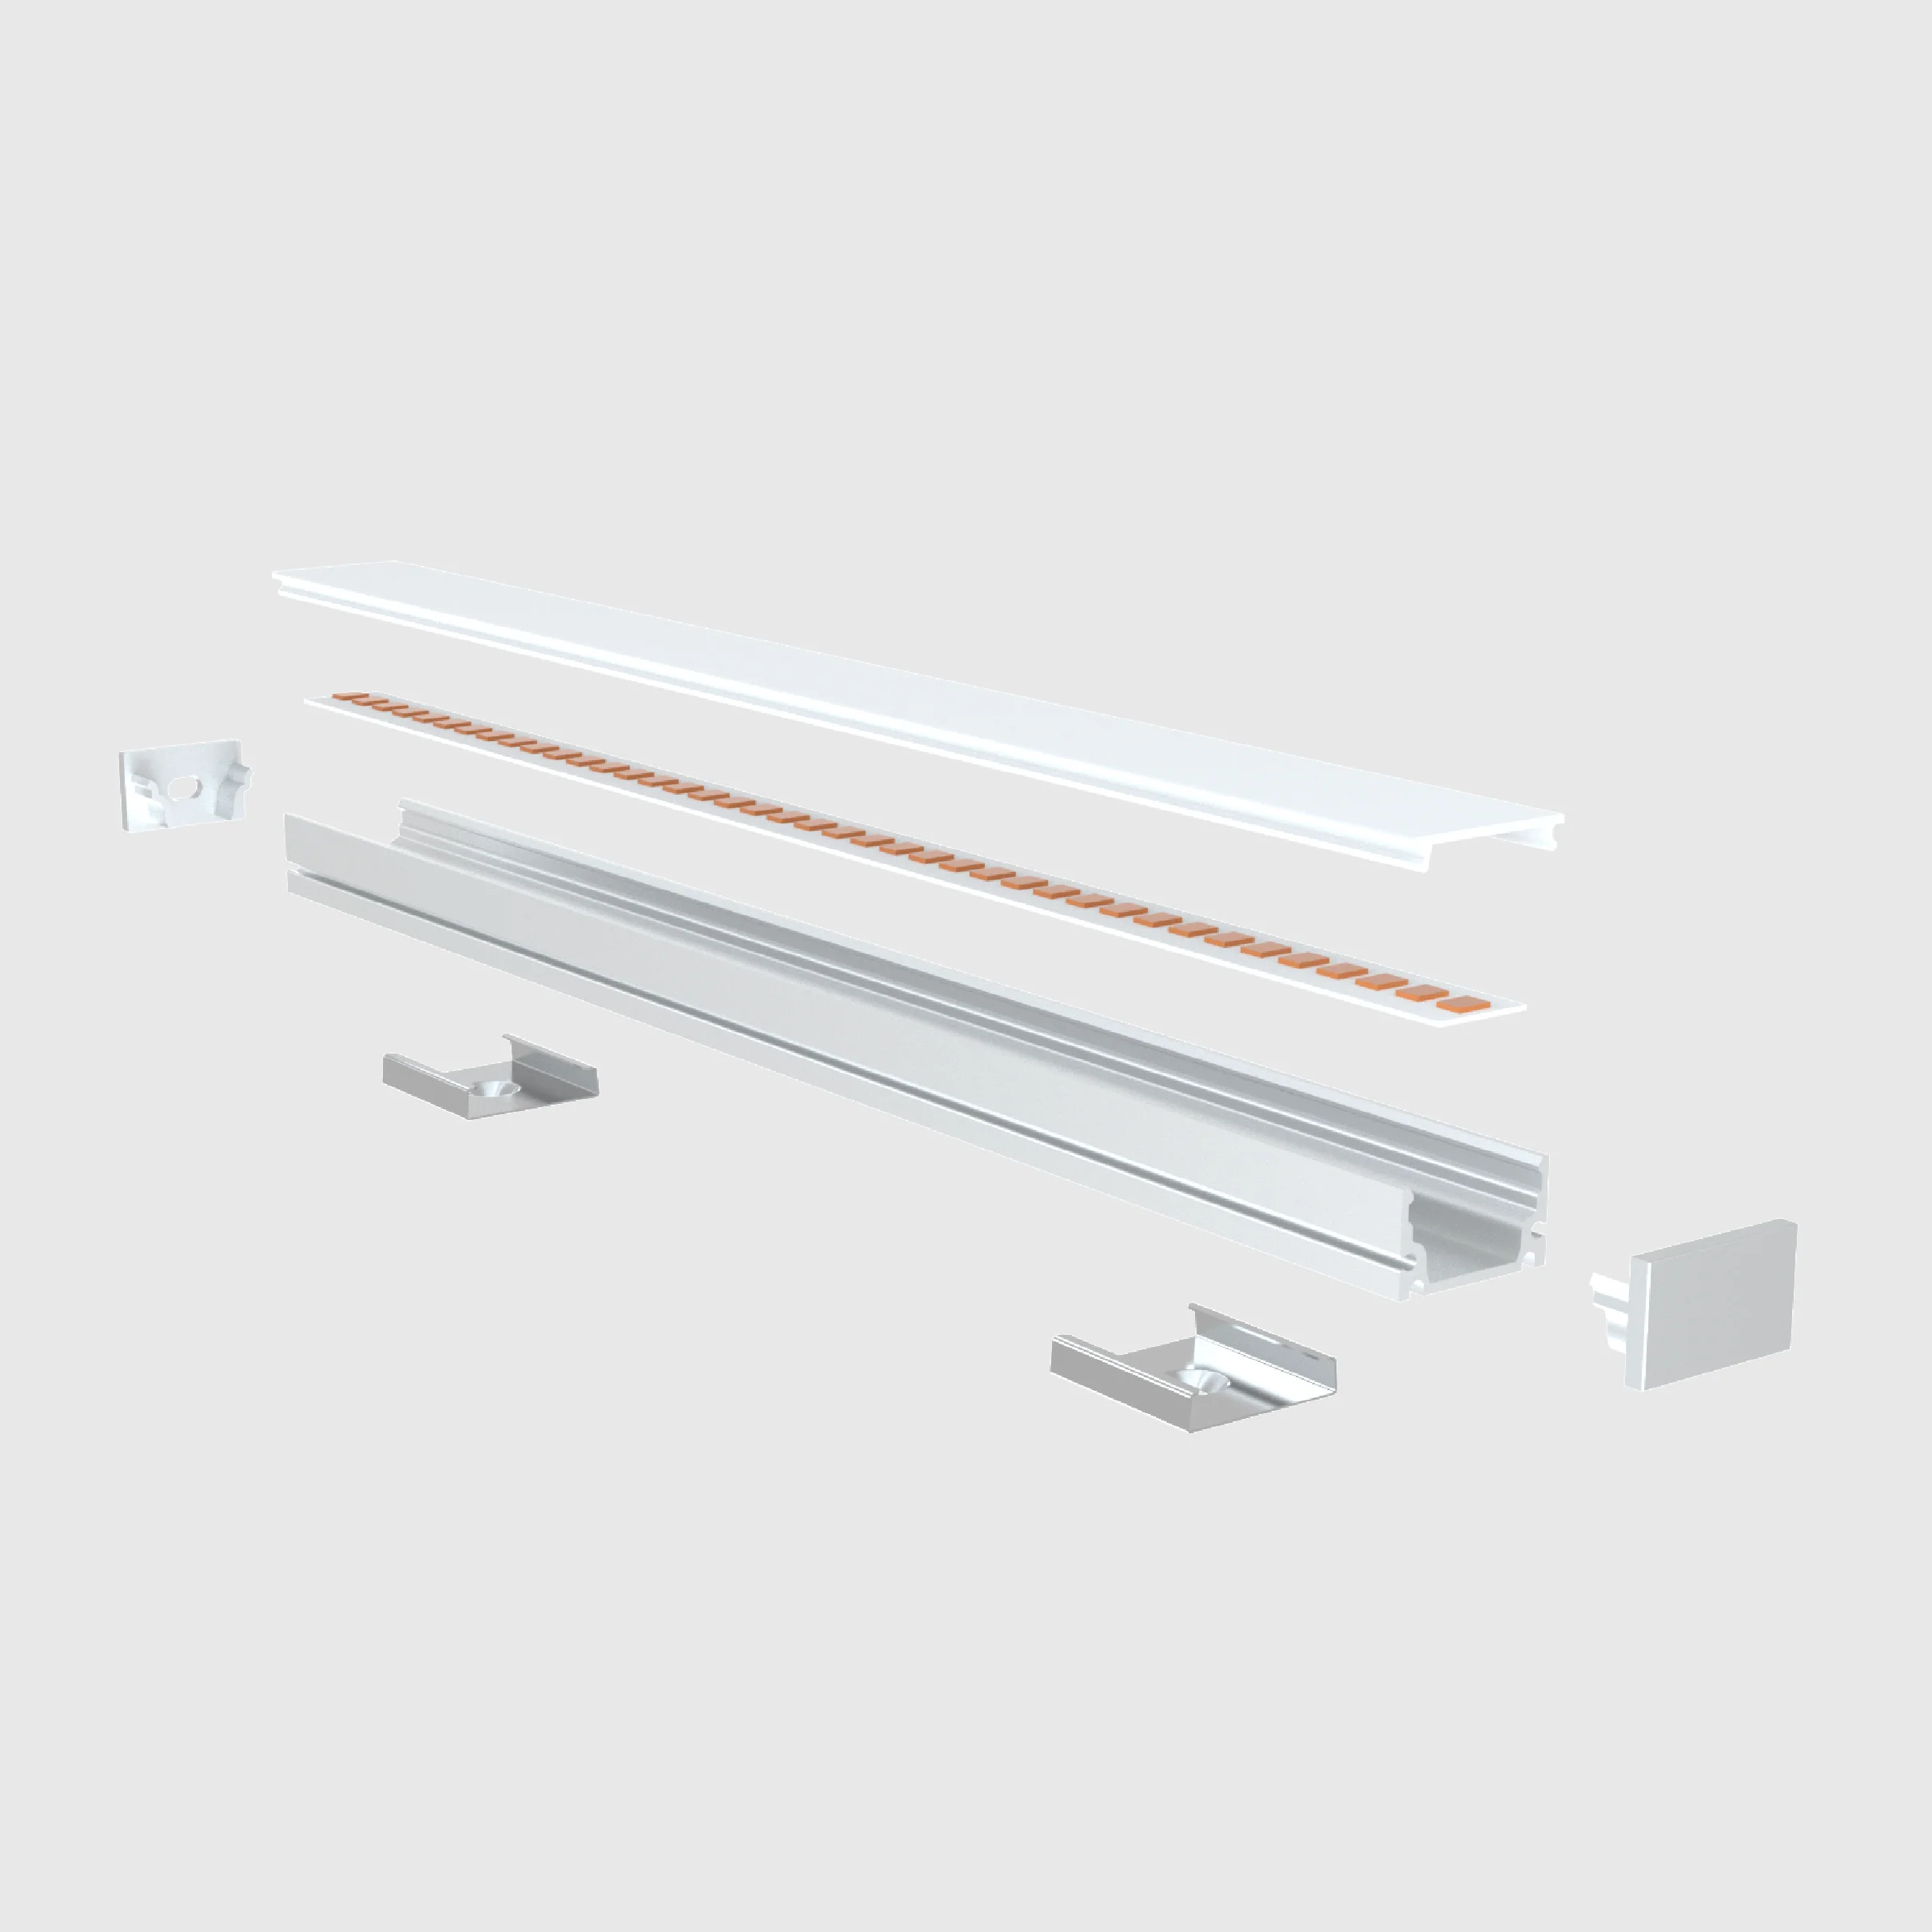
A typical surface mount system has five parts:
- Aluminum profile — the body that carries the strip and conducts heat away
- tira de LED — the light source, selected first
- Diffuser — the cover that softens and spreads the light
- End caps and mounting clips — finishing and fixing accessories
- Wiring and connectors — power entry and strip-to-strip joins
Because the profile is mounted on the surface, installation is usually faster and easier than recessed or plaster-in profiles — a clear benefit for retrofit and DIY projects.
Why Choose a Surface Mounted LED Channel?
Surface mount profiles solve the three most common problems with bare LED strips: visible dots, no protection, and messy wiring. Here is what you gain:
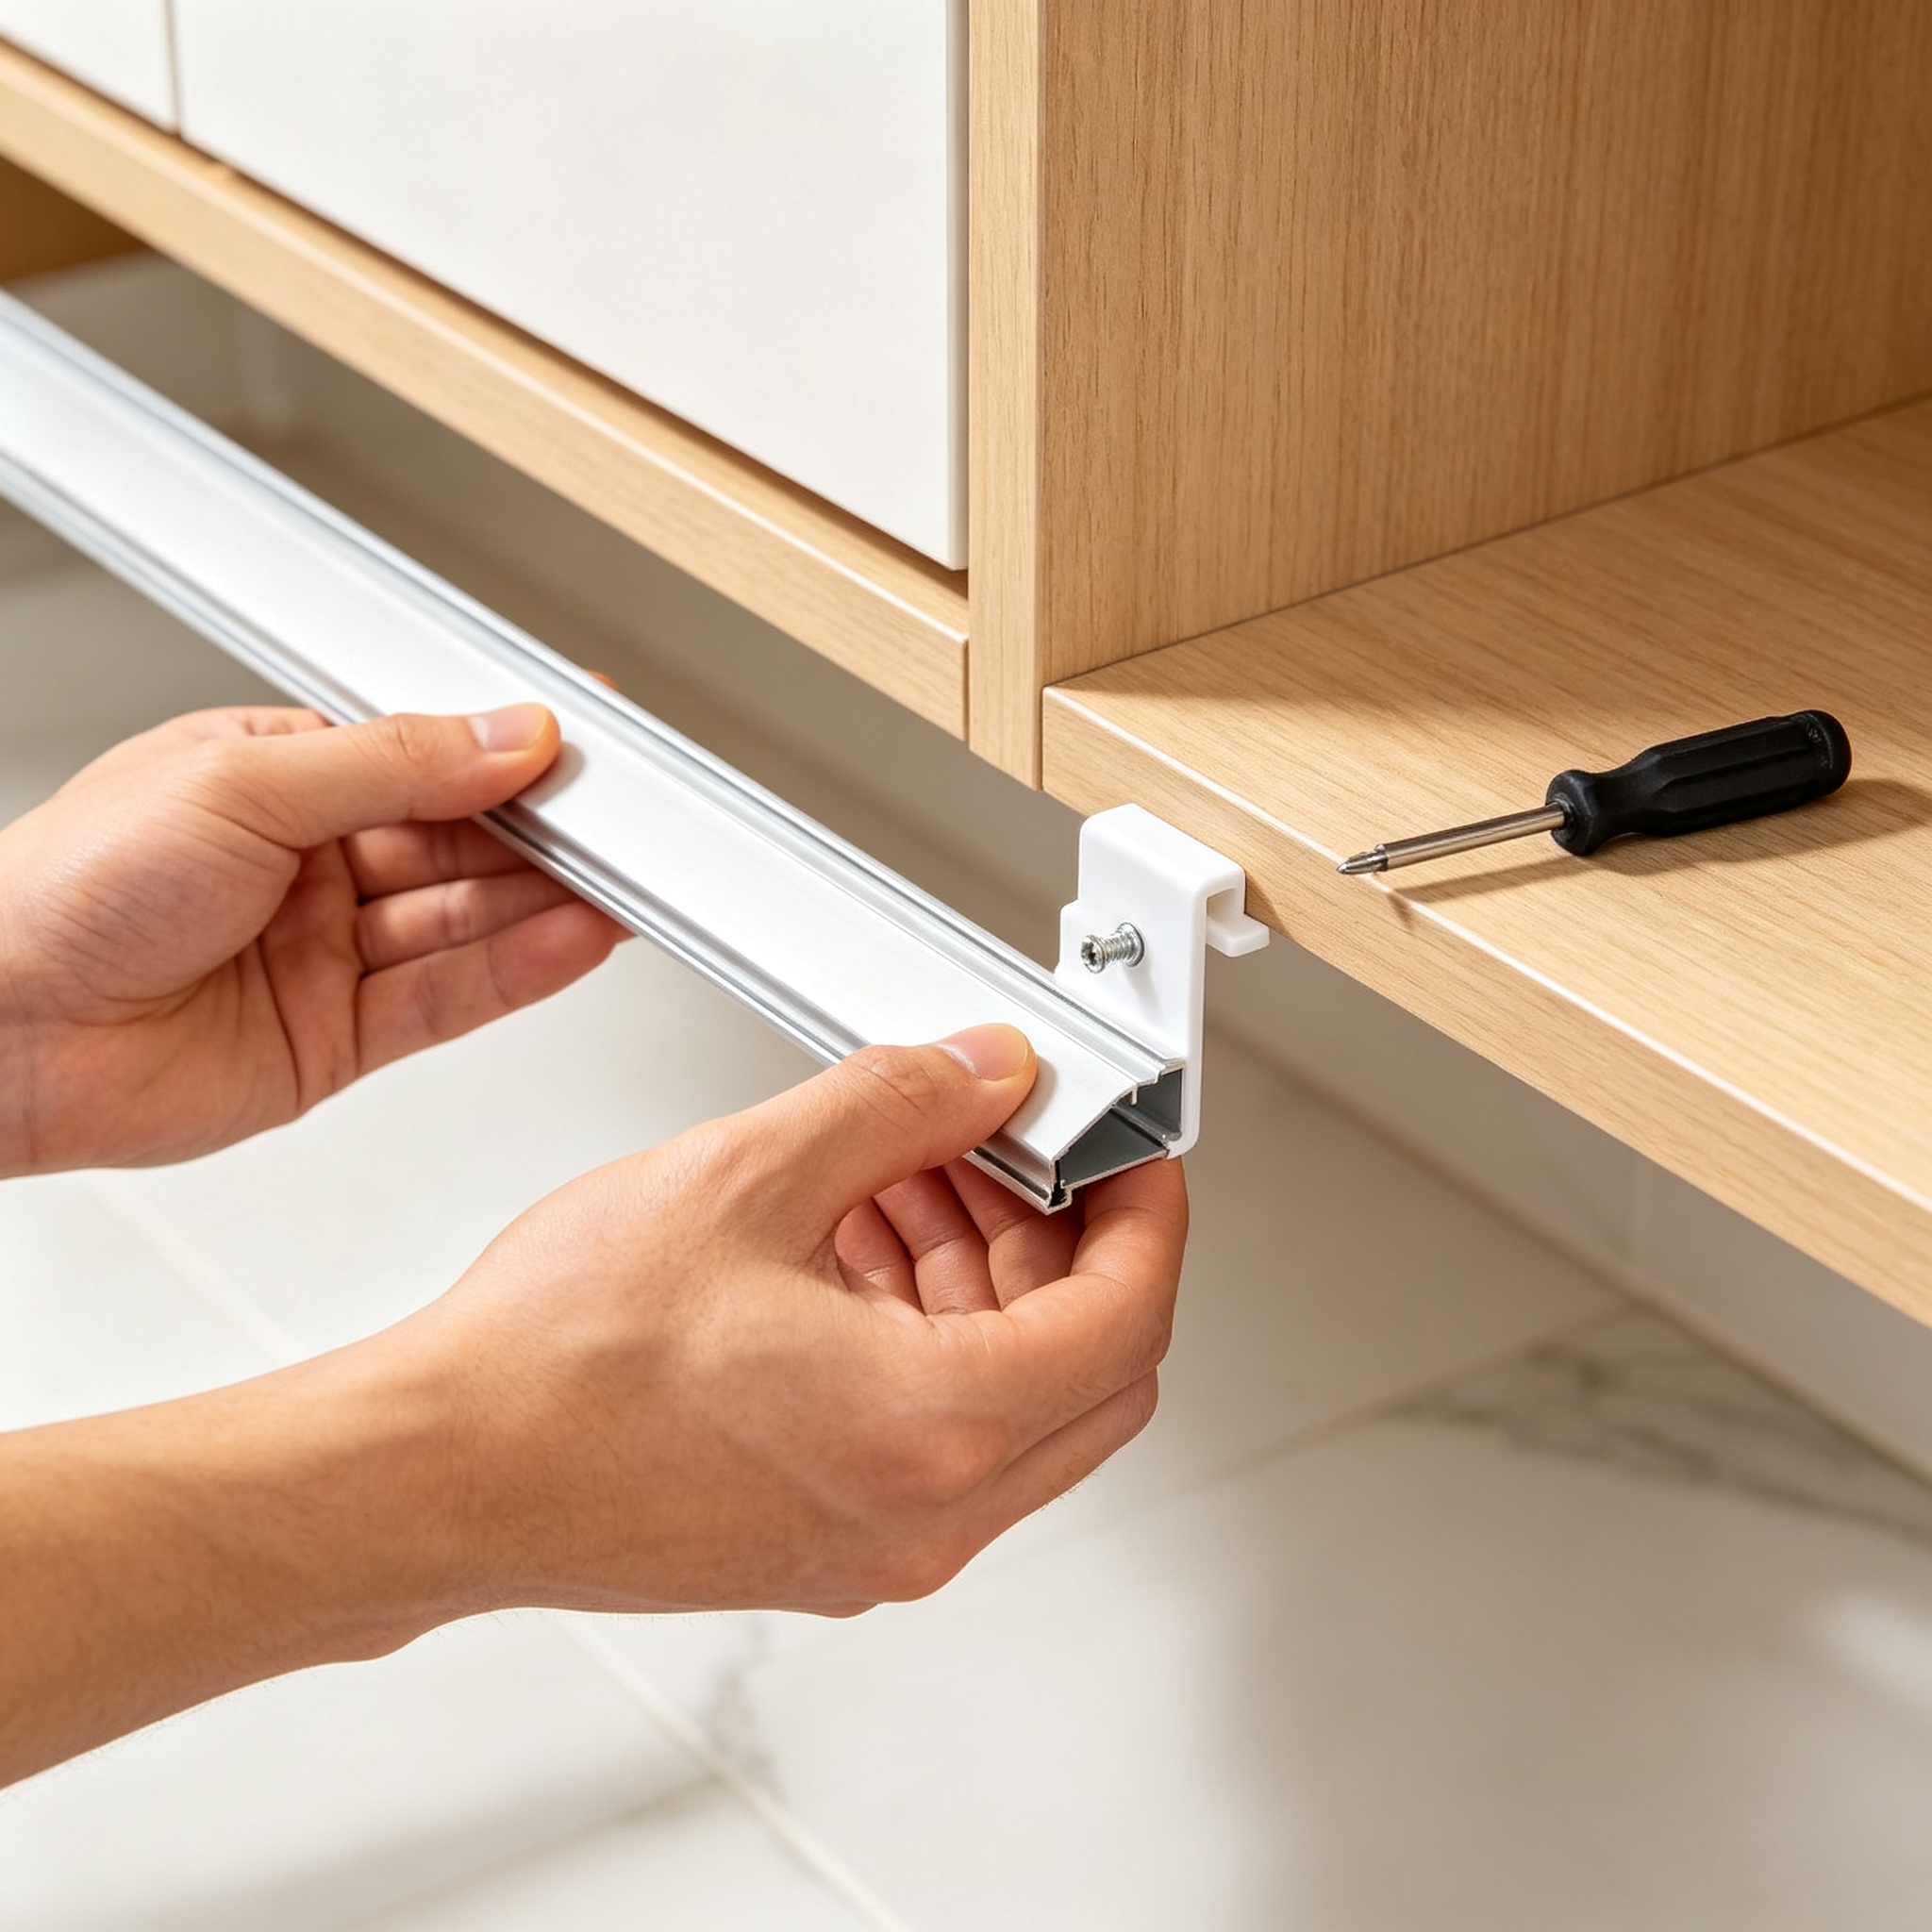
Easy Installation
Fix with clips, screws or 3M tape in minutes. No cutting, no plastering, no special tools — a weekend DIY job.
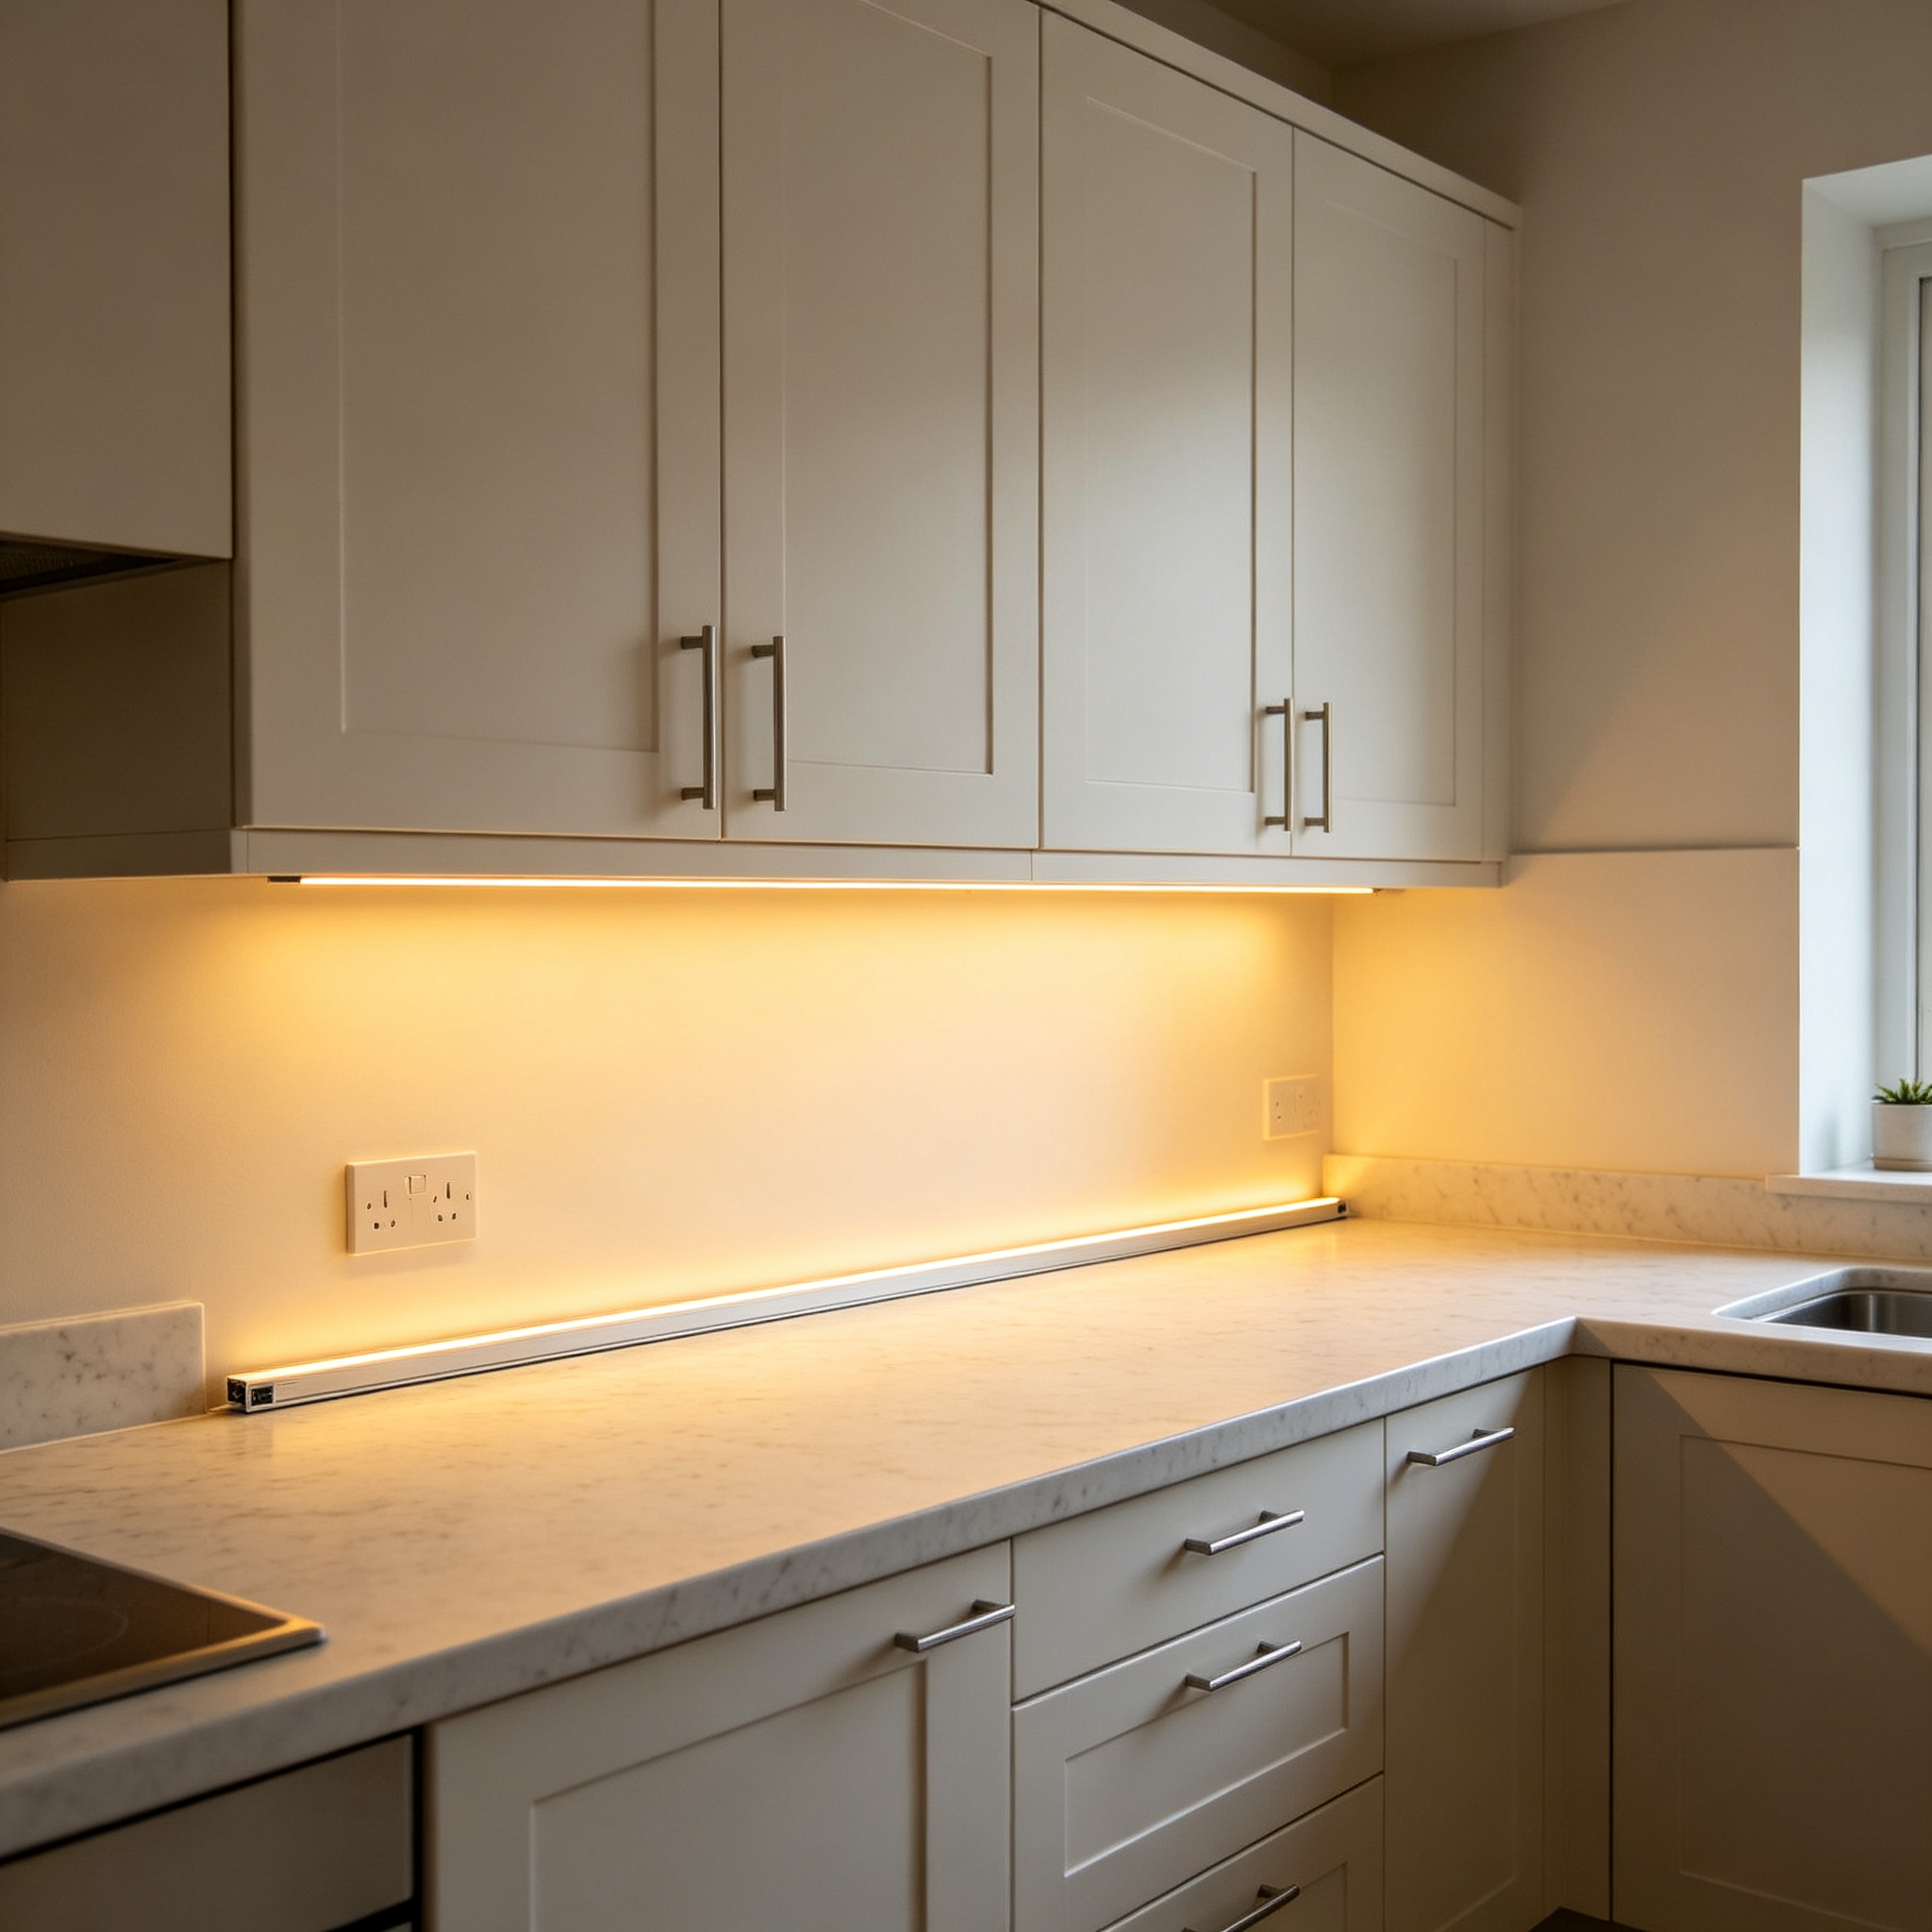
Perfect for Retrofit
Already-finished cabinets, walls and furniture can be upgraded without damaging the surface. Ideal when recessing is inconvenient.
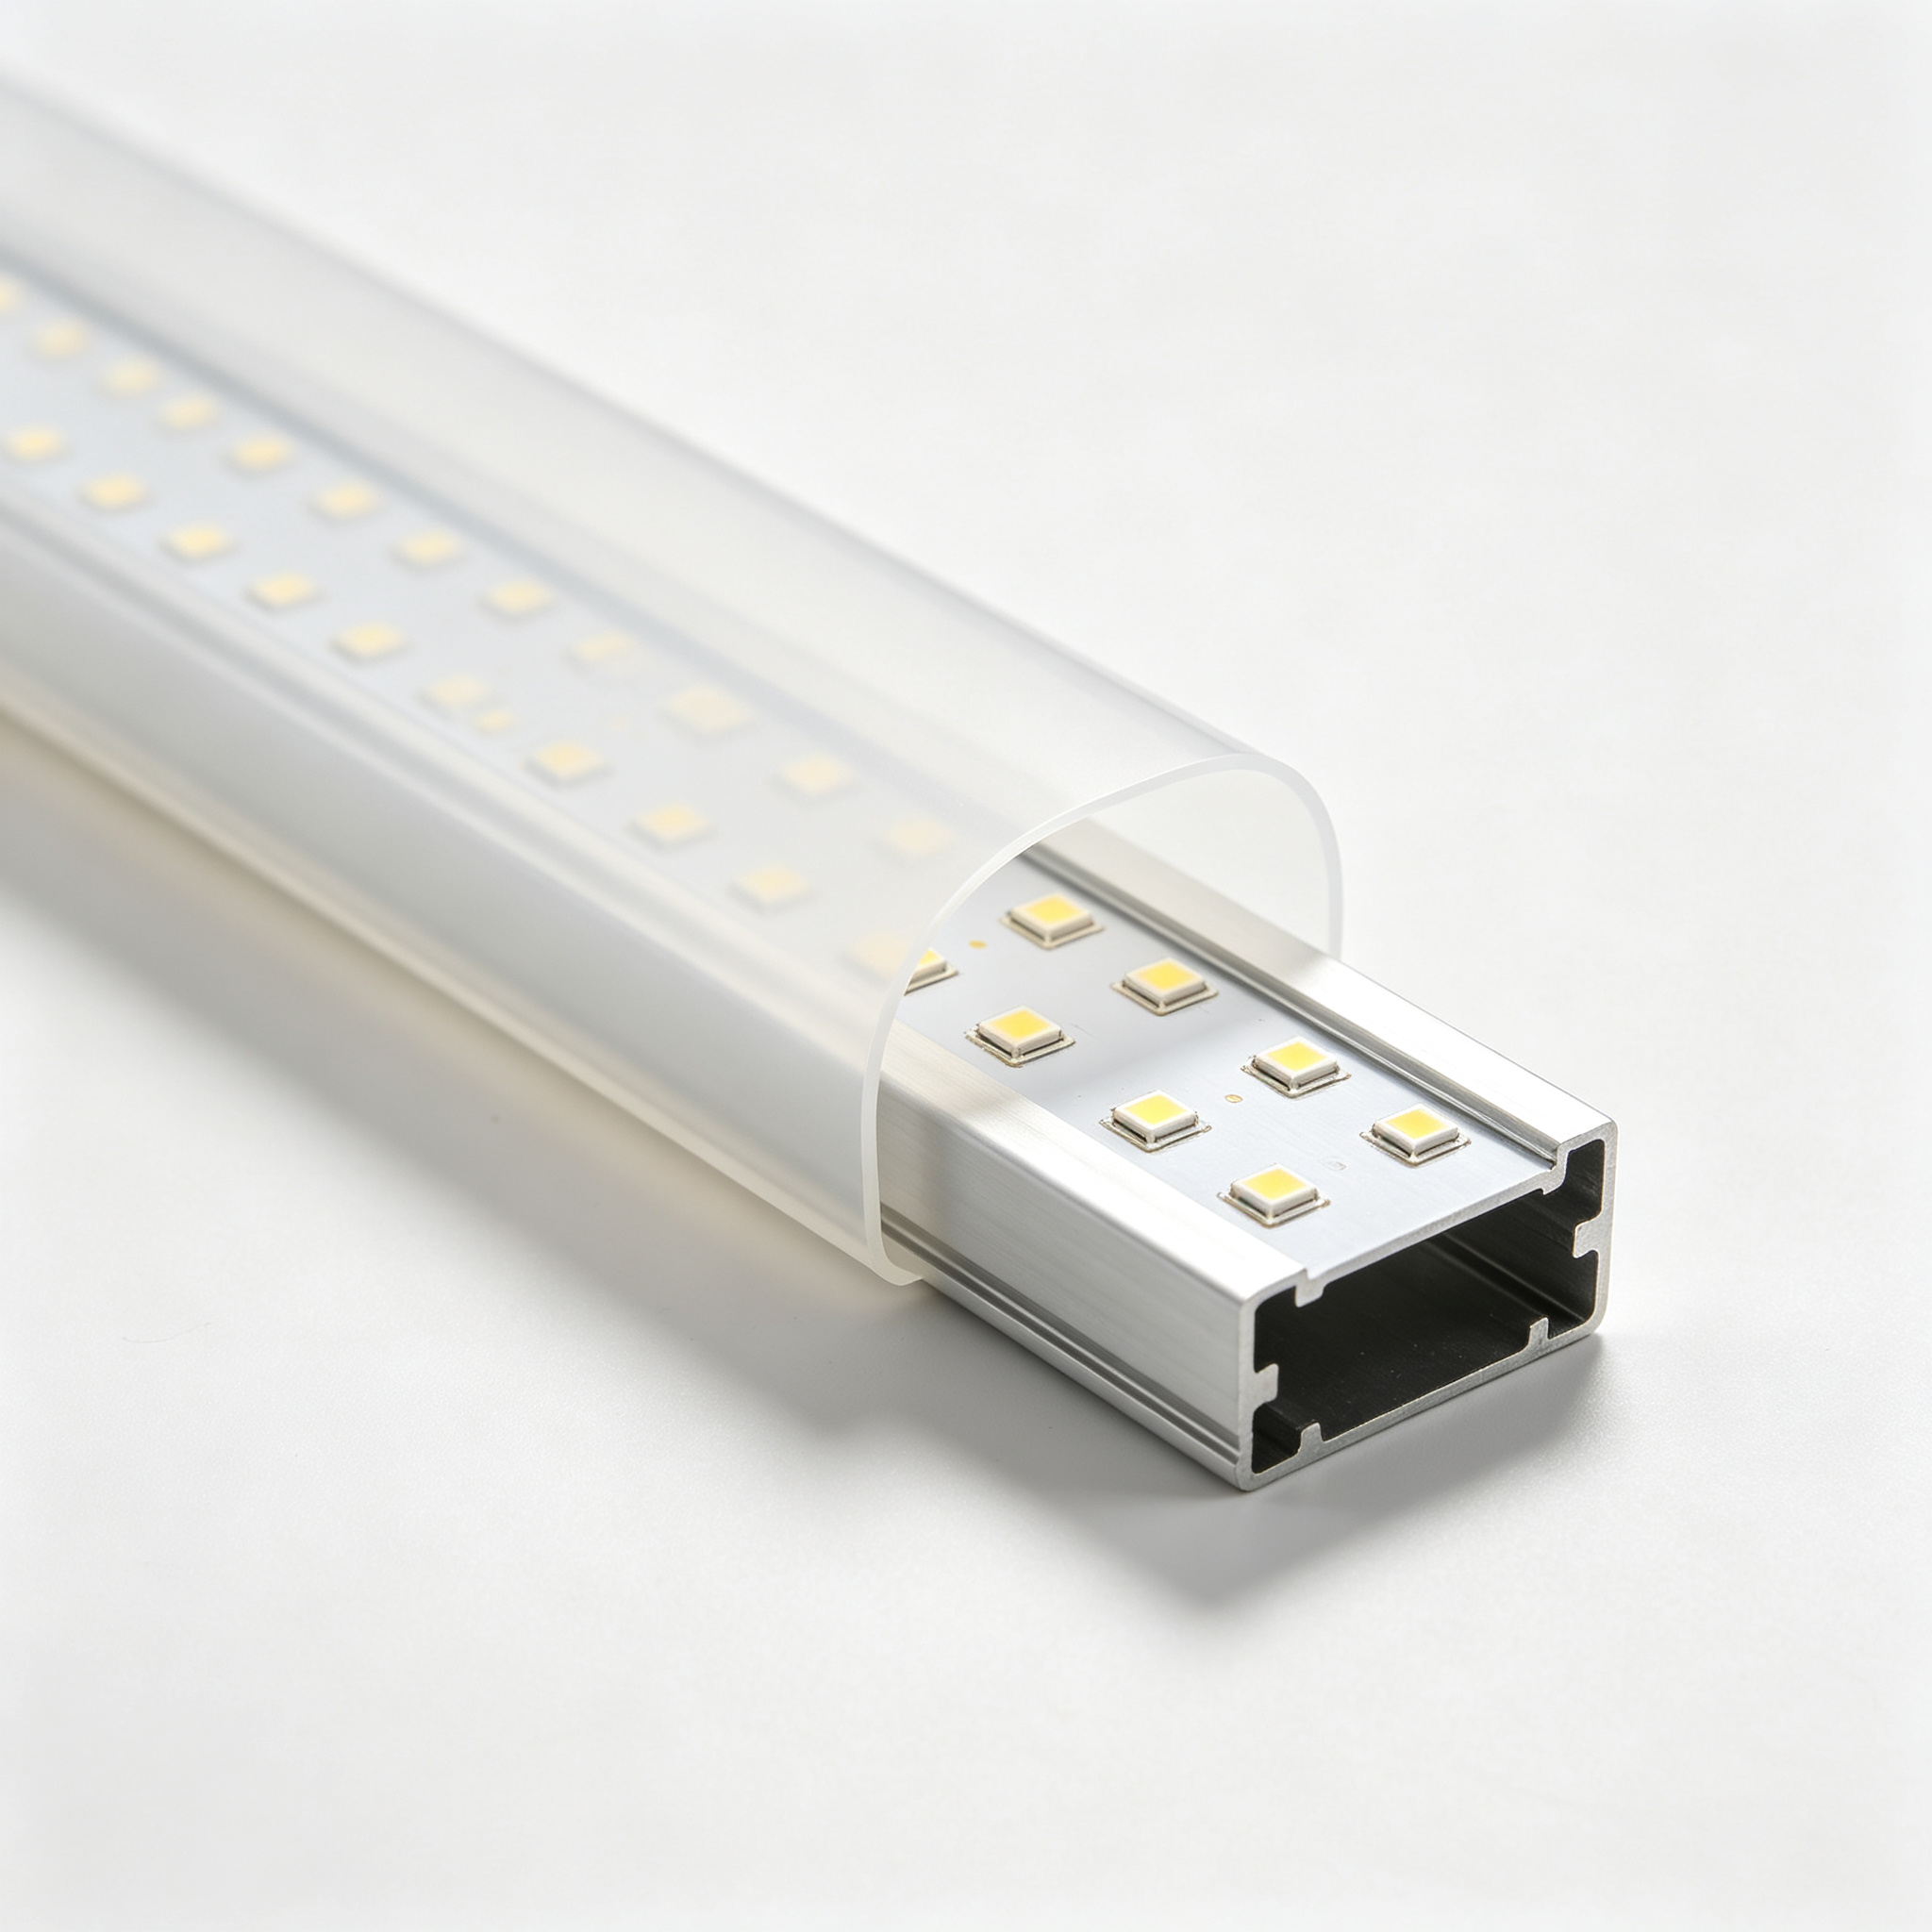
Protects the Strip
The aluminum body and diffuser shield the strip from dust, accidental contact and everyday wear, extending its life.
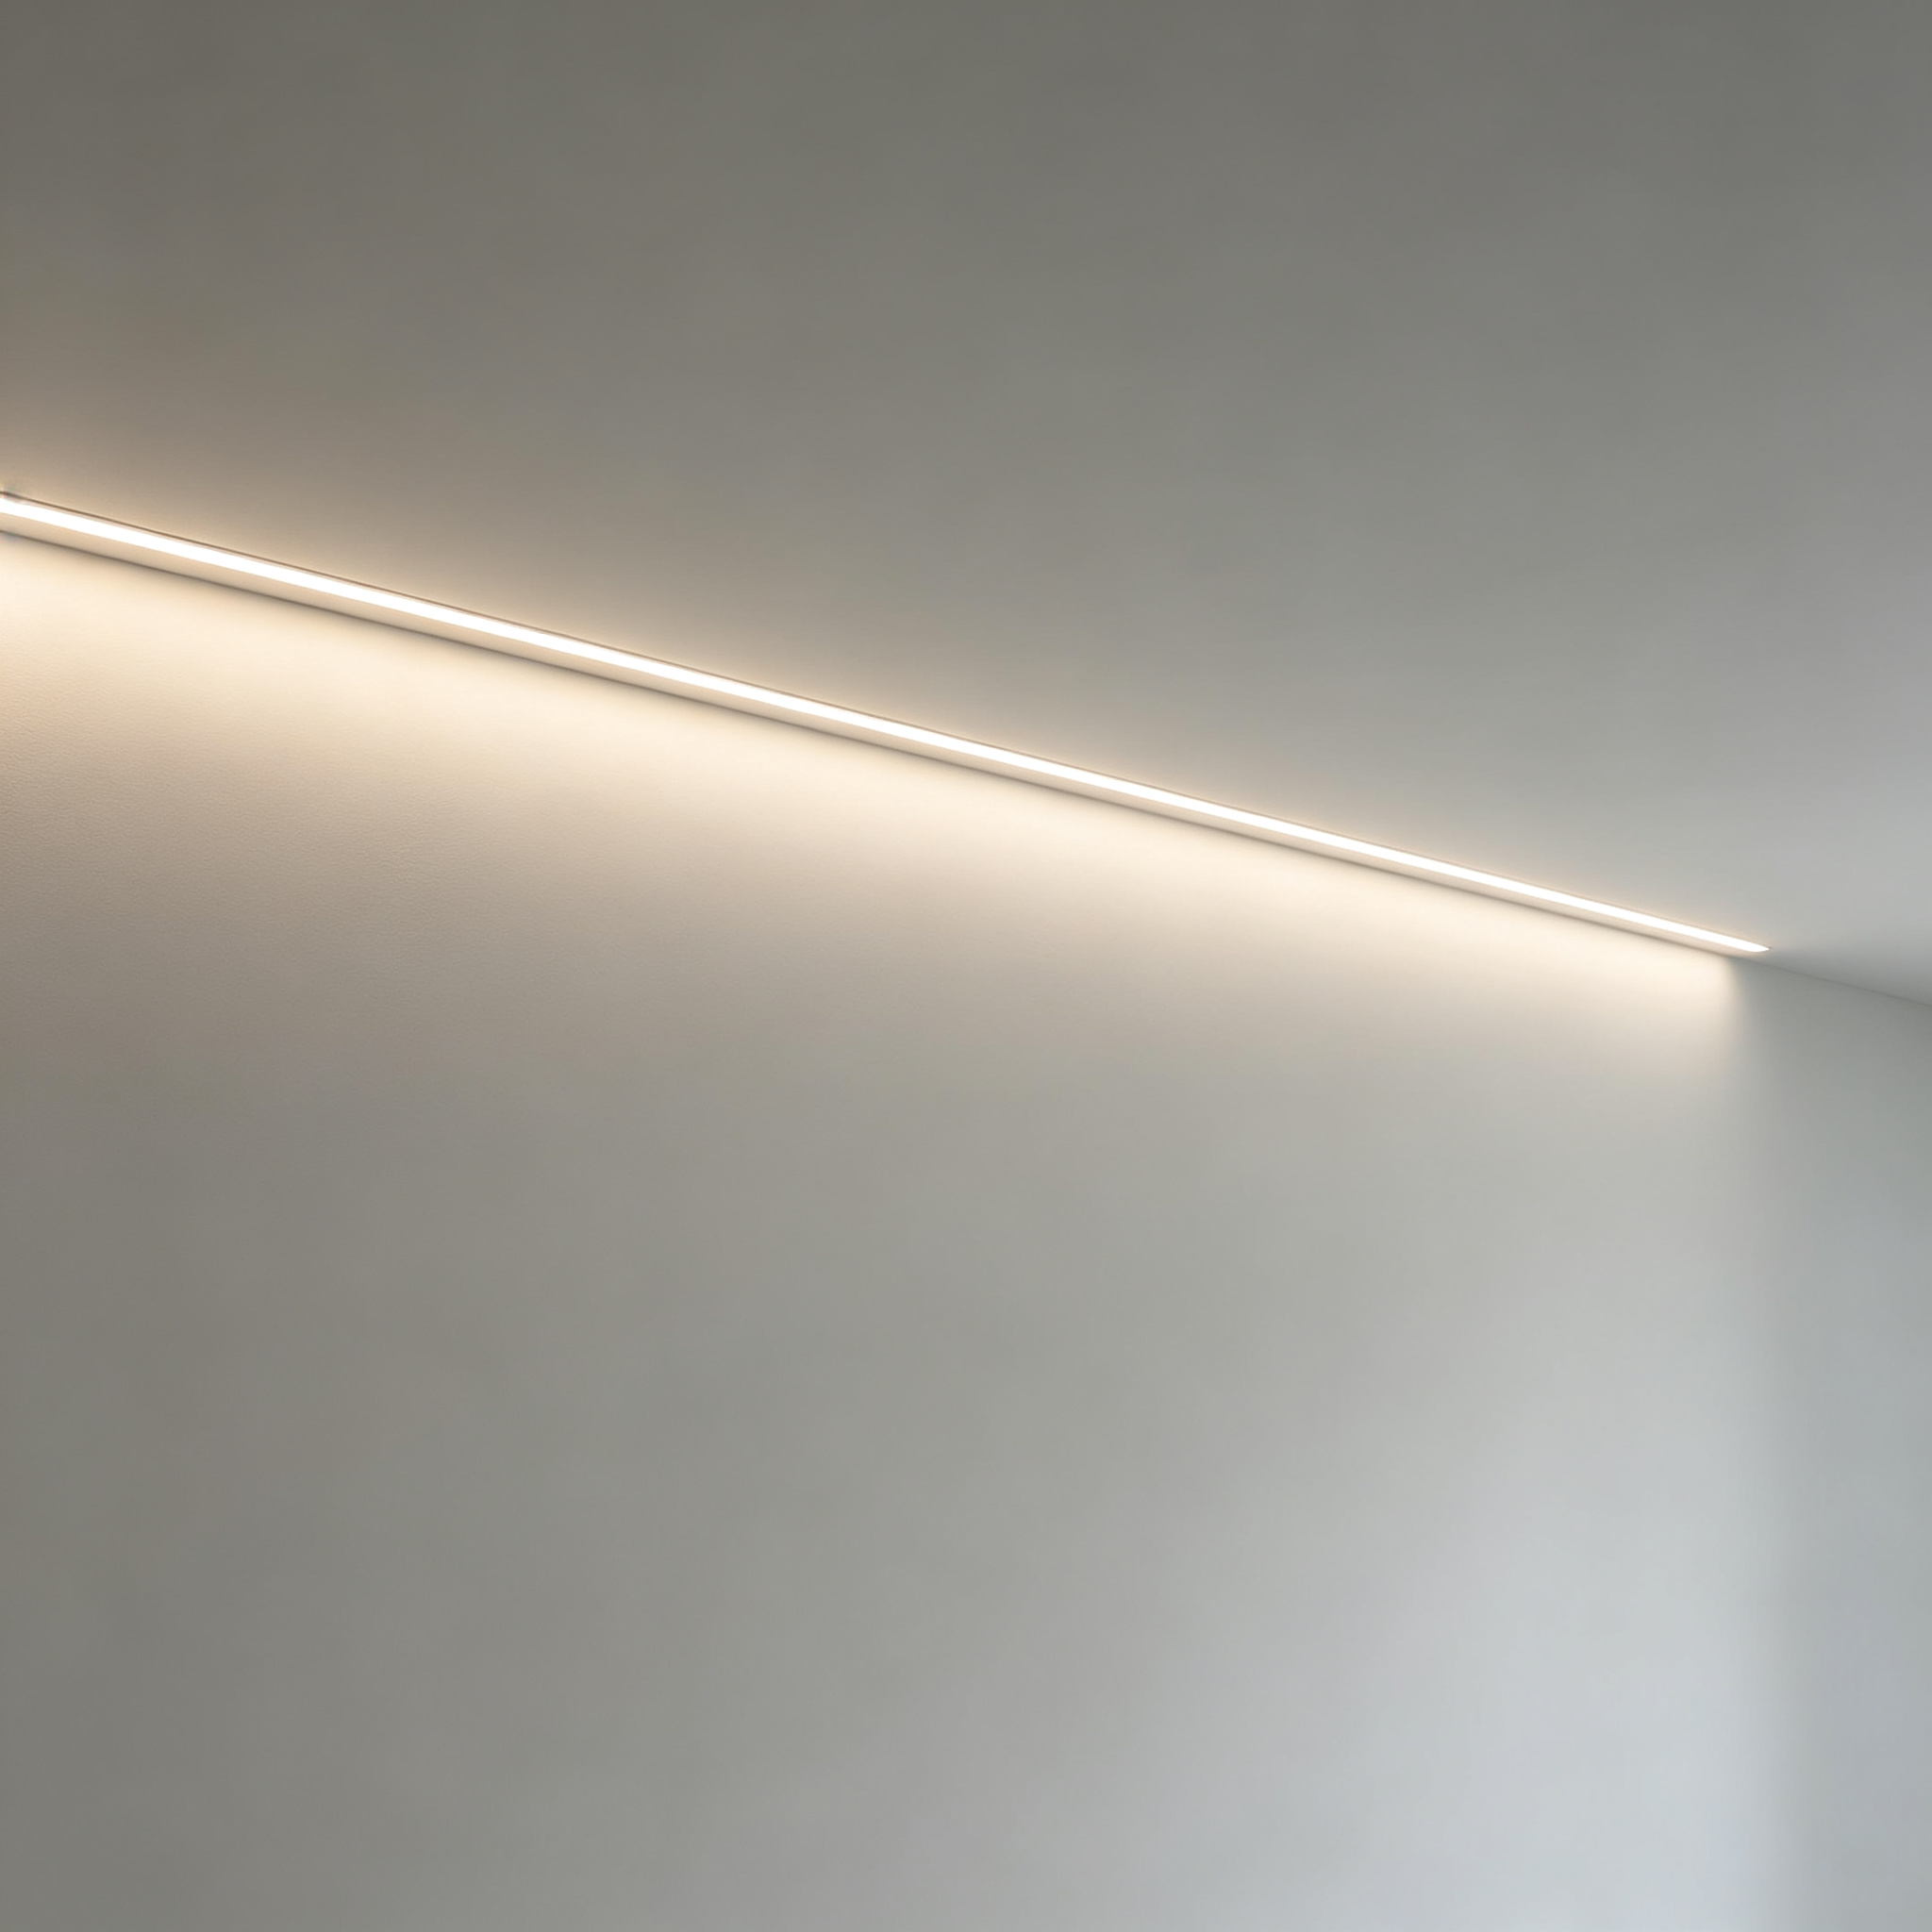
Cleaner Appearance
The diffuser turns a row of visible diodes into a continuous, intentional light line that looks factory-made.
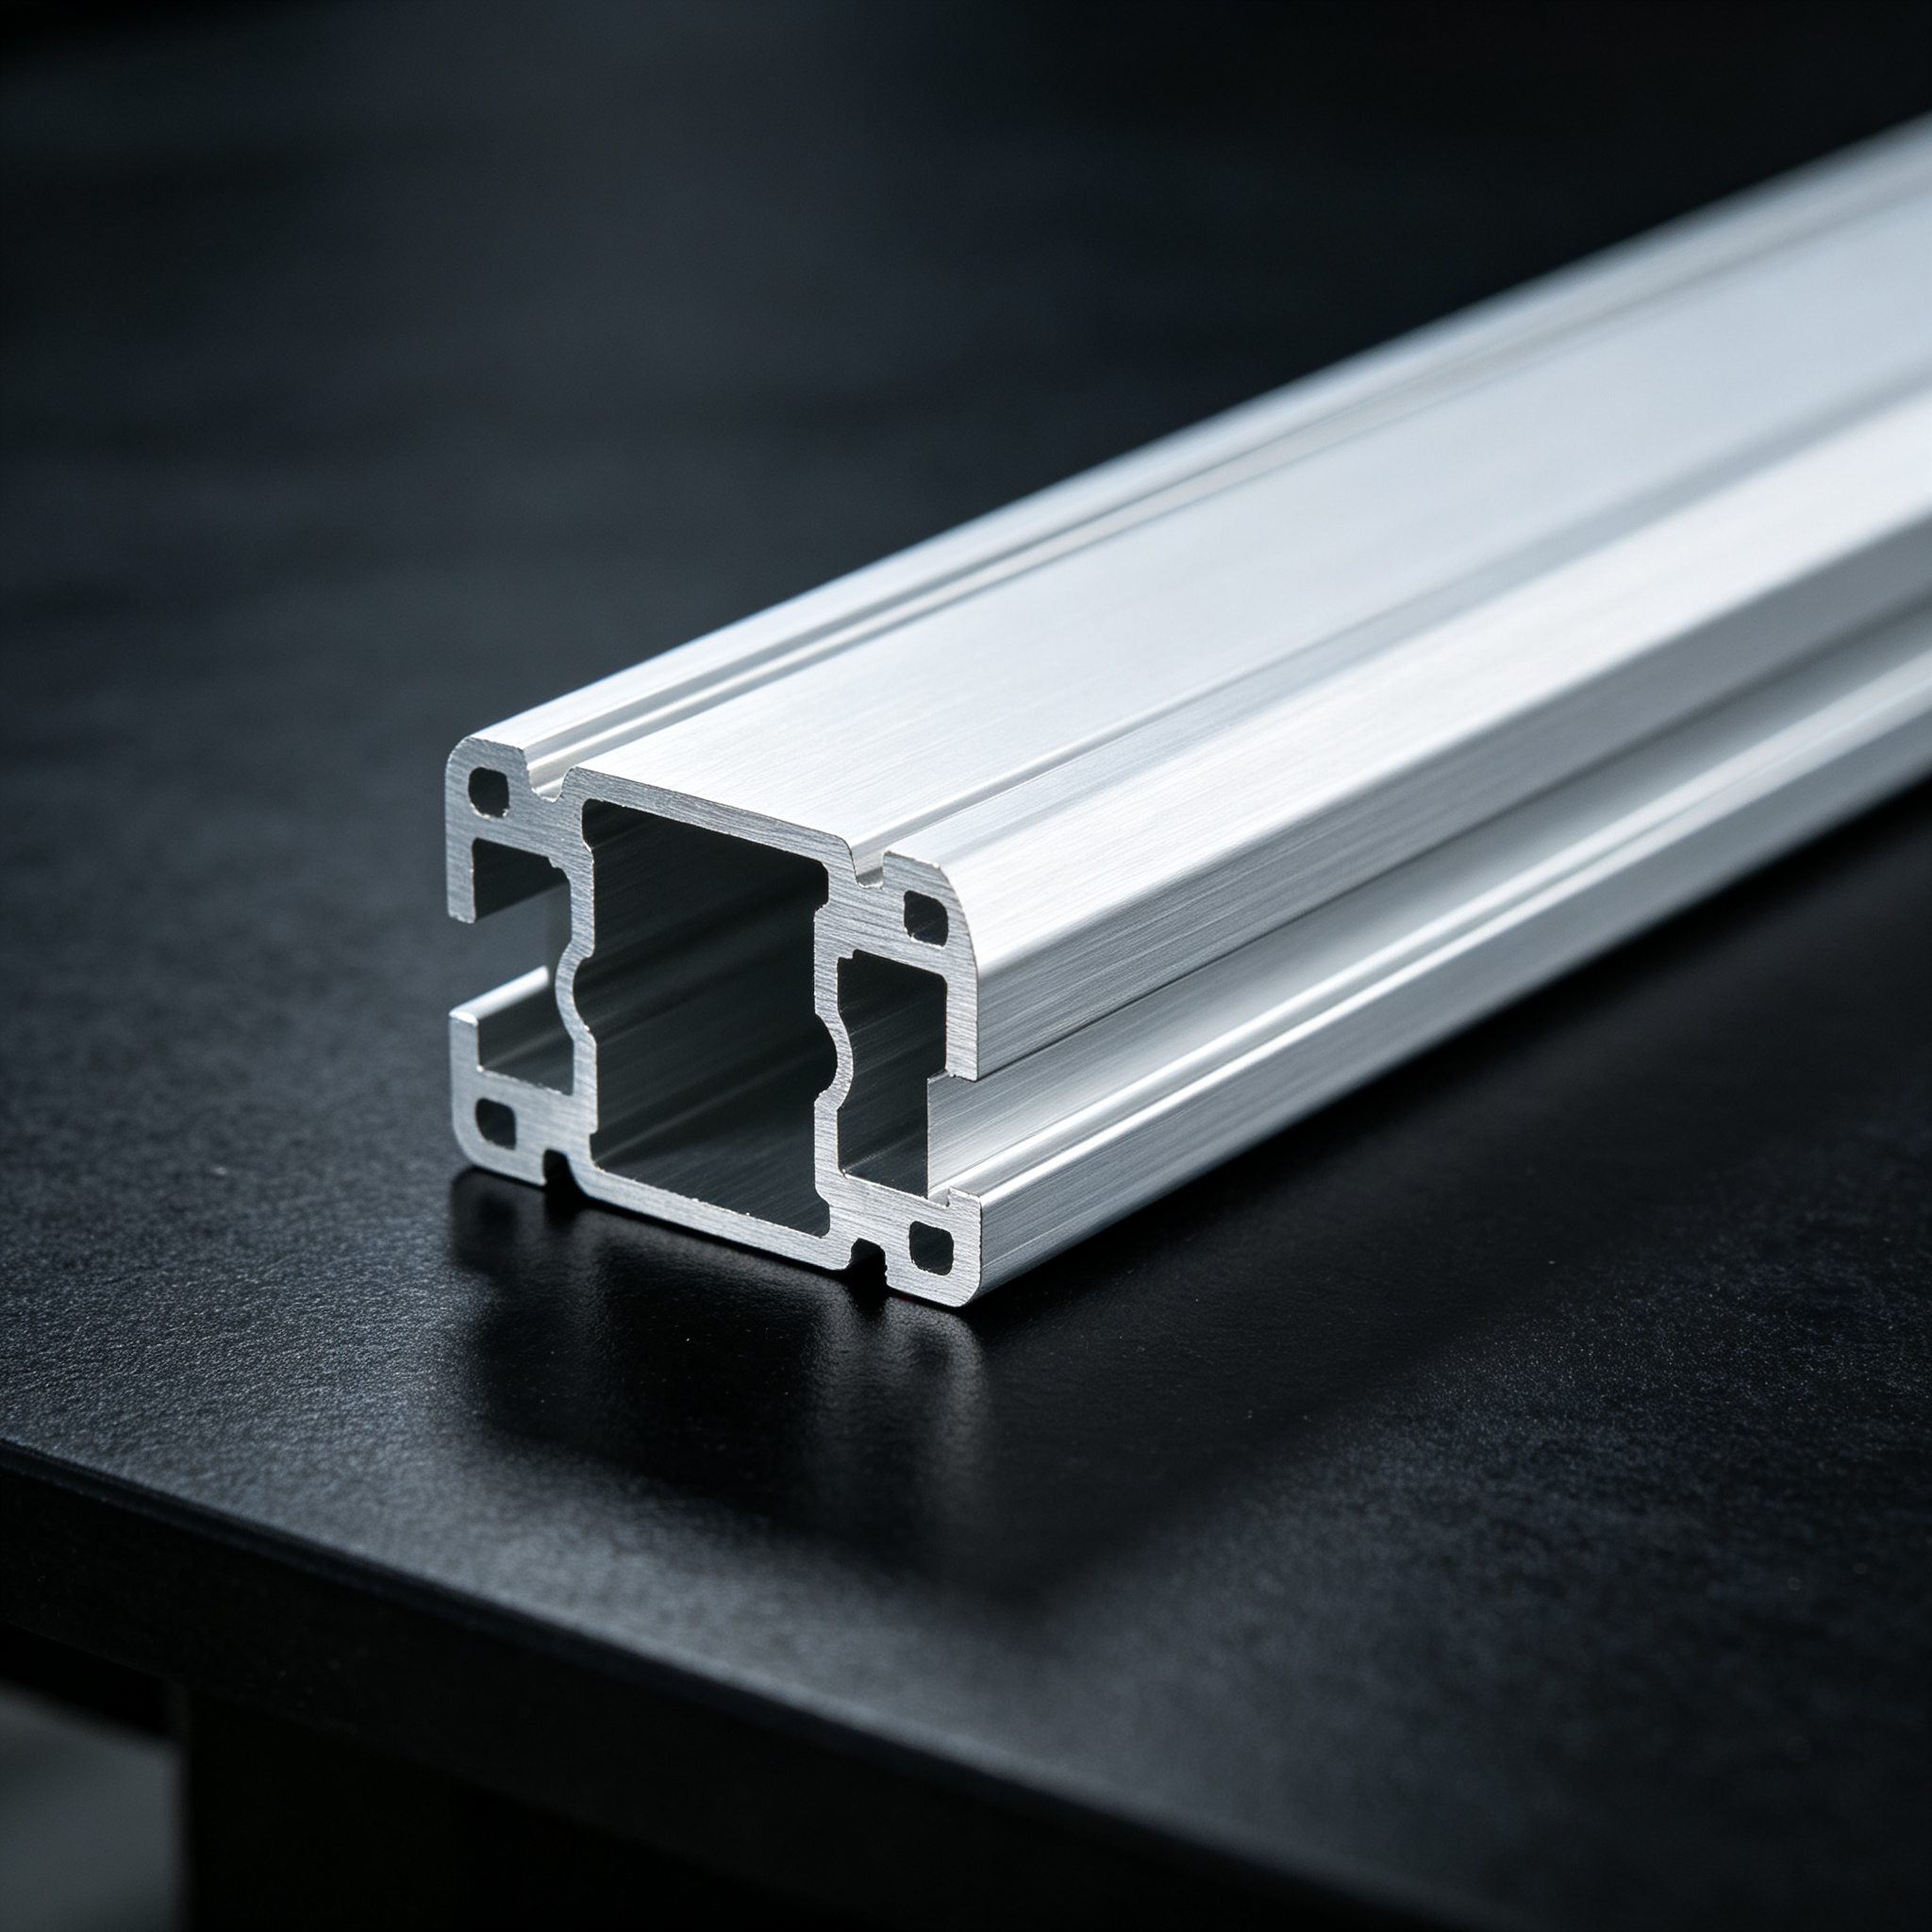
Disipación de calor
Aluminum acts as a heat sink, pulling heat away from high-output strips so brightness and lifetime stay stable.
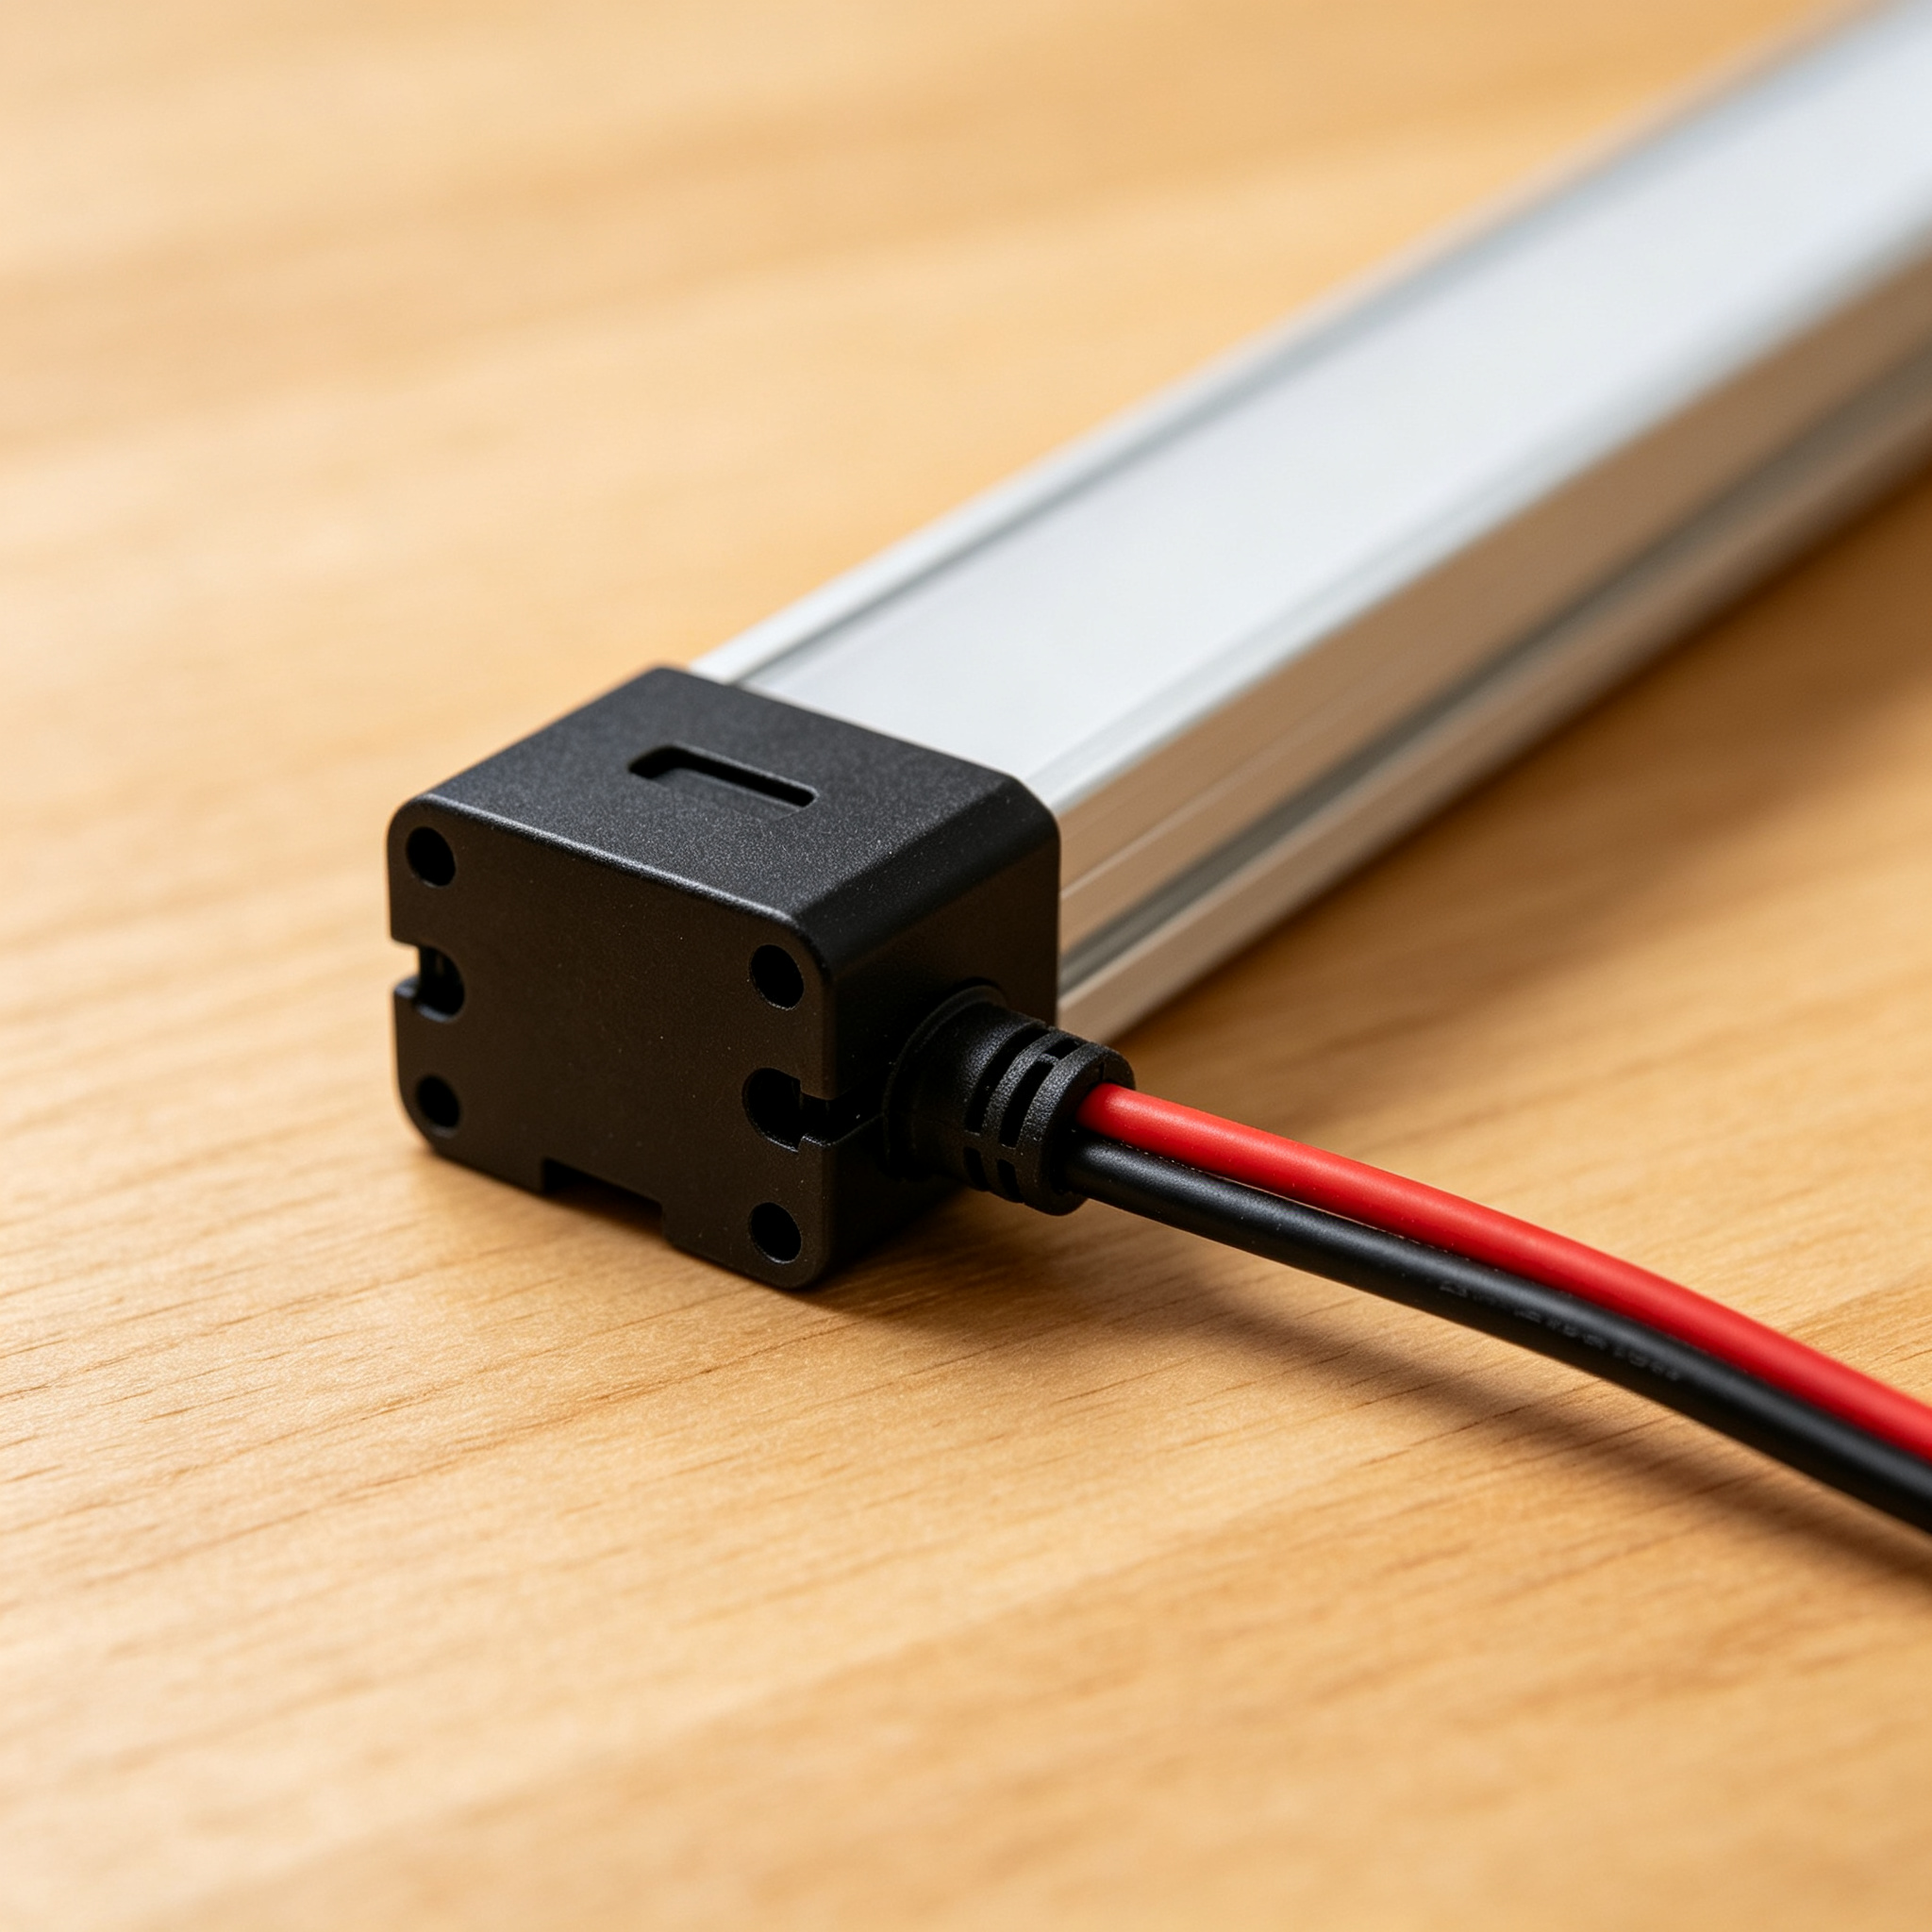
Orderly Wiring
Cable-entry end caps keep power leads and connectors tidy, which also simplifies maintenance later.
1. Start With the Installation Location
Where the channel will be installed drives almost every other decision — size, depth, diffuser and mounting method all follow from the location. Ask one question first: how visible will the profile be?
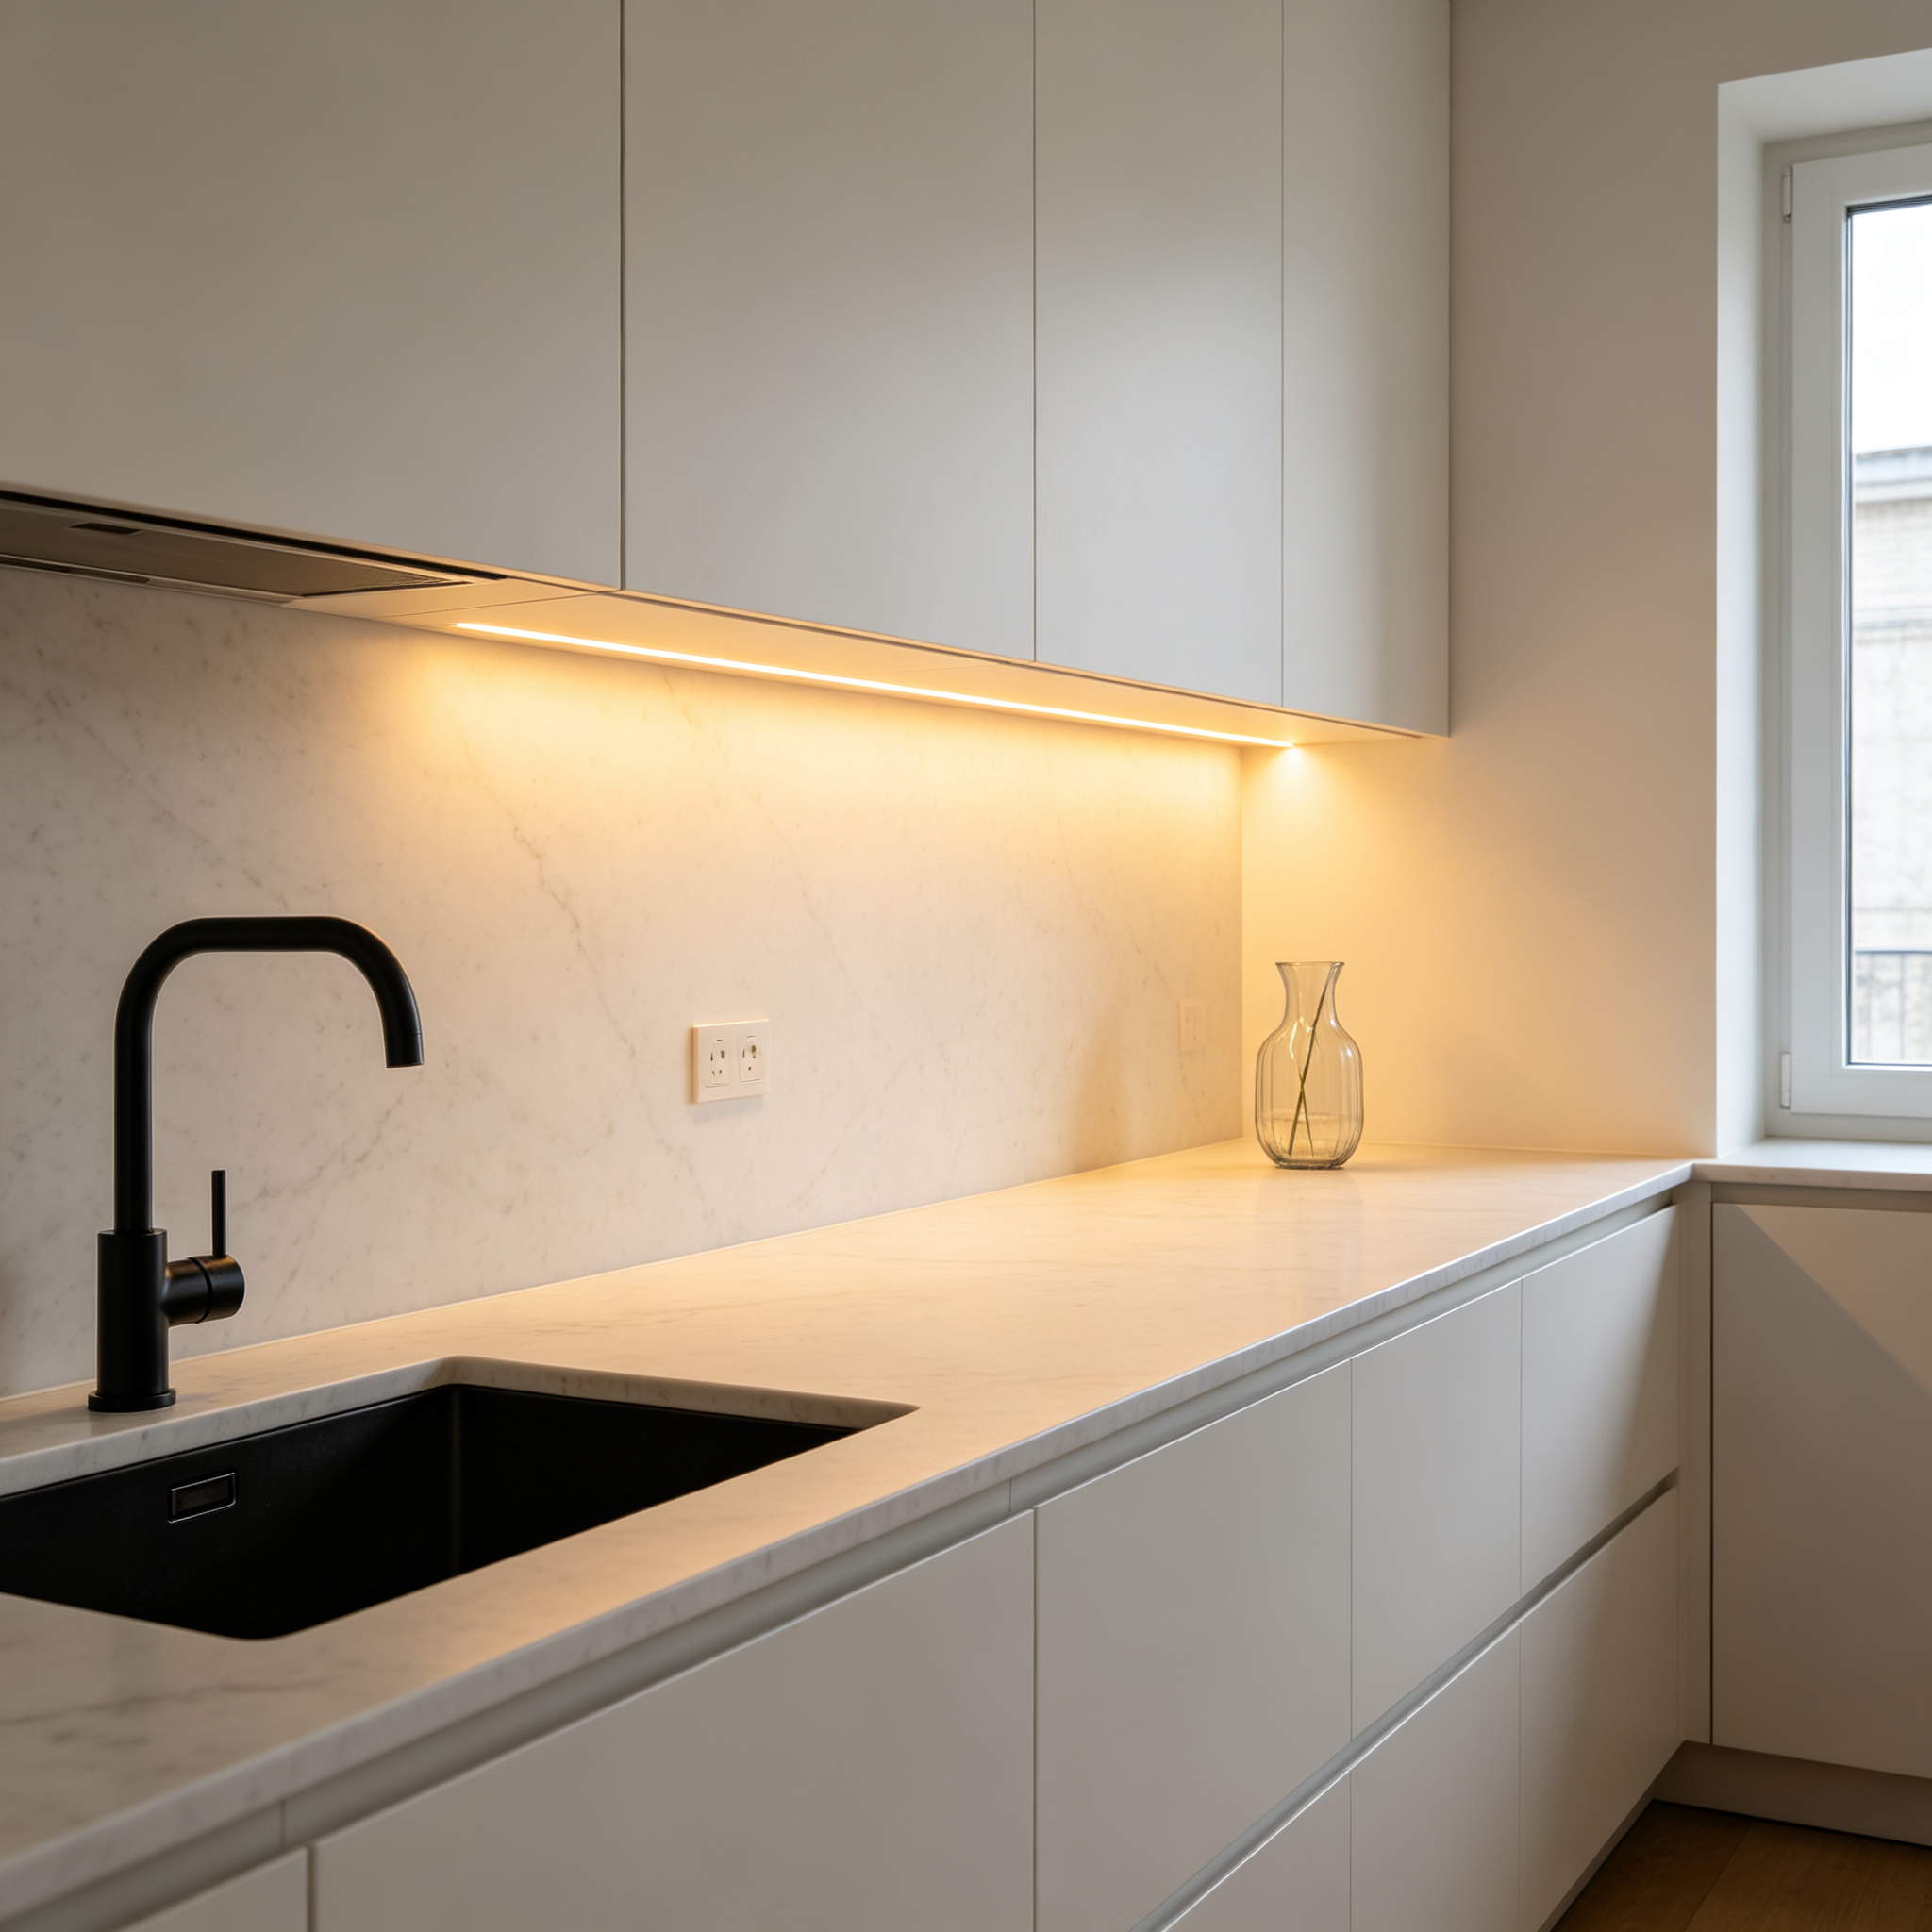
Under Cabinet
Needs a slim, low-profile channel with a diffuser that hides dots at eye level. Opal or frosted is usually the right call on glossy countertops.
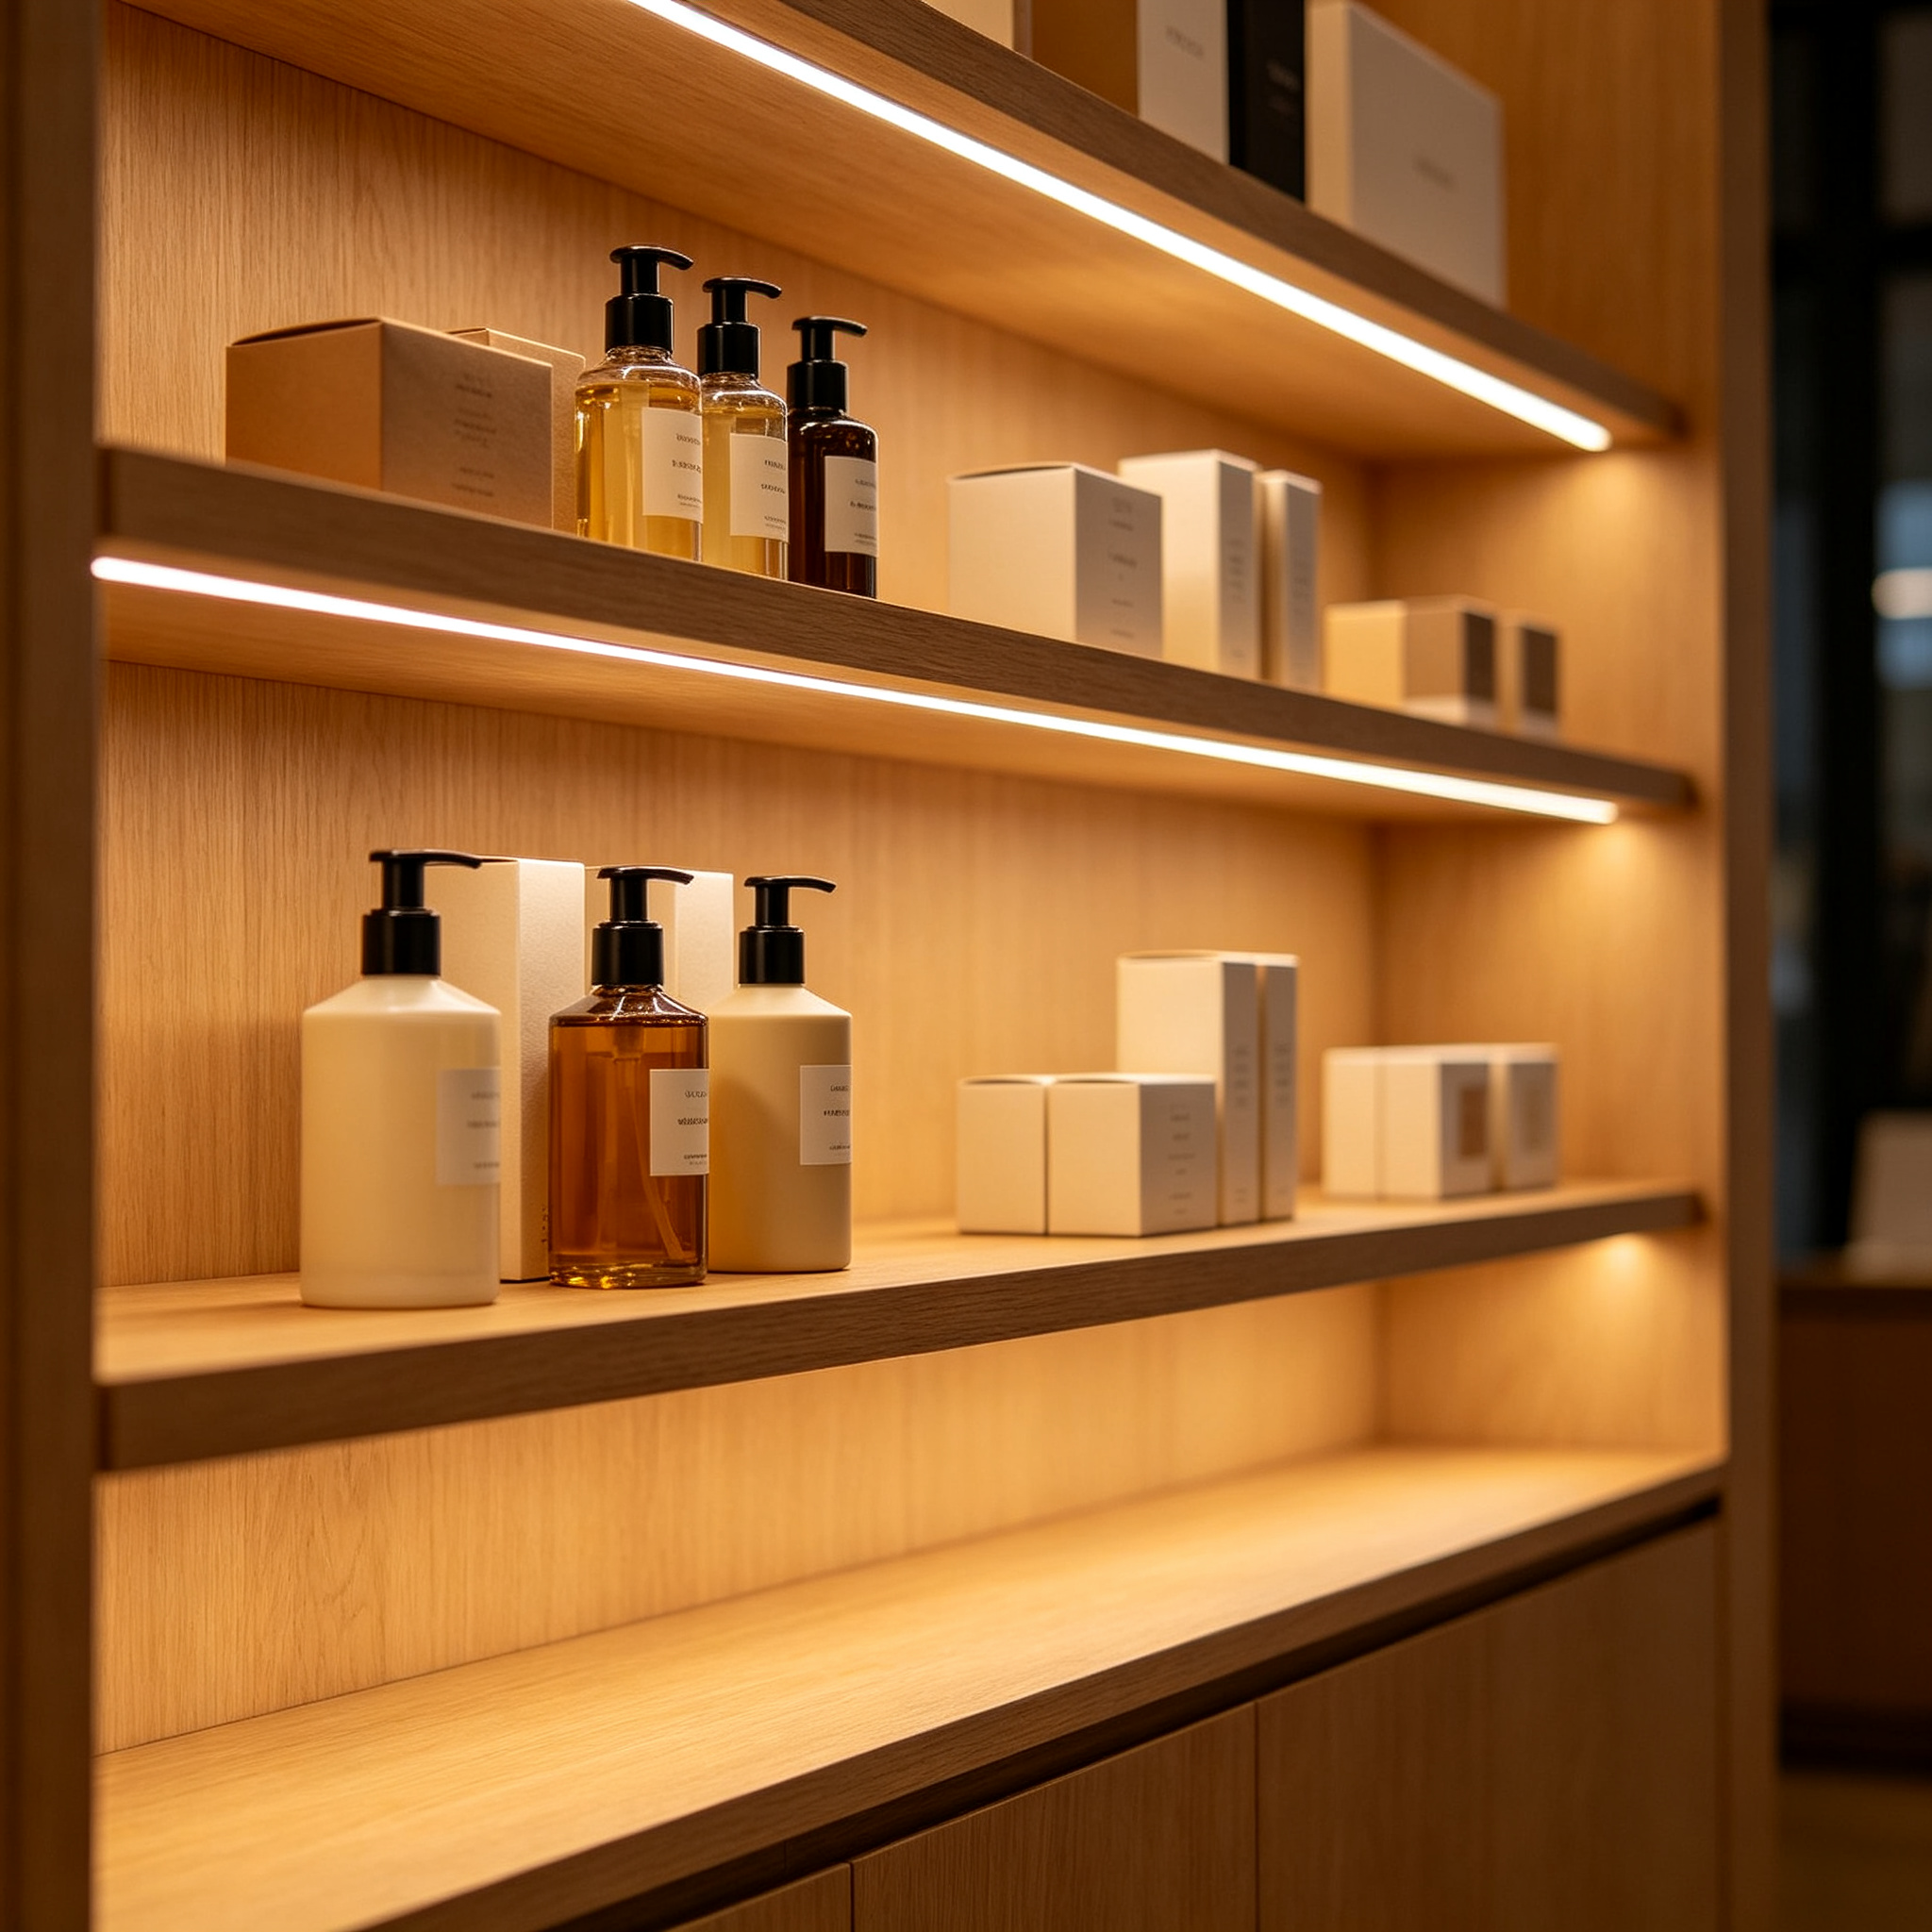
Shelves & Display Cases
A narrow, discreet profile keeps the focus on the merchandise. Even, dot-free light matters more than maximum brightness.
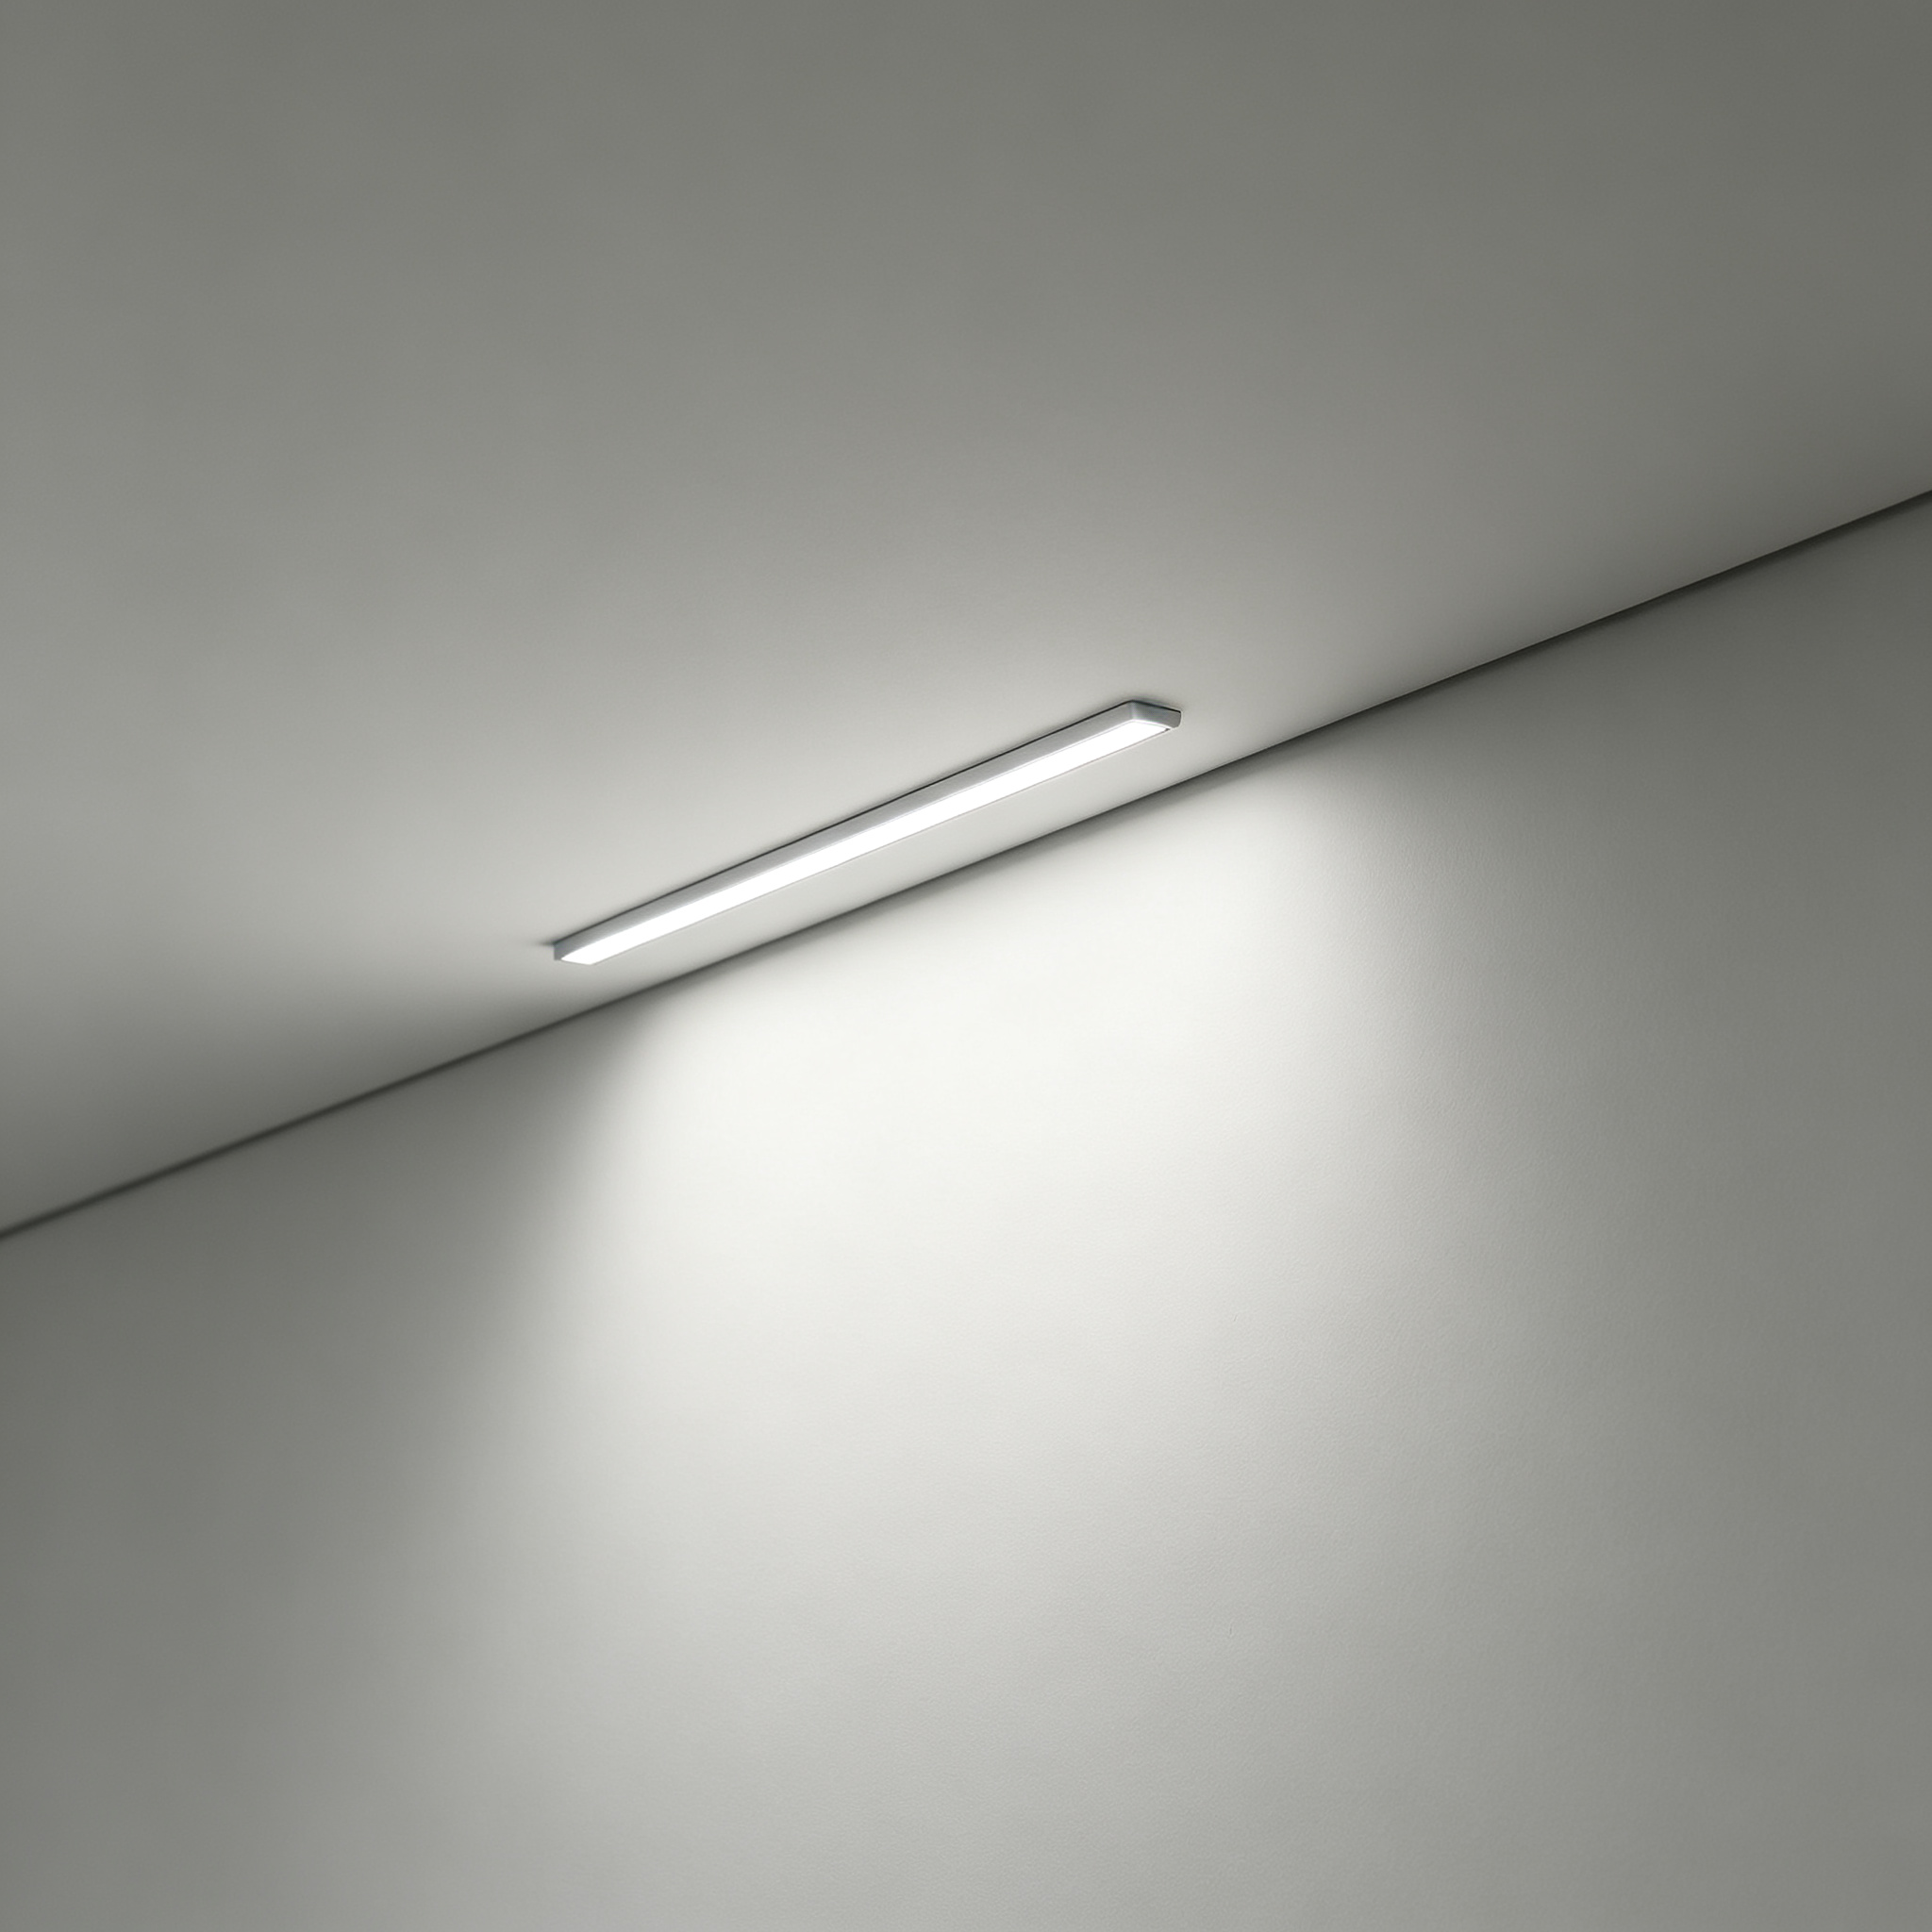
Wall & Ceiling
Part of the architecture — a larger profile is acceptable, and a deeper channel improves uniformity and thermal performance.
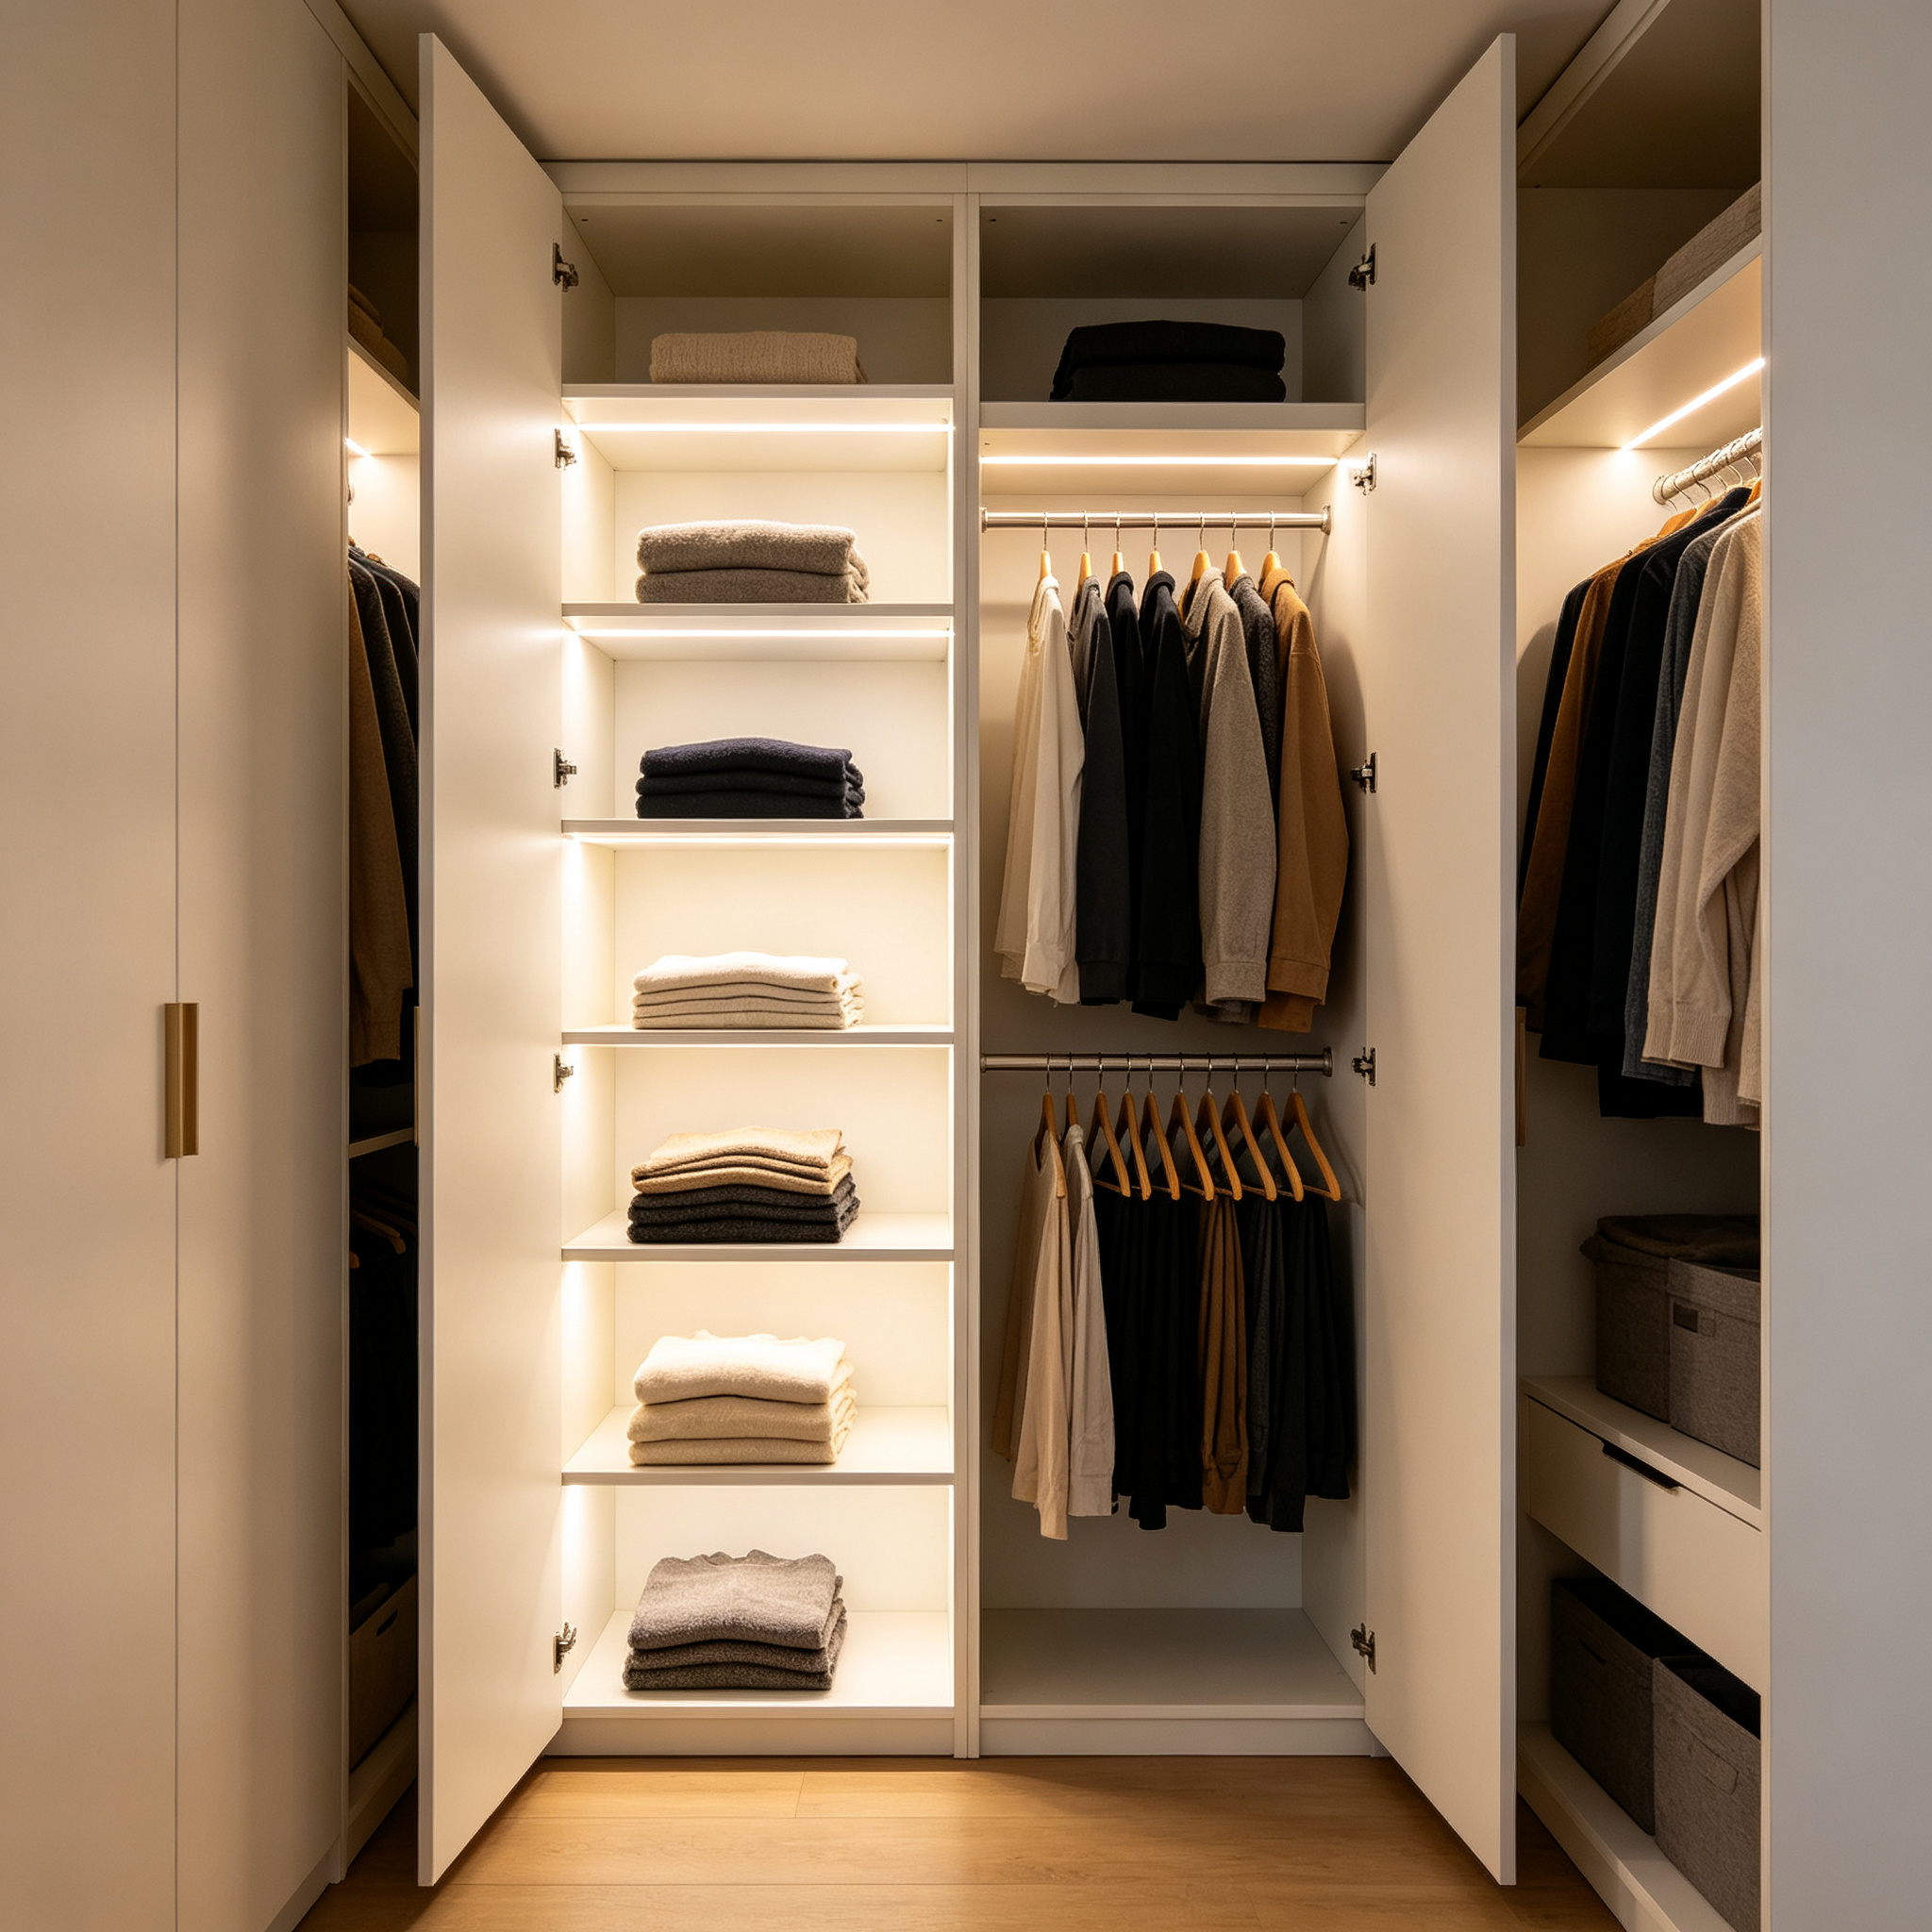
Wardrobes & Furniture
Space is tight, so external width and height matter most. Slim profiles preserve usable storage.
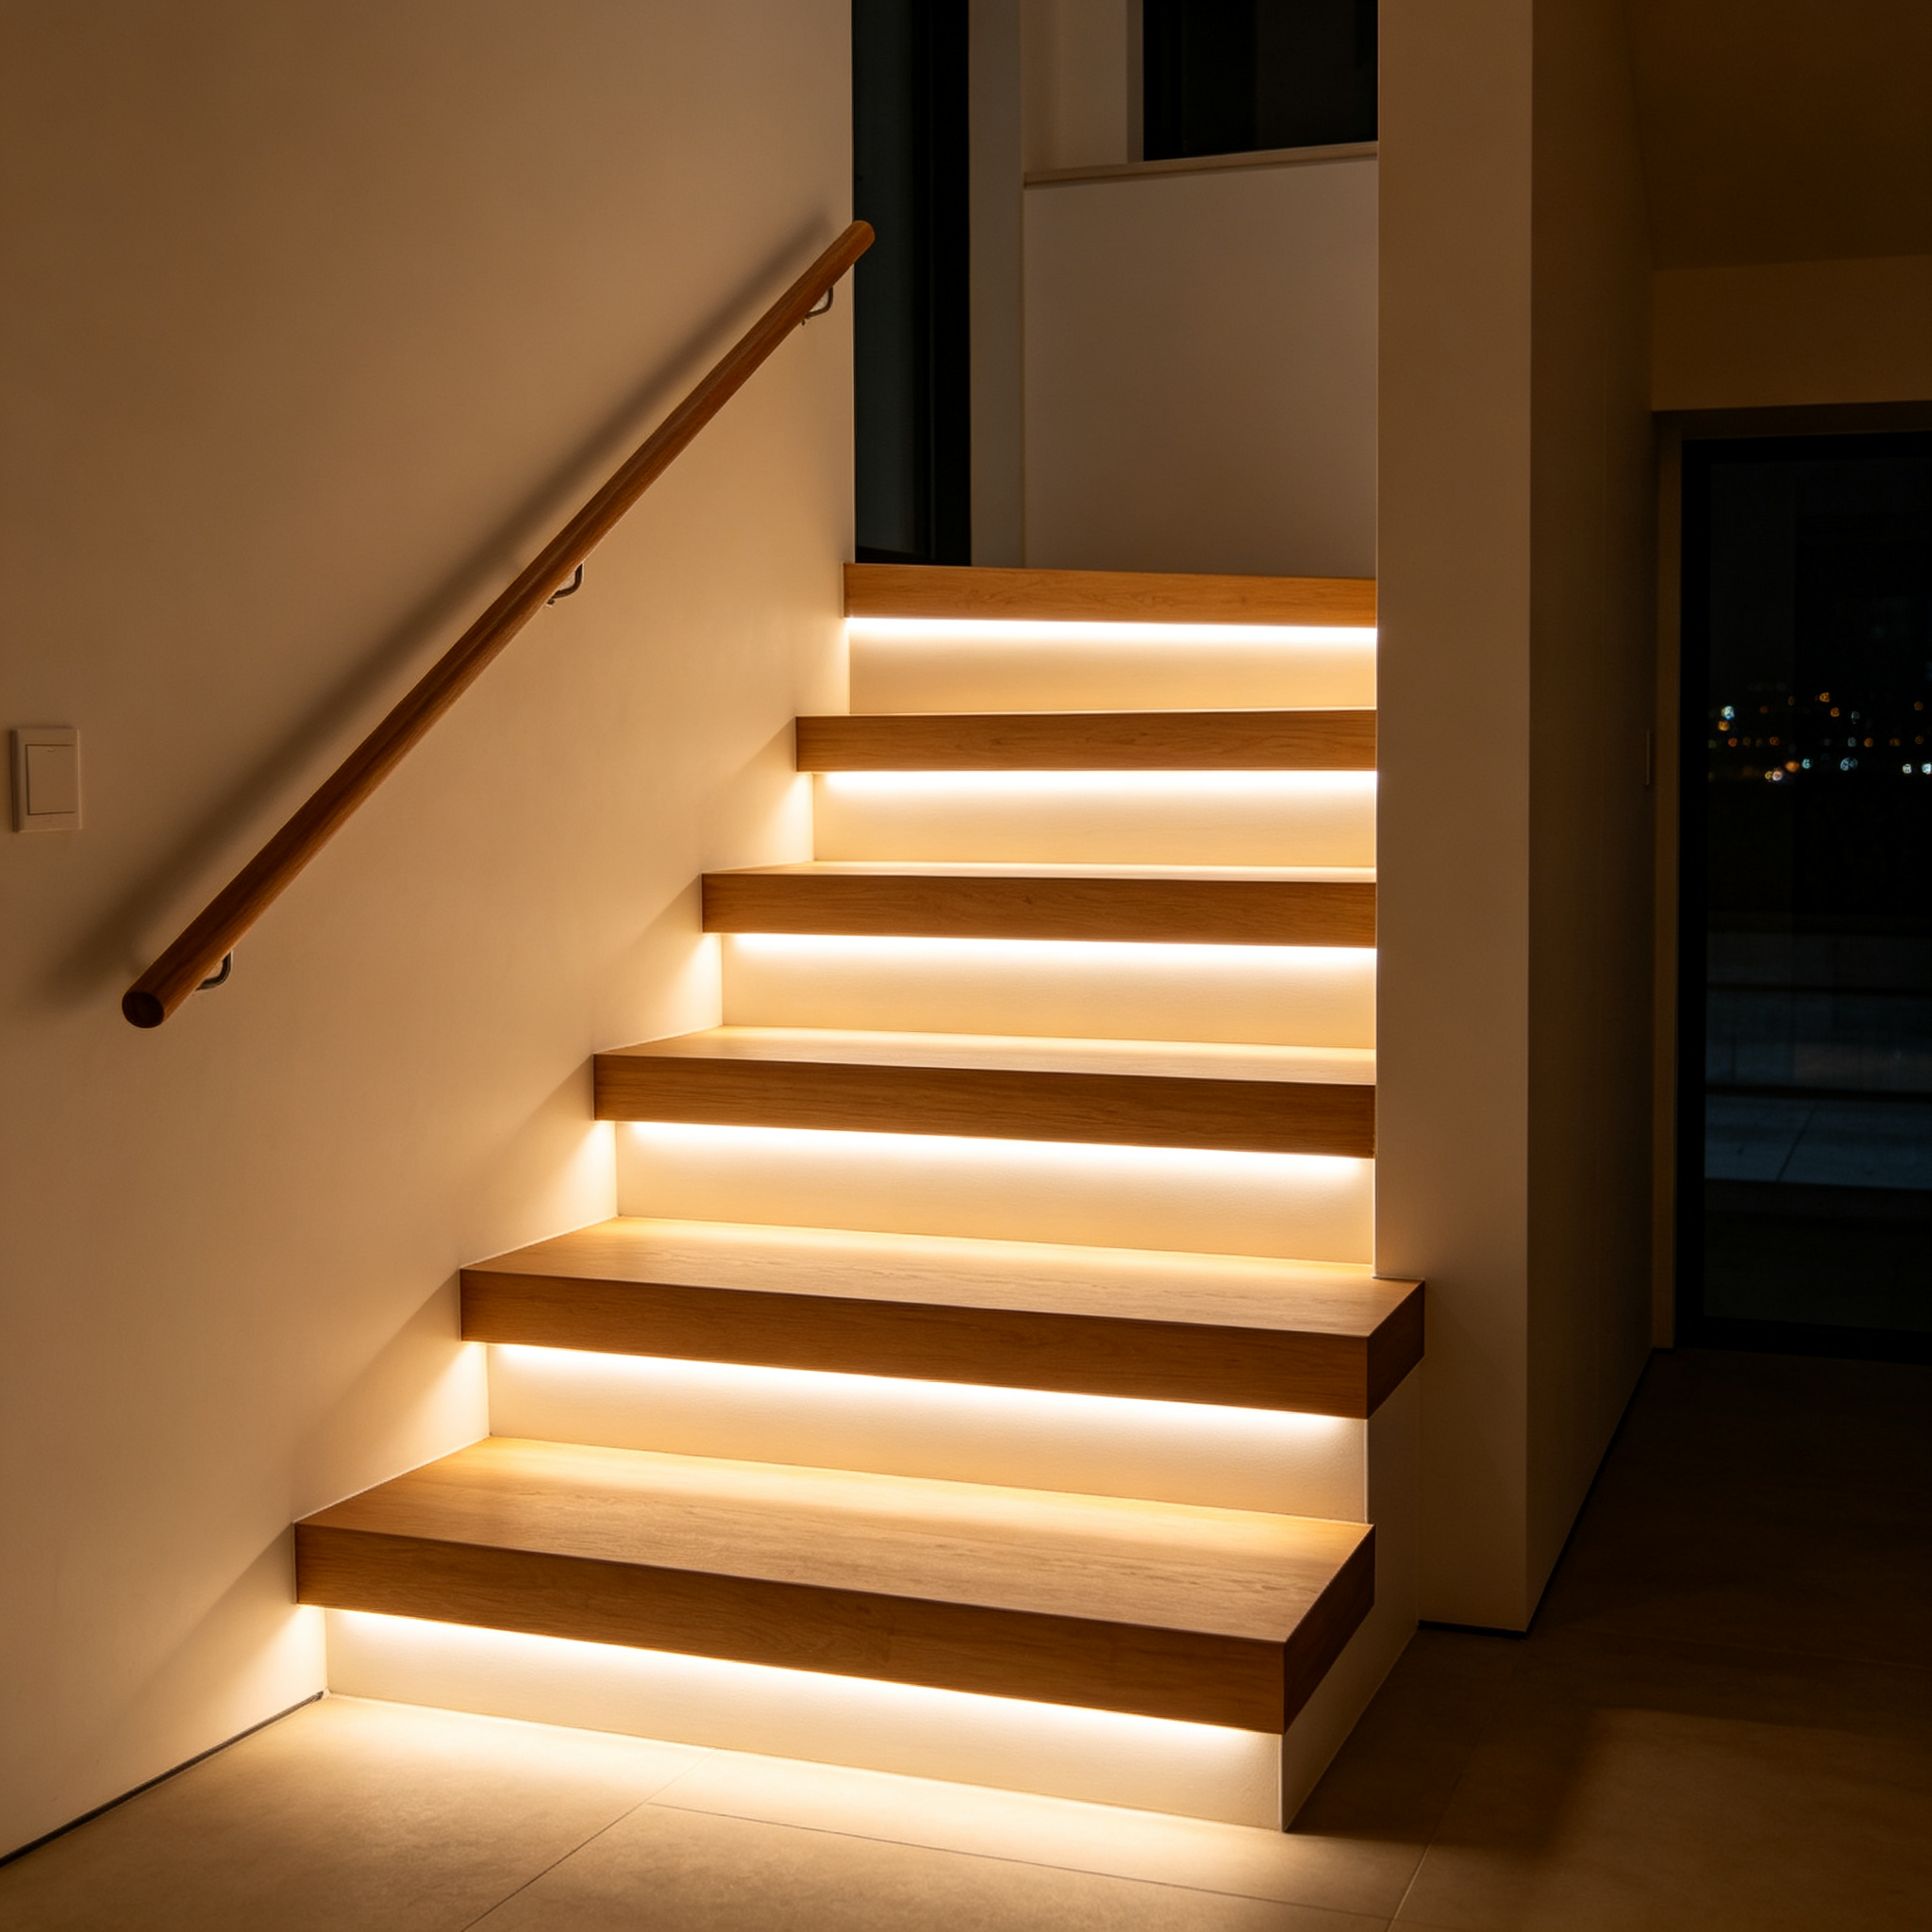
Stairs & Hallways
Needs stronger mechanical protection and a secure mounting method. Consider higher-density strips to keep the line continuous.
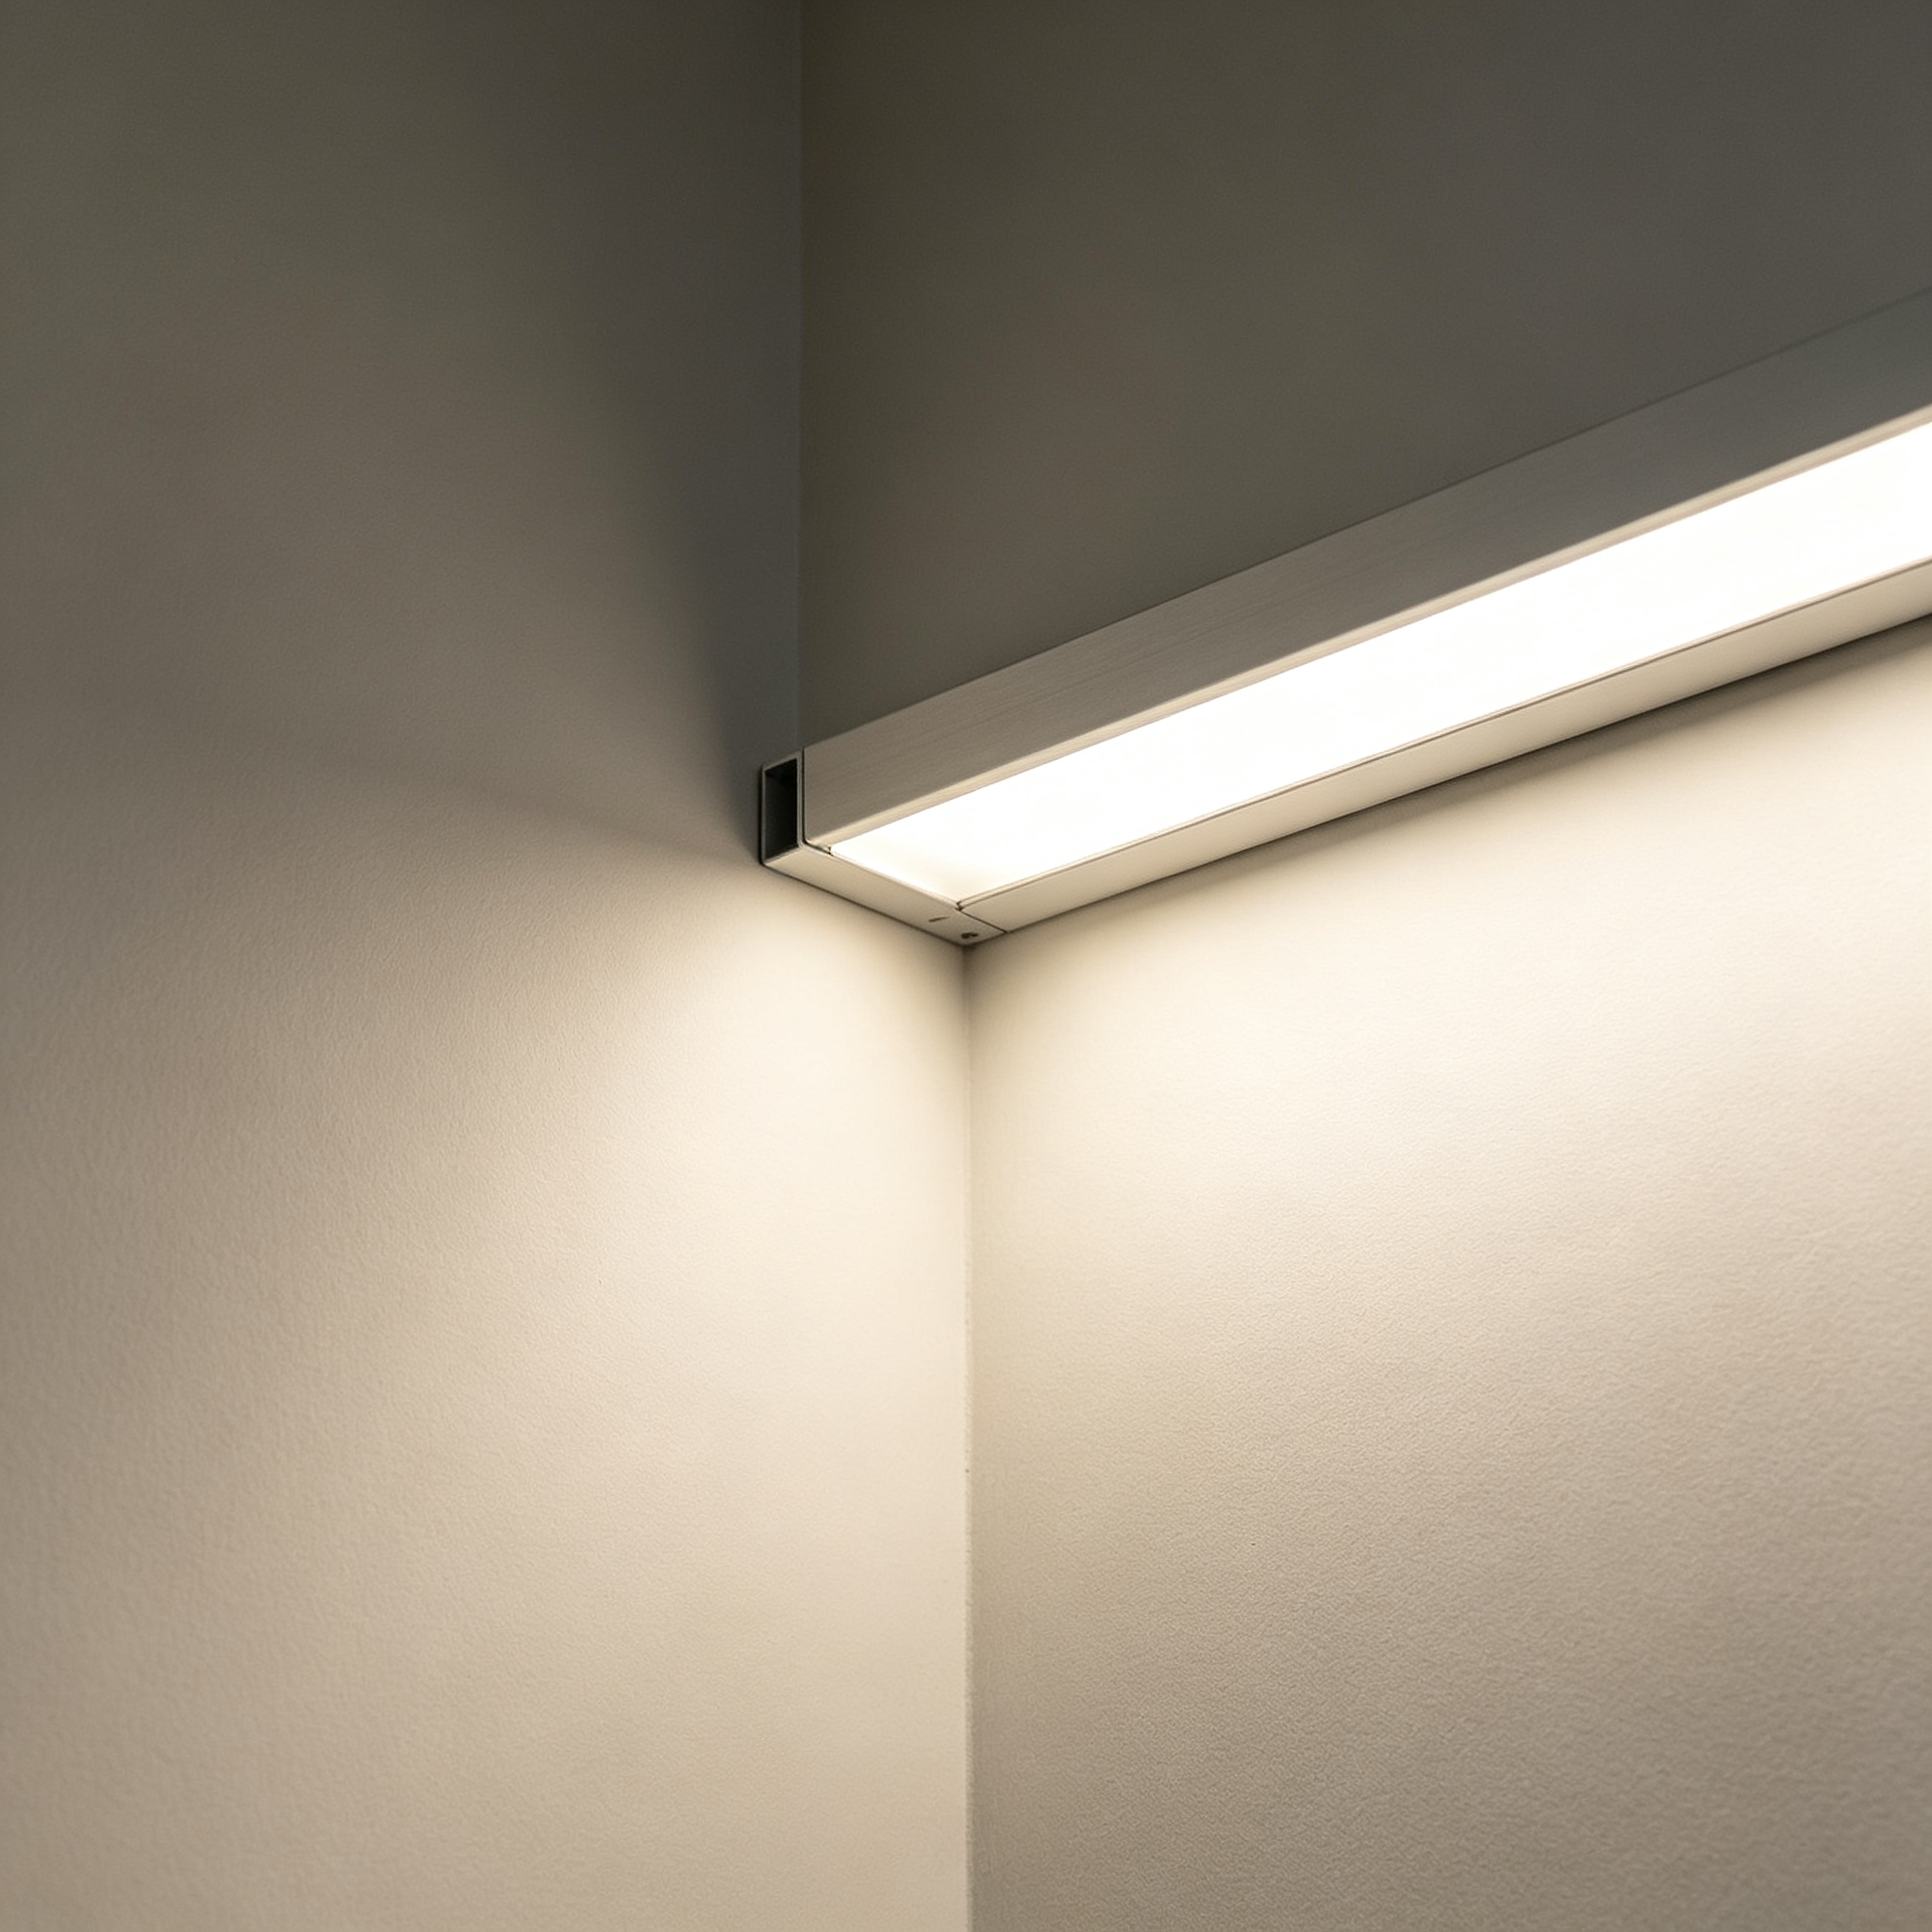
Corners
A 45° corner profile directs light across the adjacent wall instead of forcing a flat profile into the corner.
For corner and stair applications, dedicated profiles are usually a better choice than a standard flat channel — see our corner LED channel guide y waterproof LED profile guide for details.
2. Match the Channel to Your LED Strip
The most common mistake is choosing the profile first and the strip afterwards. They must be selected together. Measure the actual PCB width of your strip, then choose a channel whose internal width is 1–3 mm wider for easy fitting and good airflow.
| LED Strip PCB Width | Recommended Internal Channel Width | Typical Strip Types |
|---|---|---|
| 8mm | 10–11 mm | SMD 2835 / 3528 (high density) |
| 10 mm | 11–13 mm | SMD 2835, 5050, 10 mm COB |
| 12 milímetros | 13–16 mm | SMD 5050 RGB / RGBW, 12 mm COB |
| 15–20 mm | 18–22 mm | High-power, dual-row and RGBCCT strips |
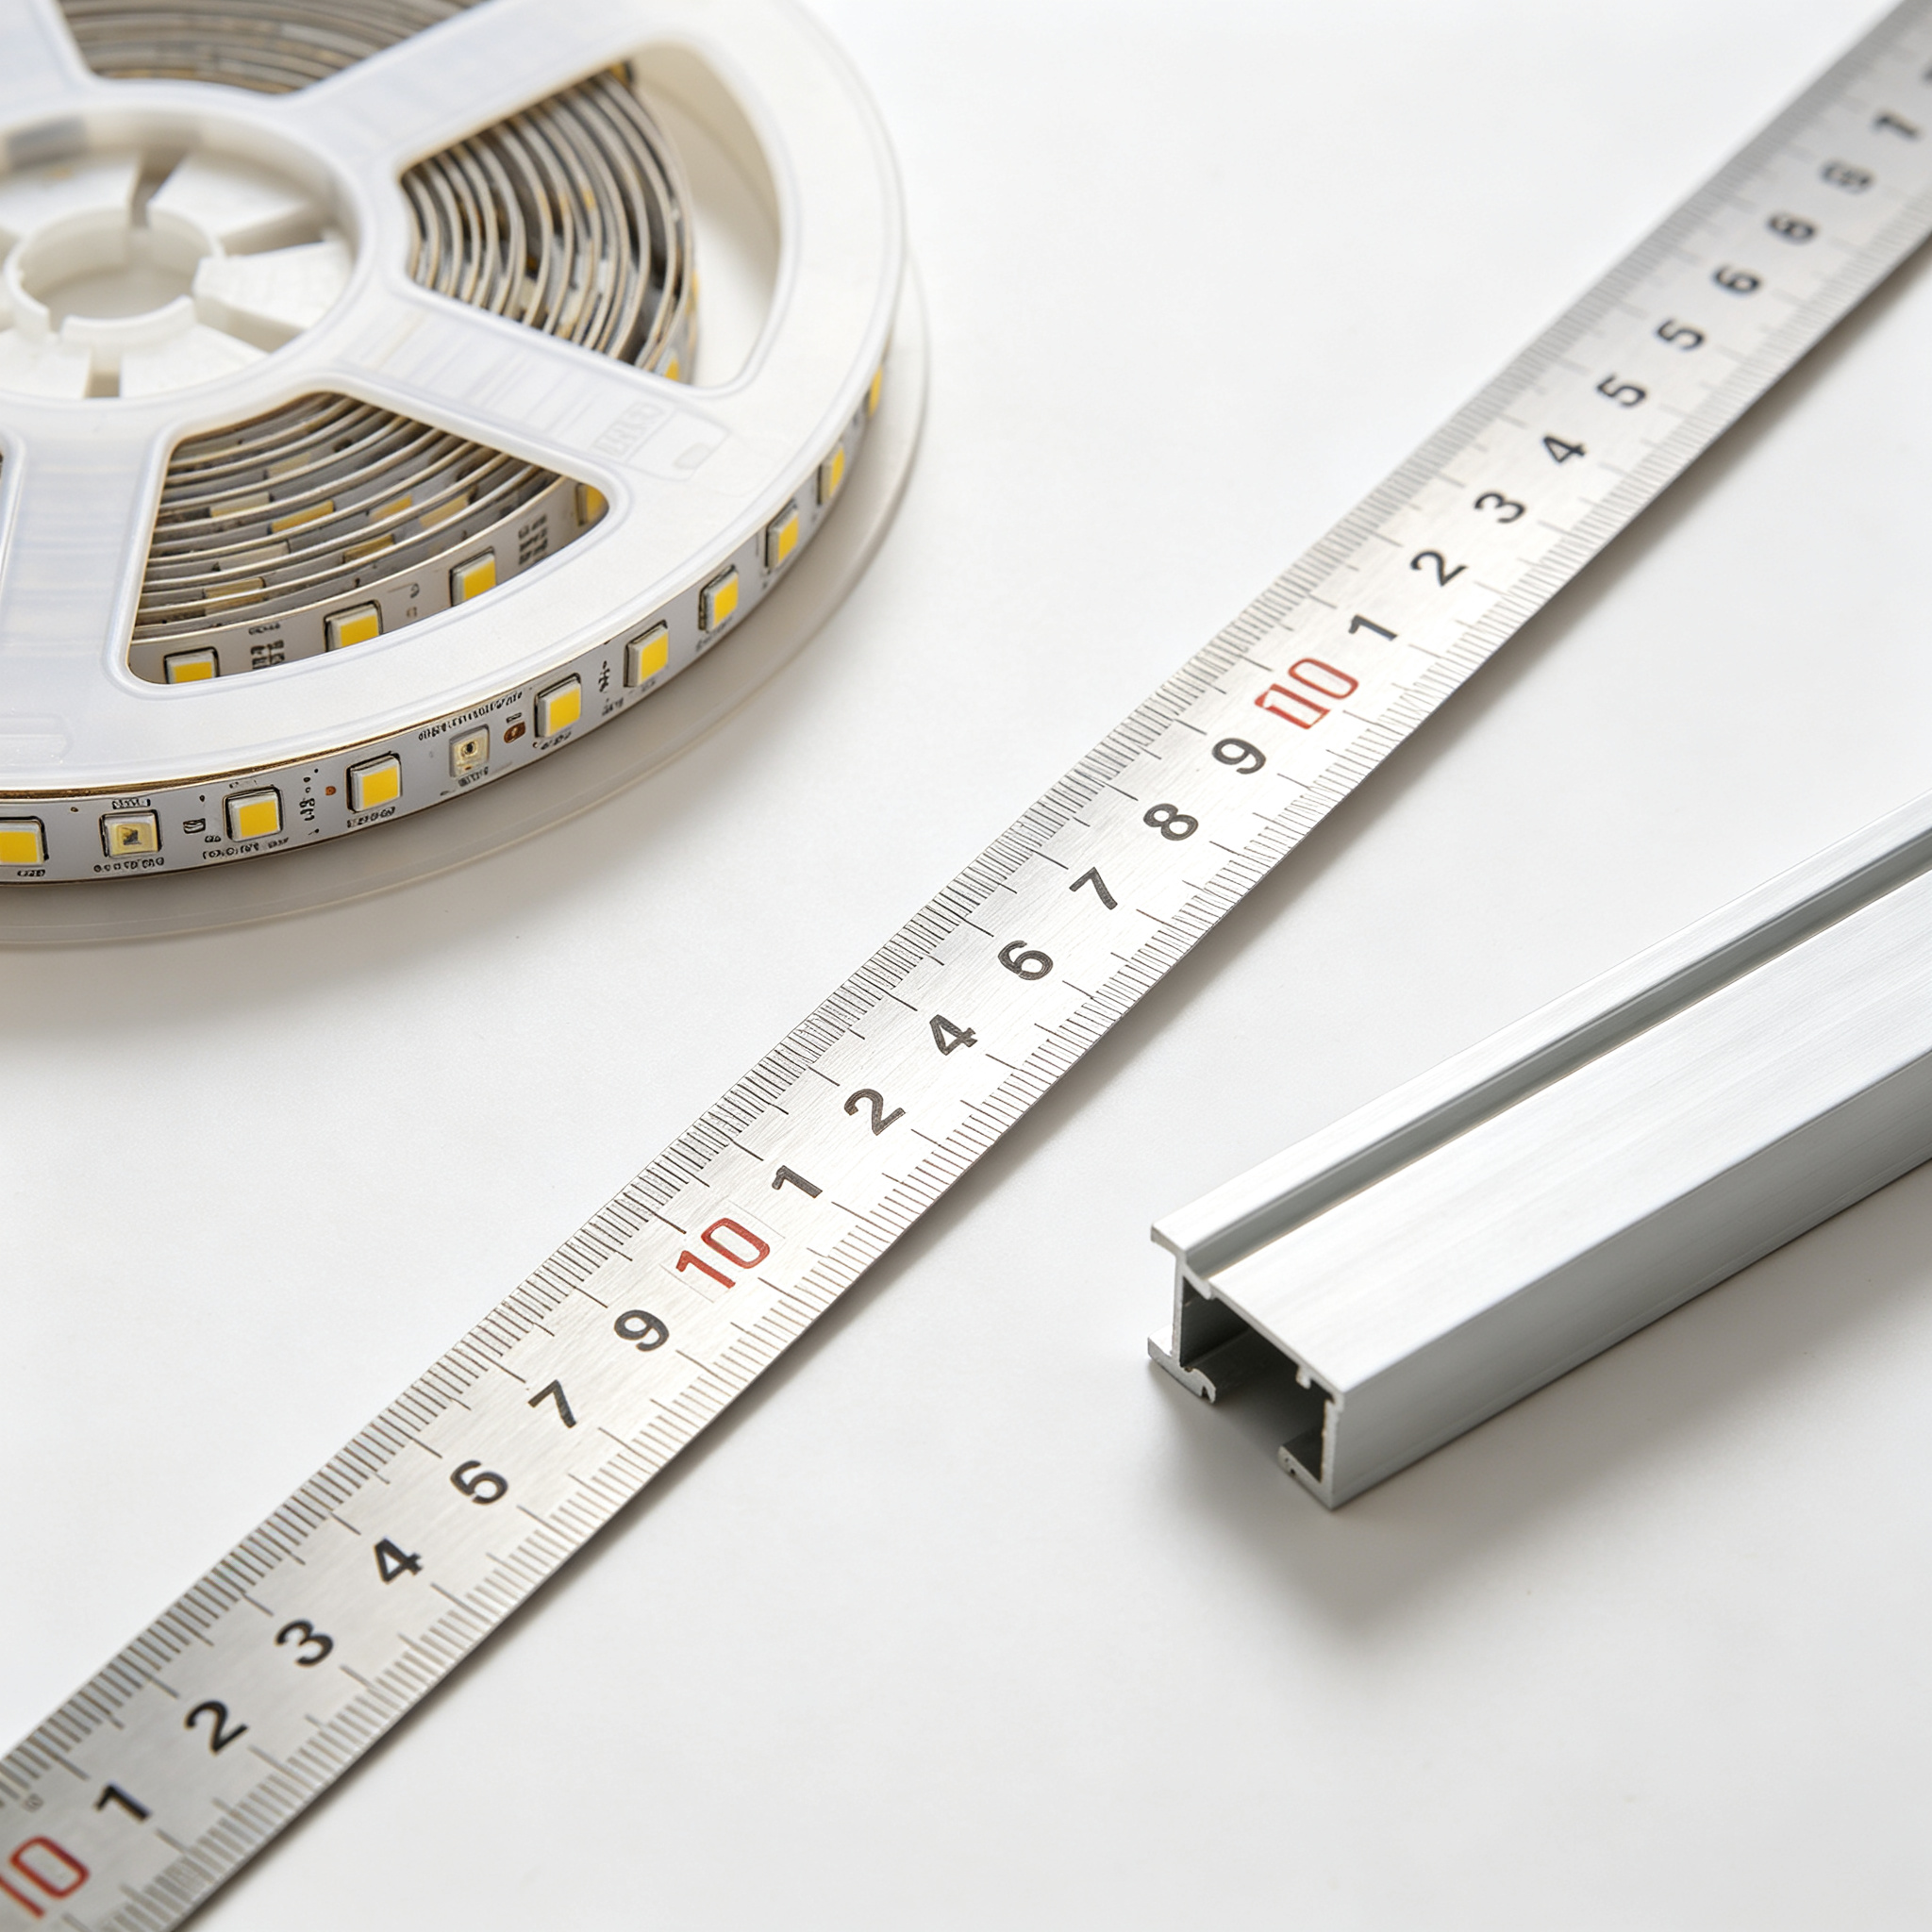
Also check the strip height. A waterproof strip with a silicone sleeve is thicker than a bare PCB strip and needs extra internal clearance — forcing it in can damage the coating and make the diffuser hard to snap on.
3. Choose the Height and Diffuser for a Dot-Free Line
Two profiles with identical aluminum bodies can look completely different depending on the diffuser. There is always a trade-off between light output and uniformity:
Difusor transparente
90–95% transmission. Brightest option, but individual LEDs stay visible. Best for indirect or concealed lighting where dots do not matter.
Difusor esmerilado
~70–85% transmission. Scatters light and softens hotspots while keeping good output. A safe default for visible installations.
Opal / Milky Diffuser
~60–75% transmission. The most even, dot-free line — the classic ‘light line’ look for eye-level and glossy-surface installations.
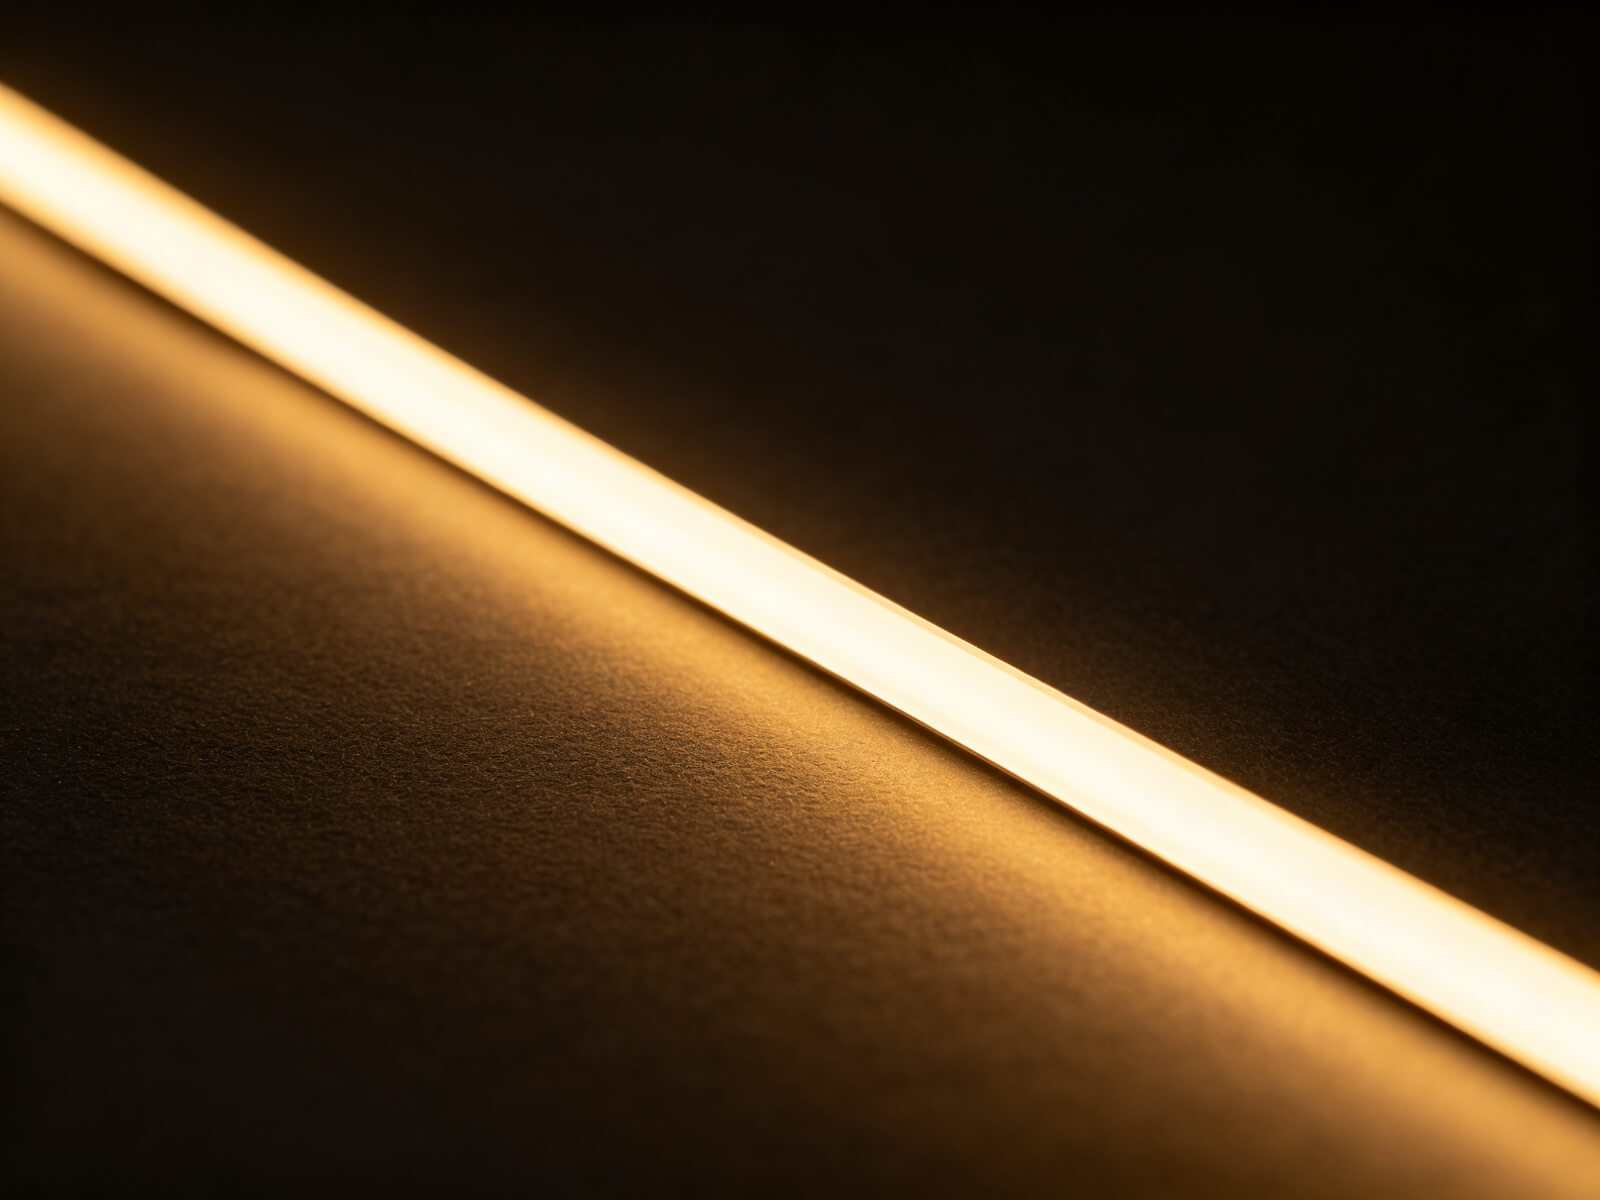
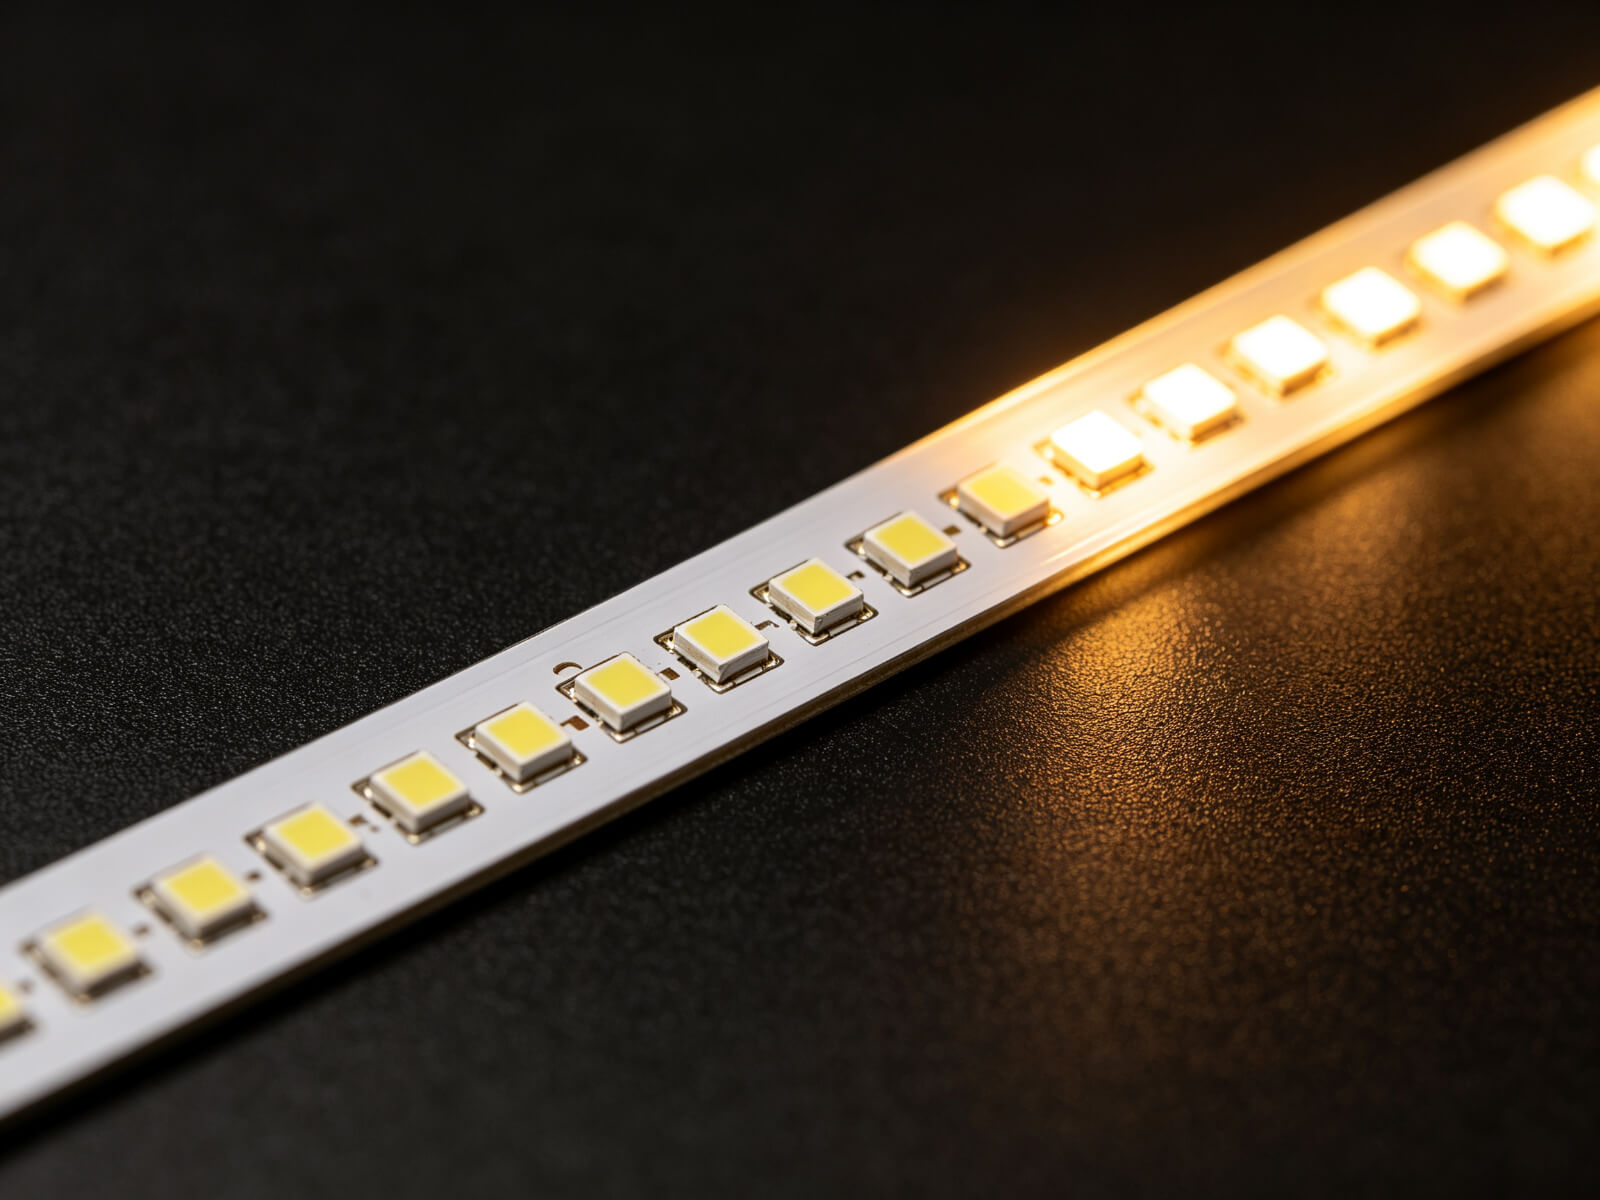
Dot-free lighting is a geometry problem, not just a cover problem. The further the strip sits from the diffuser, the smoother the light — so a deeper channel with an opal cover hides dots far better than a shallow one with a clear cover. If you want a continuous line in a slim profile, use a COB LED strip or a high-density SMD strip (120–240 LEDs/m) instead of a low-density one.
As a working rule: SMD strip in a shallow channel (under ~13 mm depth) needs an opal diffuser; a COB strip can give a continuous line even in a slim profile.
4. Plan for Heat Dissipation
LED strips convert electricity into both light and heat. The aluminum channel is a heat sink — it provides thermal mass and a conductive path that moves heat away from the diodes. This matters more as strip power increases:
A Realistic Example
A 14.4 W/m strip running 5 m draws 72 W. That heat has to go somewhere — a well-sized aluminum profile with adequate wall thickness keeps the strip cool, while a flimsy or too-small channel accelerates lumen decay and shortens life.
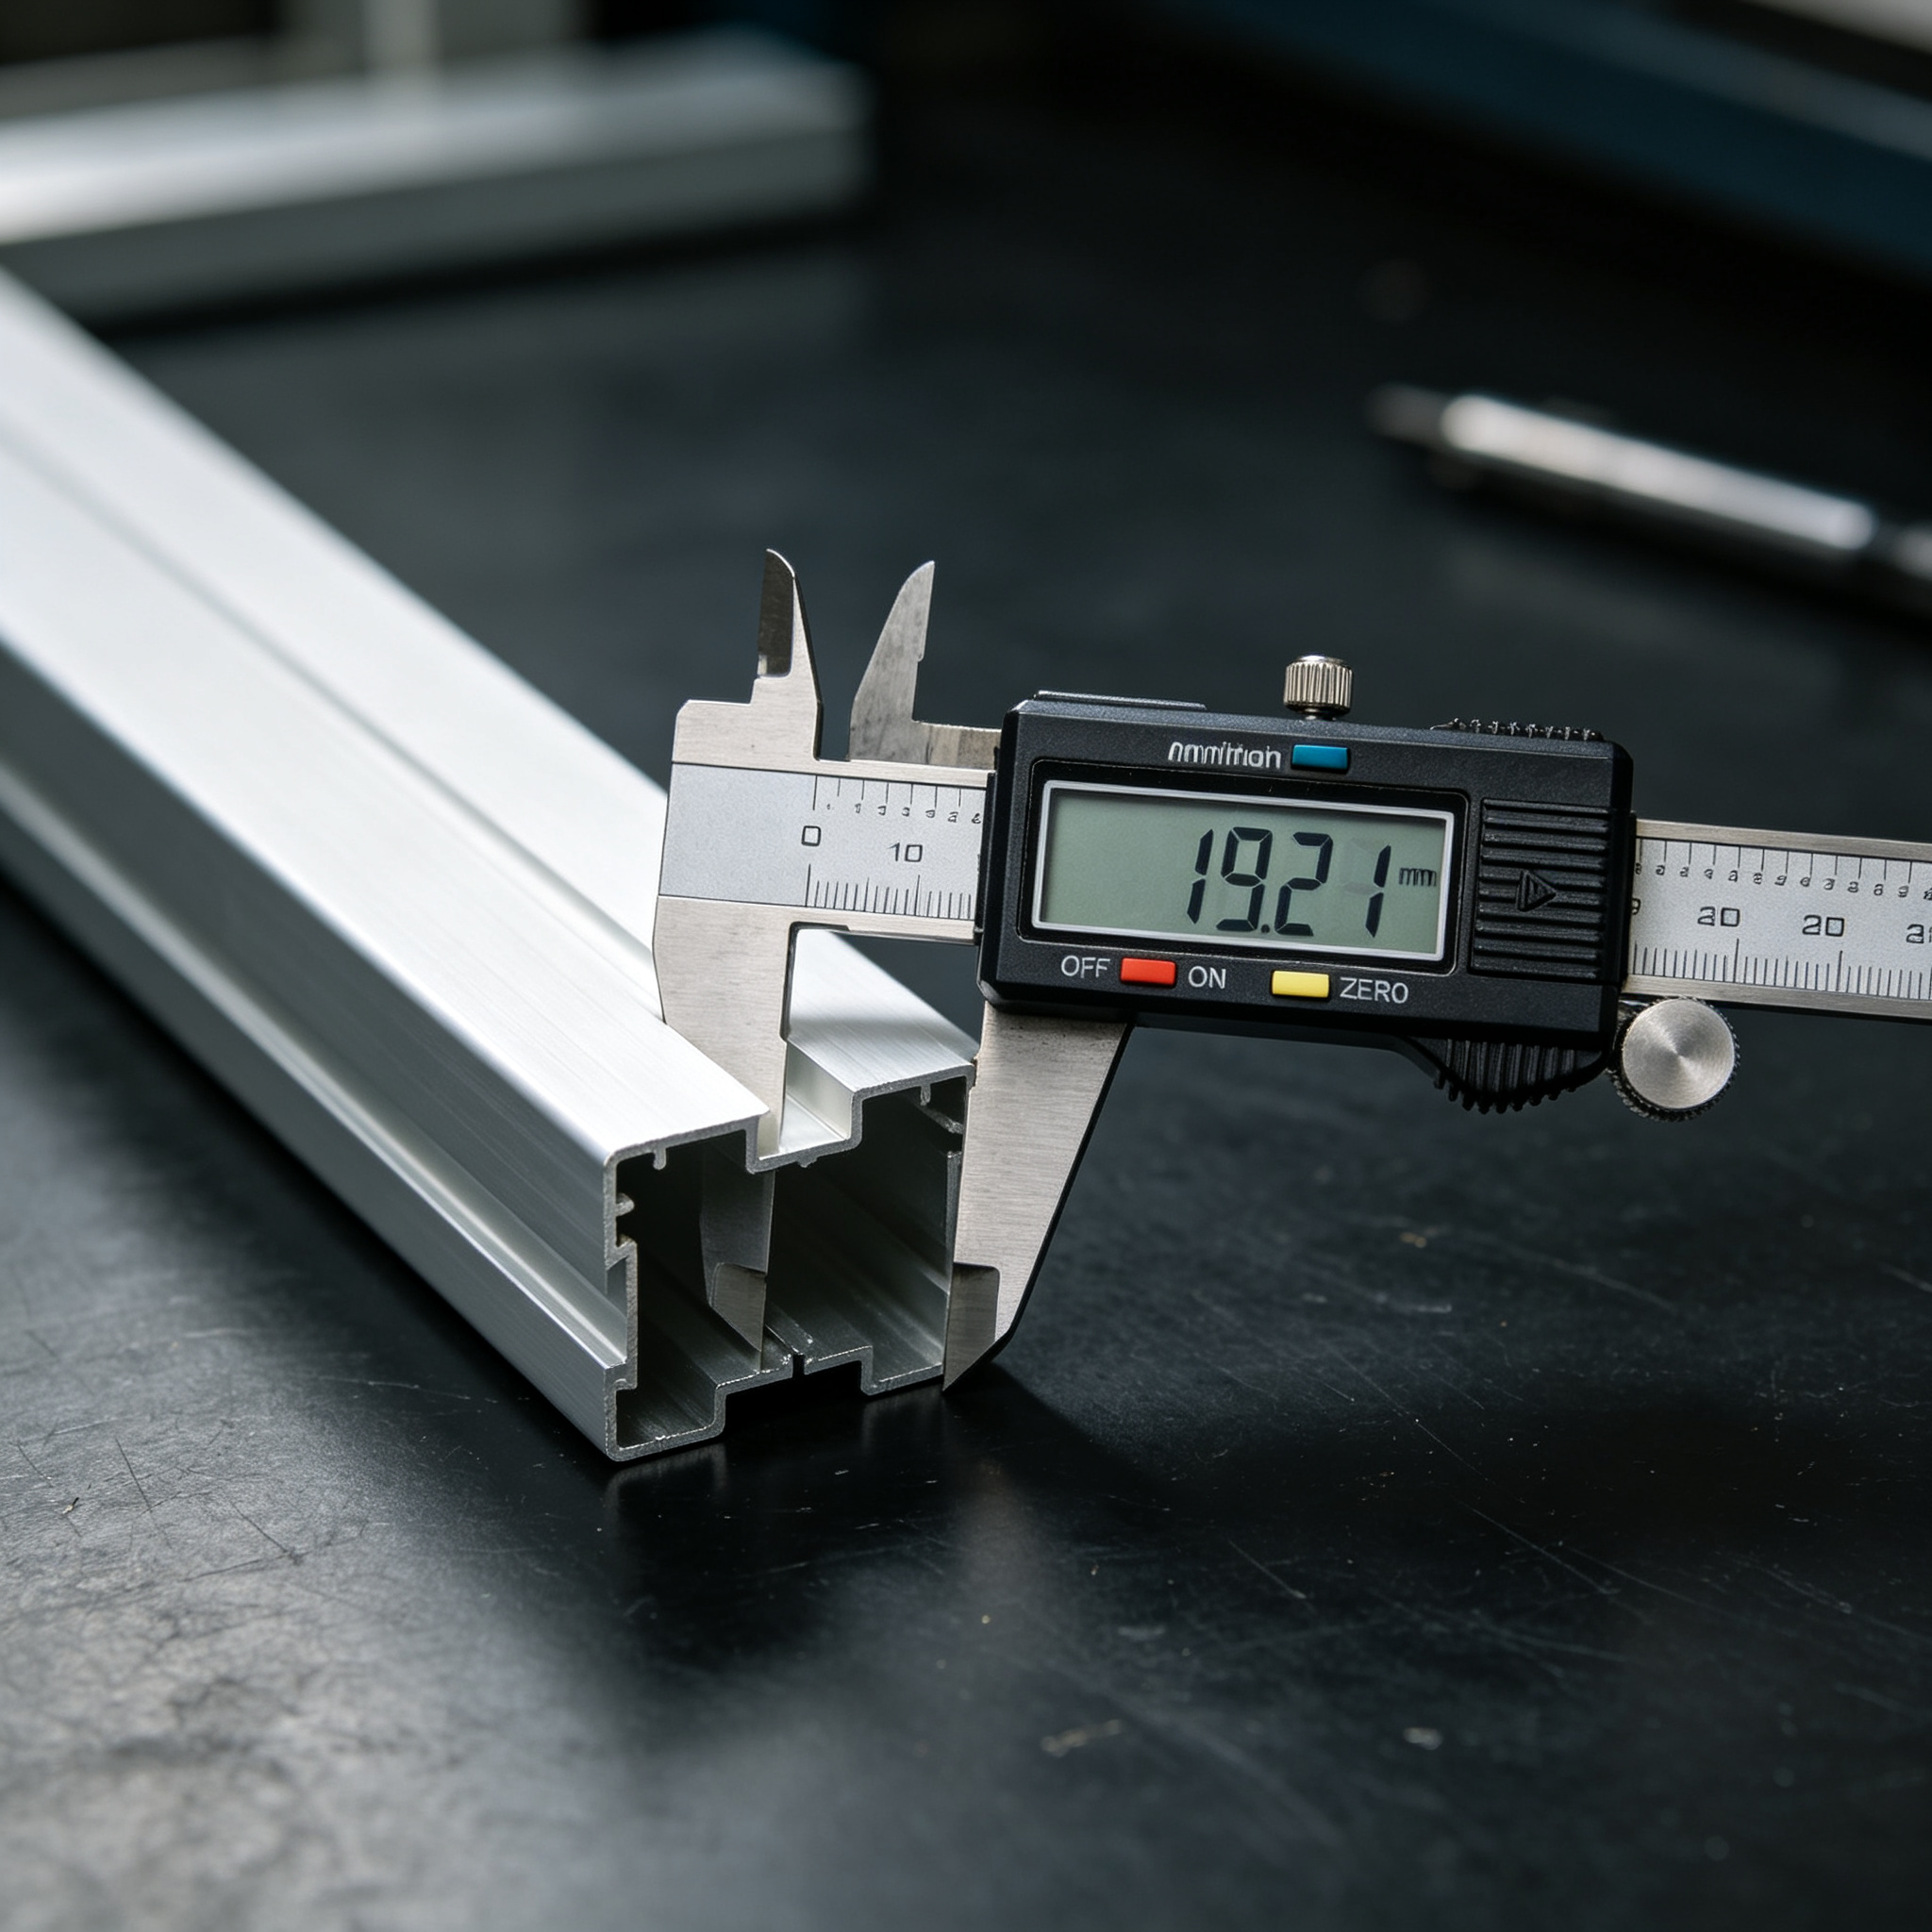
What Affects Thermal Performance
Strip wattage per metre, total length, profile cross-section, aluminum wall thickness, contact between strip and channel, operating hours and ambient temperature. For long-running commercial installs, size the power supply and wiring correctly too — a channel cannot fix an undersized electrical system.
5. Pick the Right Mounting Method
There are three ways to fix a surface mount channel, and the right one depends on the surface and how permanent the install needs to be.
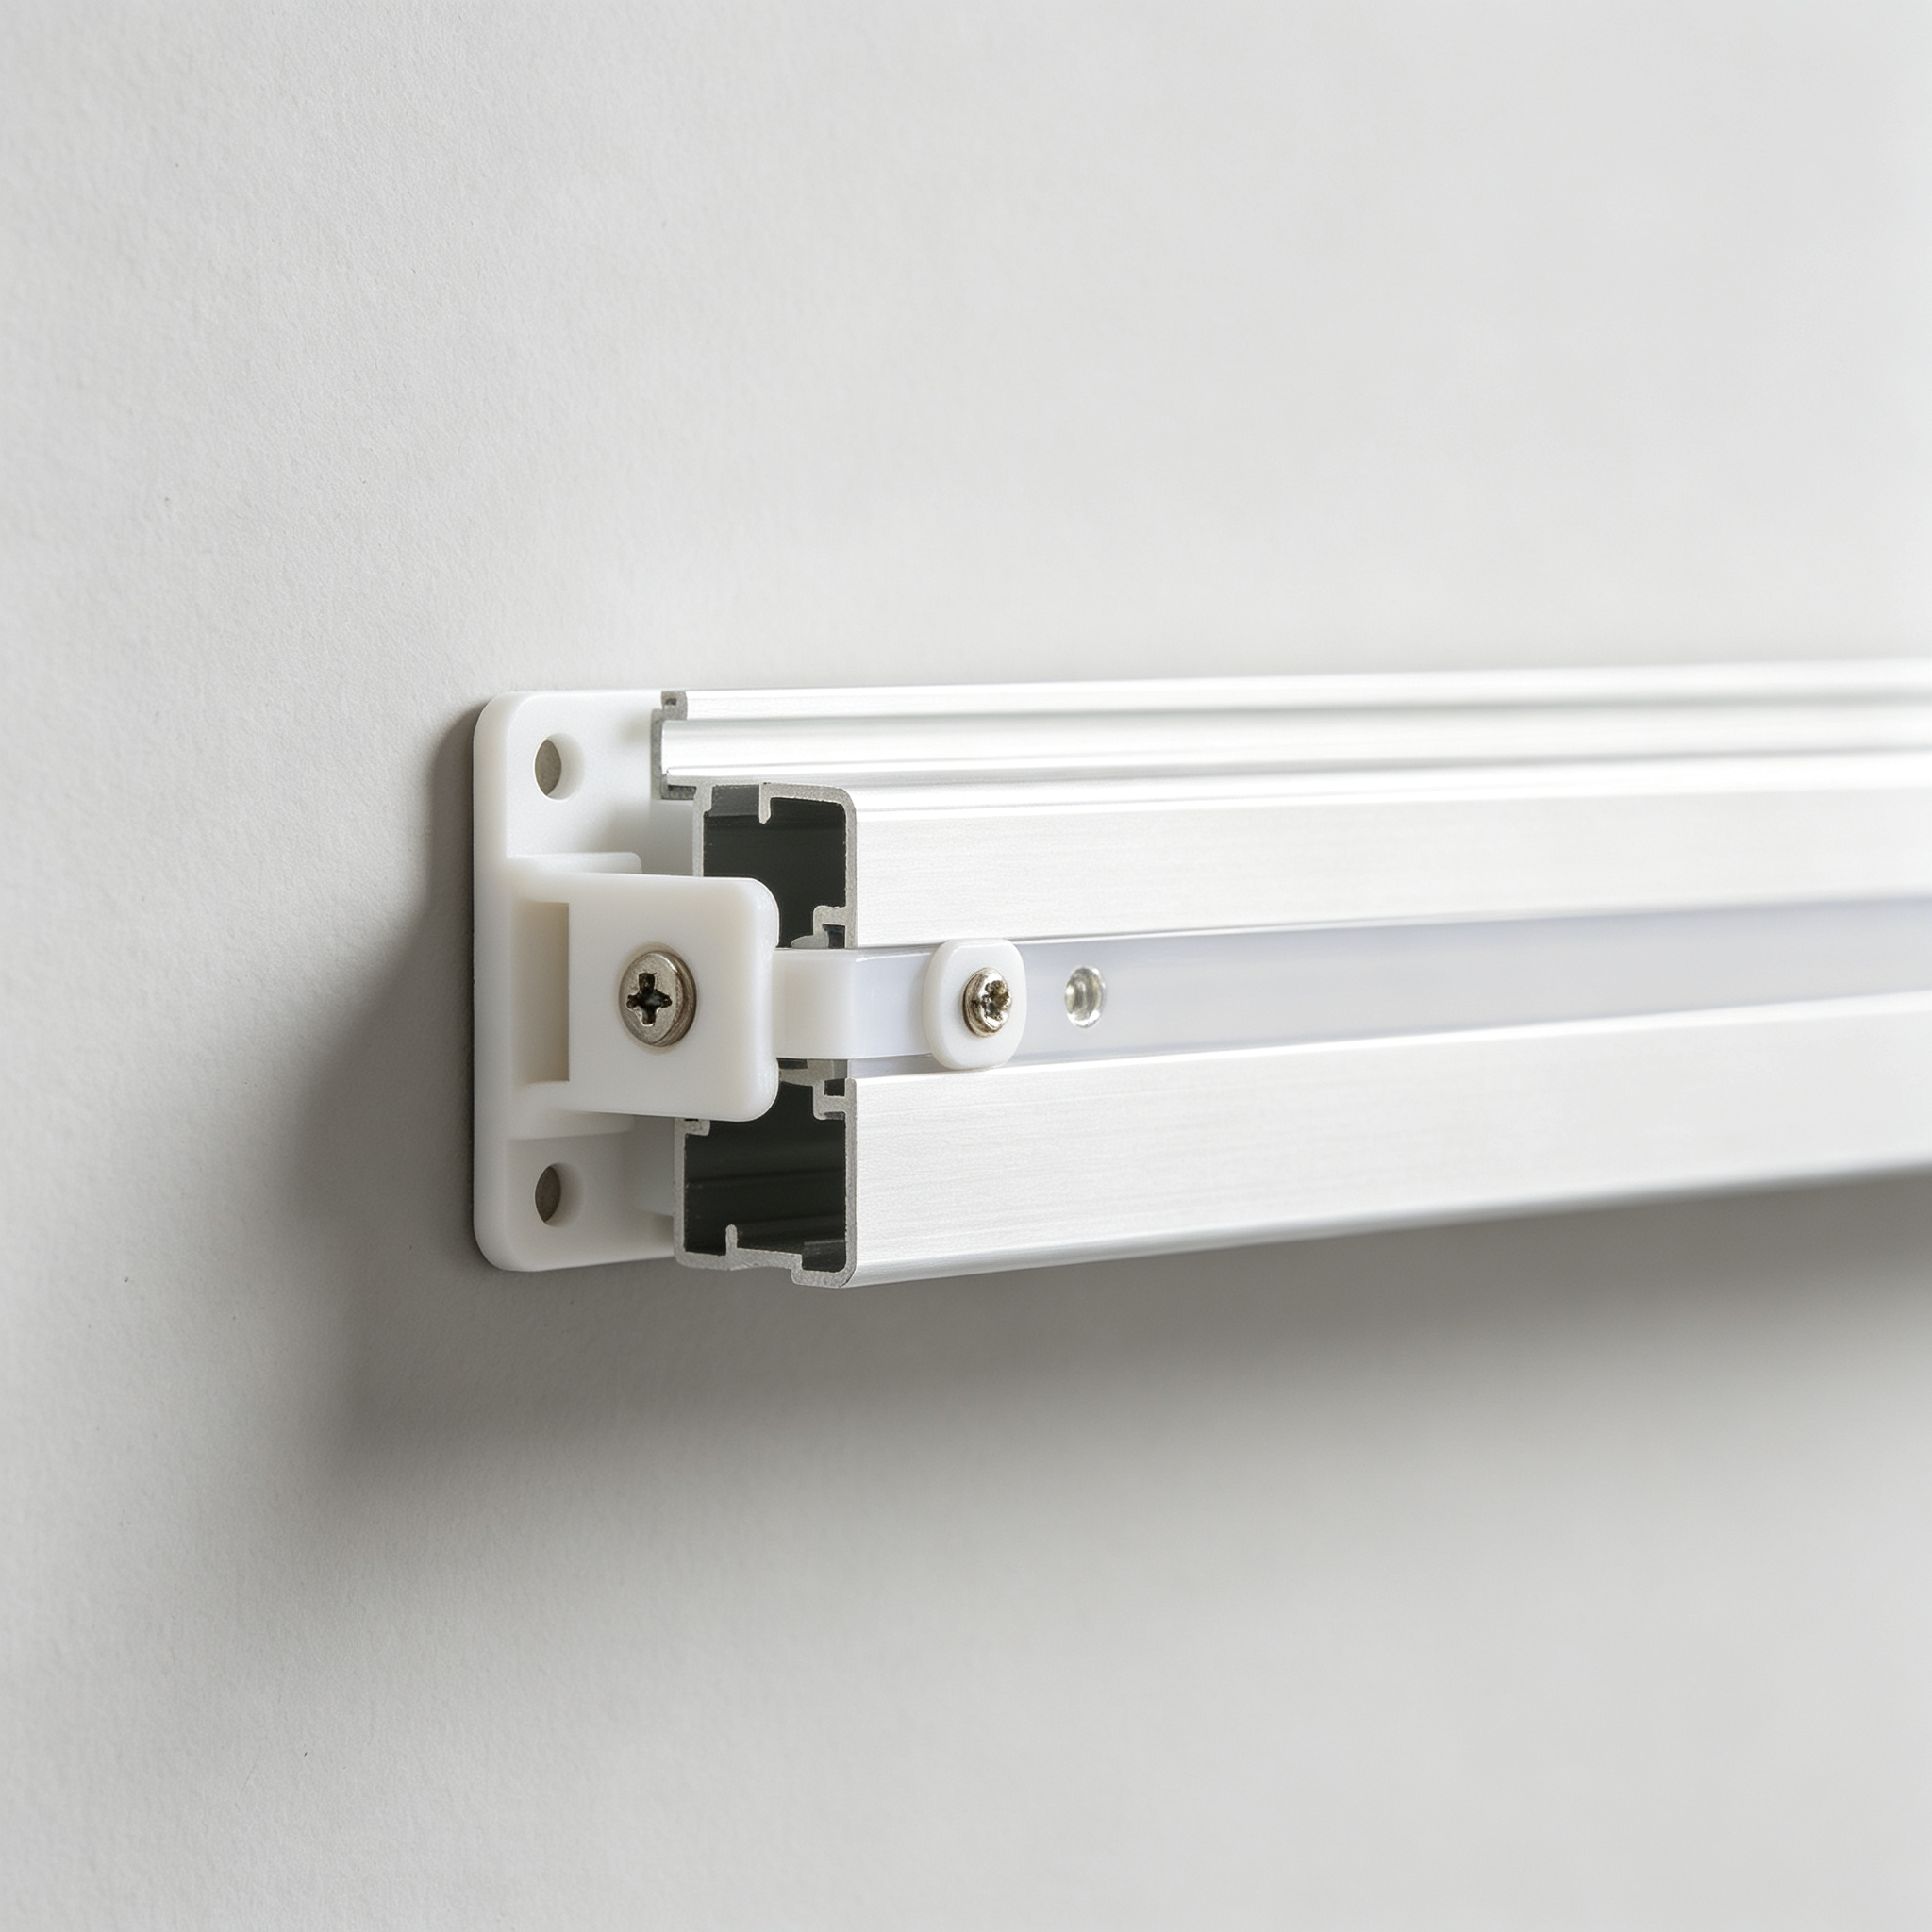
Mounting Clips (Best Overall)
Screw the clips to the surface every ~30 cm (12 in), then snap the profile in. Easy to remove for maintenance, works on uneven surfaces, and lets you adjust position after fixing.
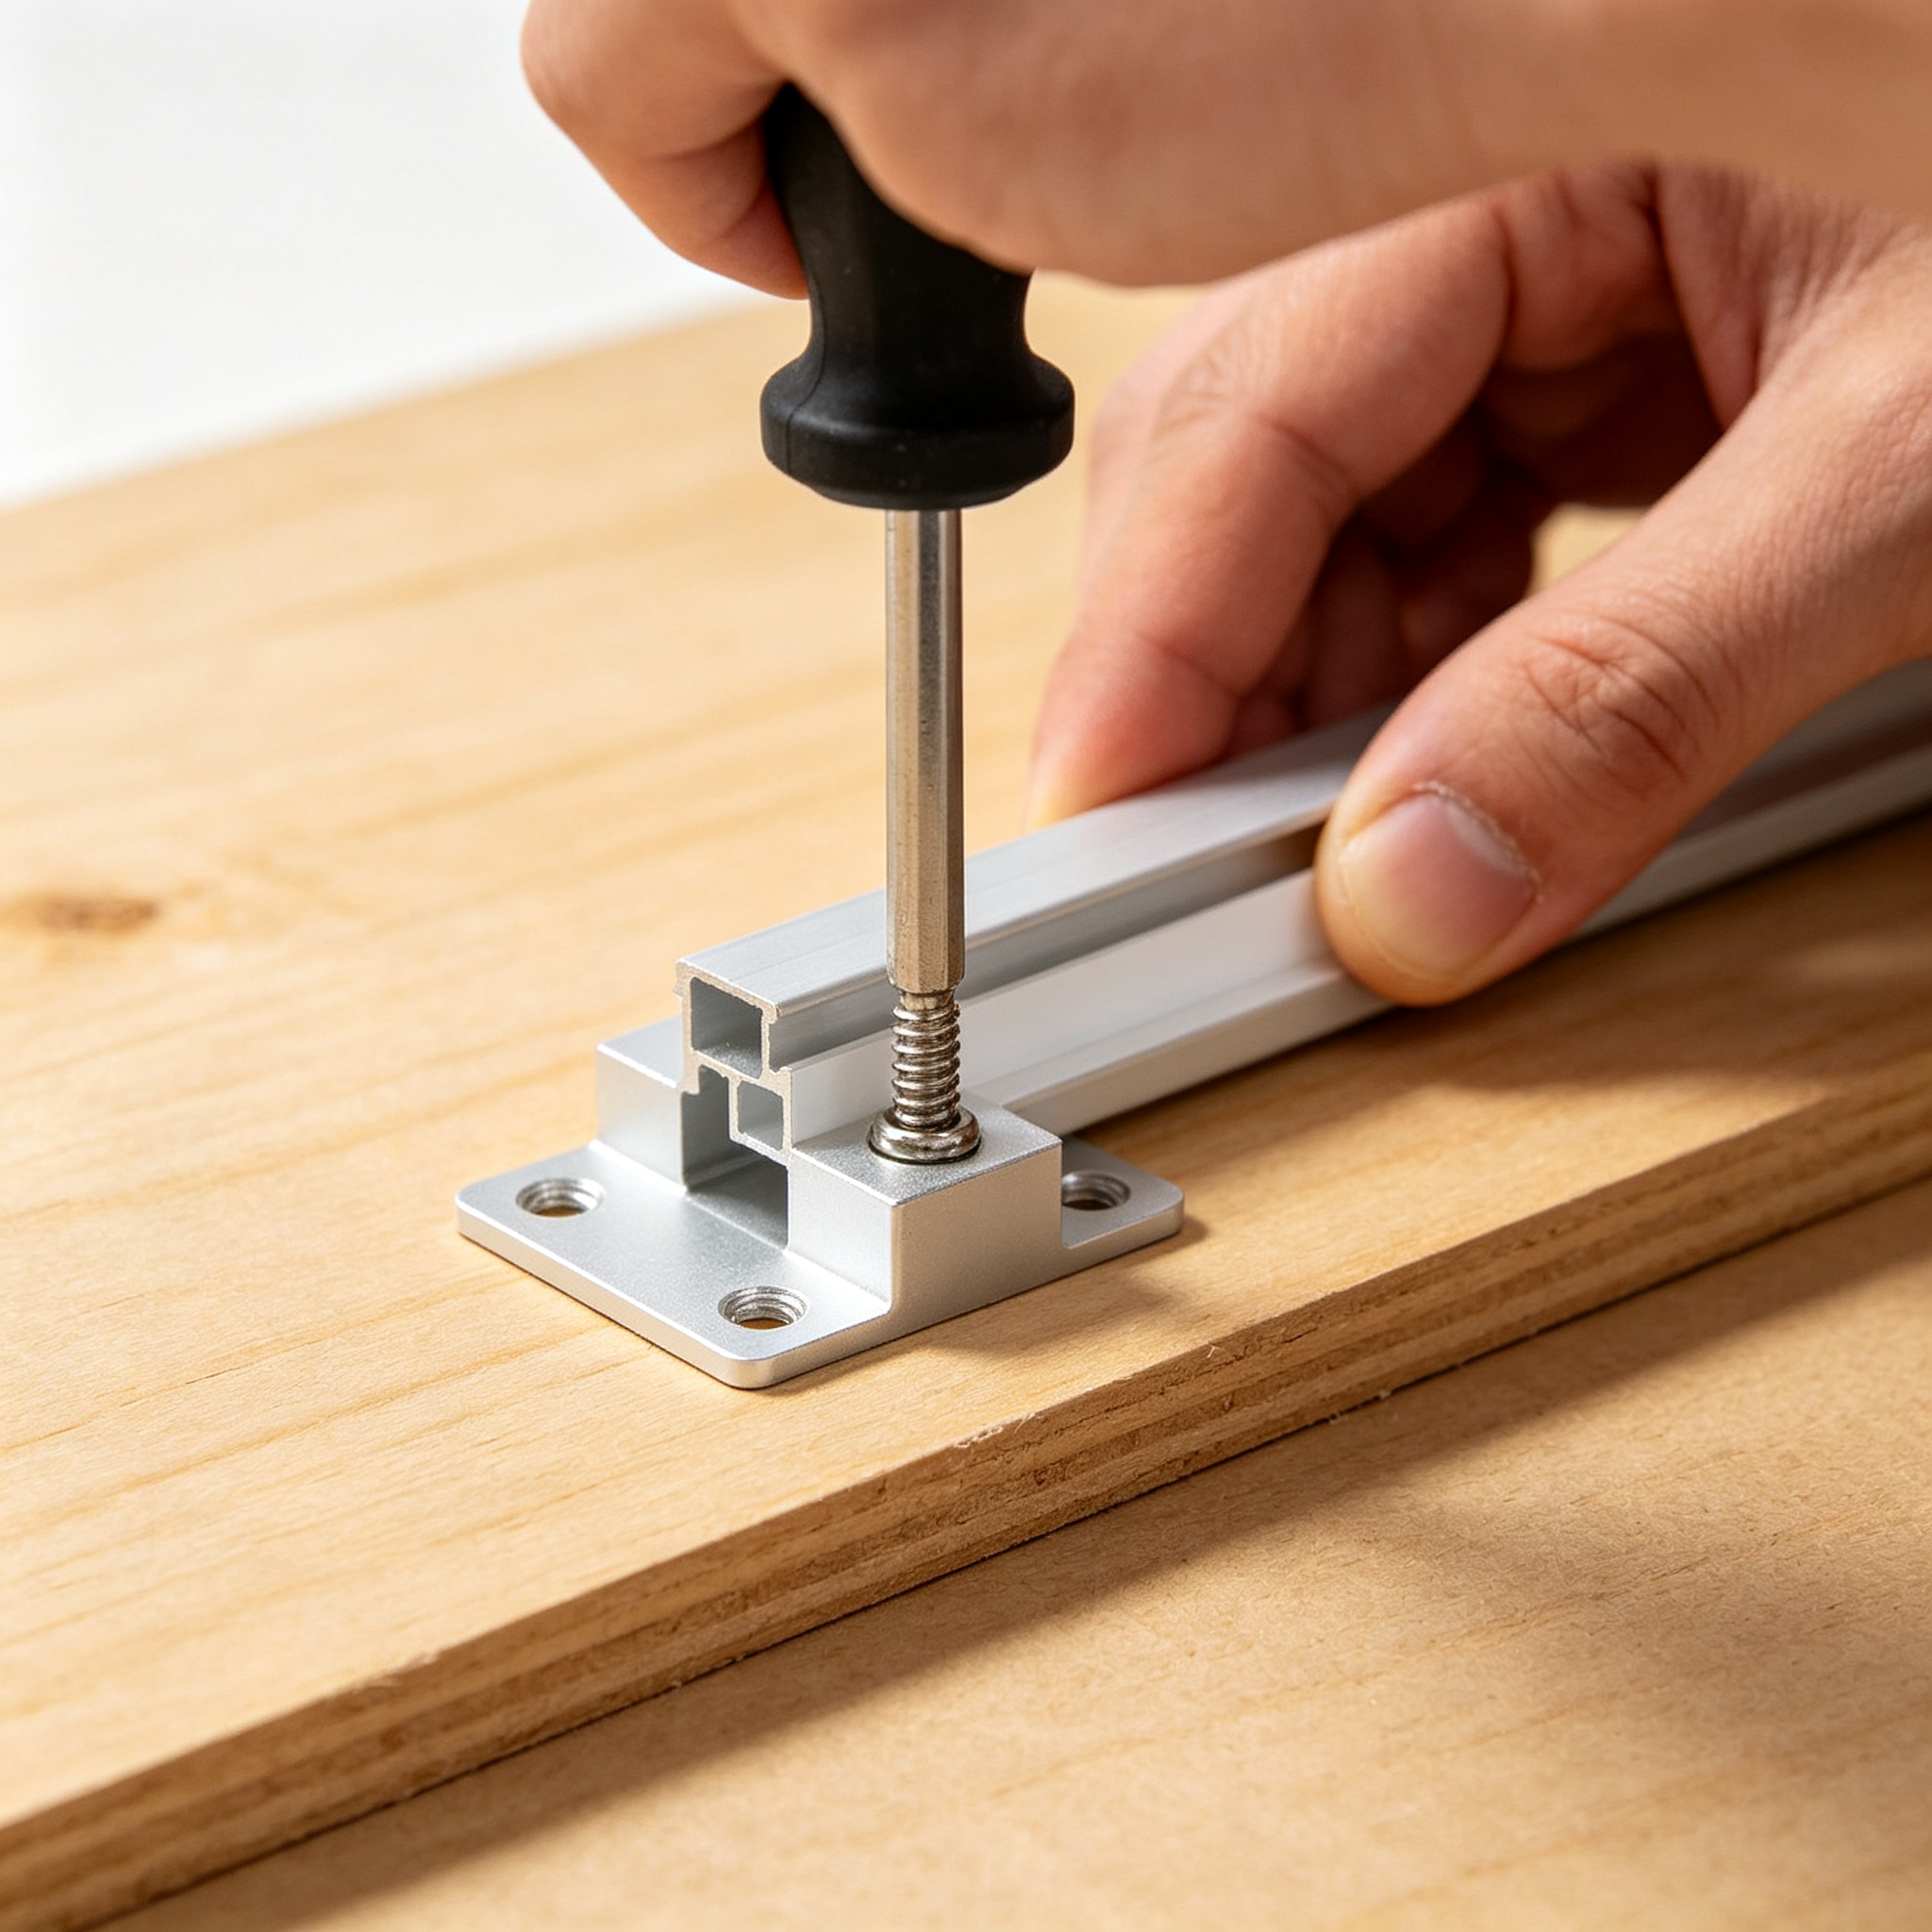
Screws Direct
Screw straight through the profile base for a permanent, strong mechanical connection. Best for high-traffic areas and commercial installs where removal is not planned.
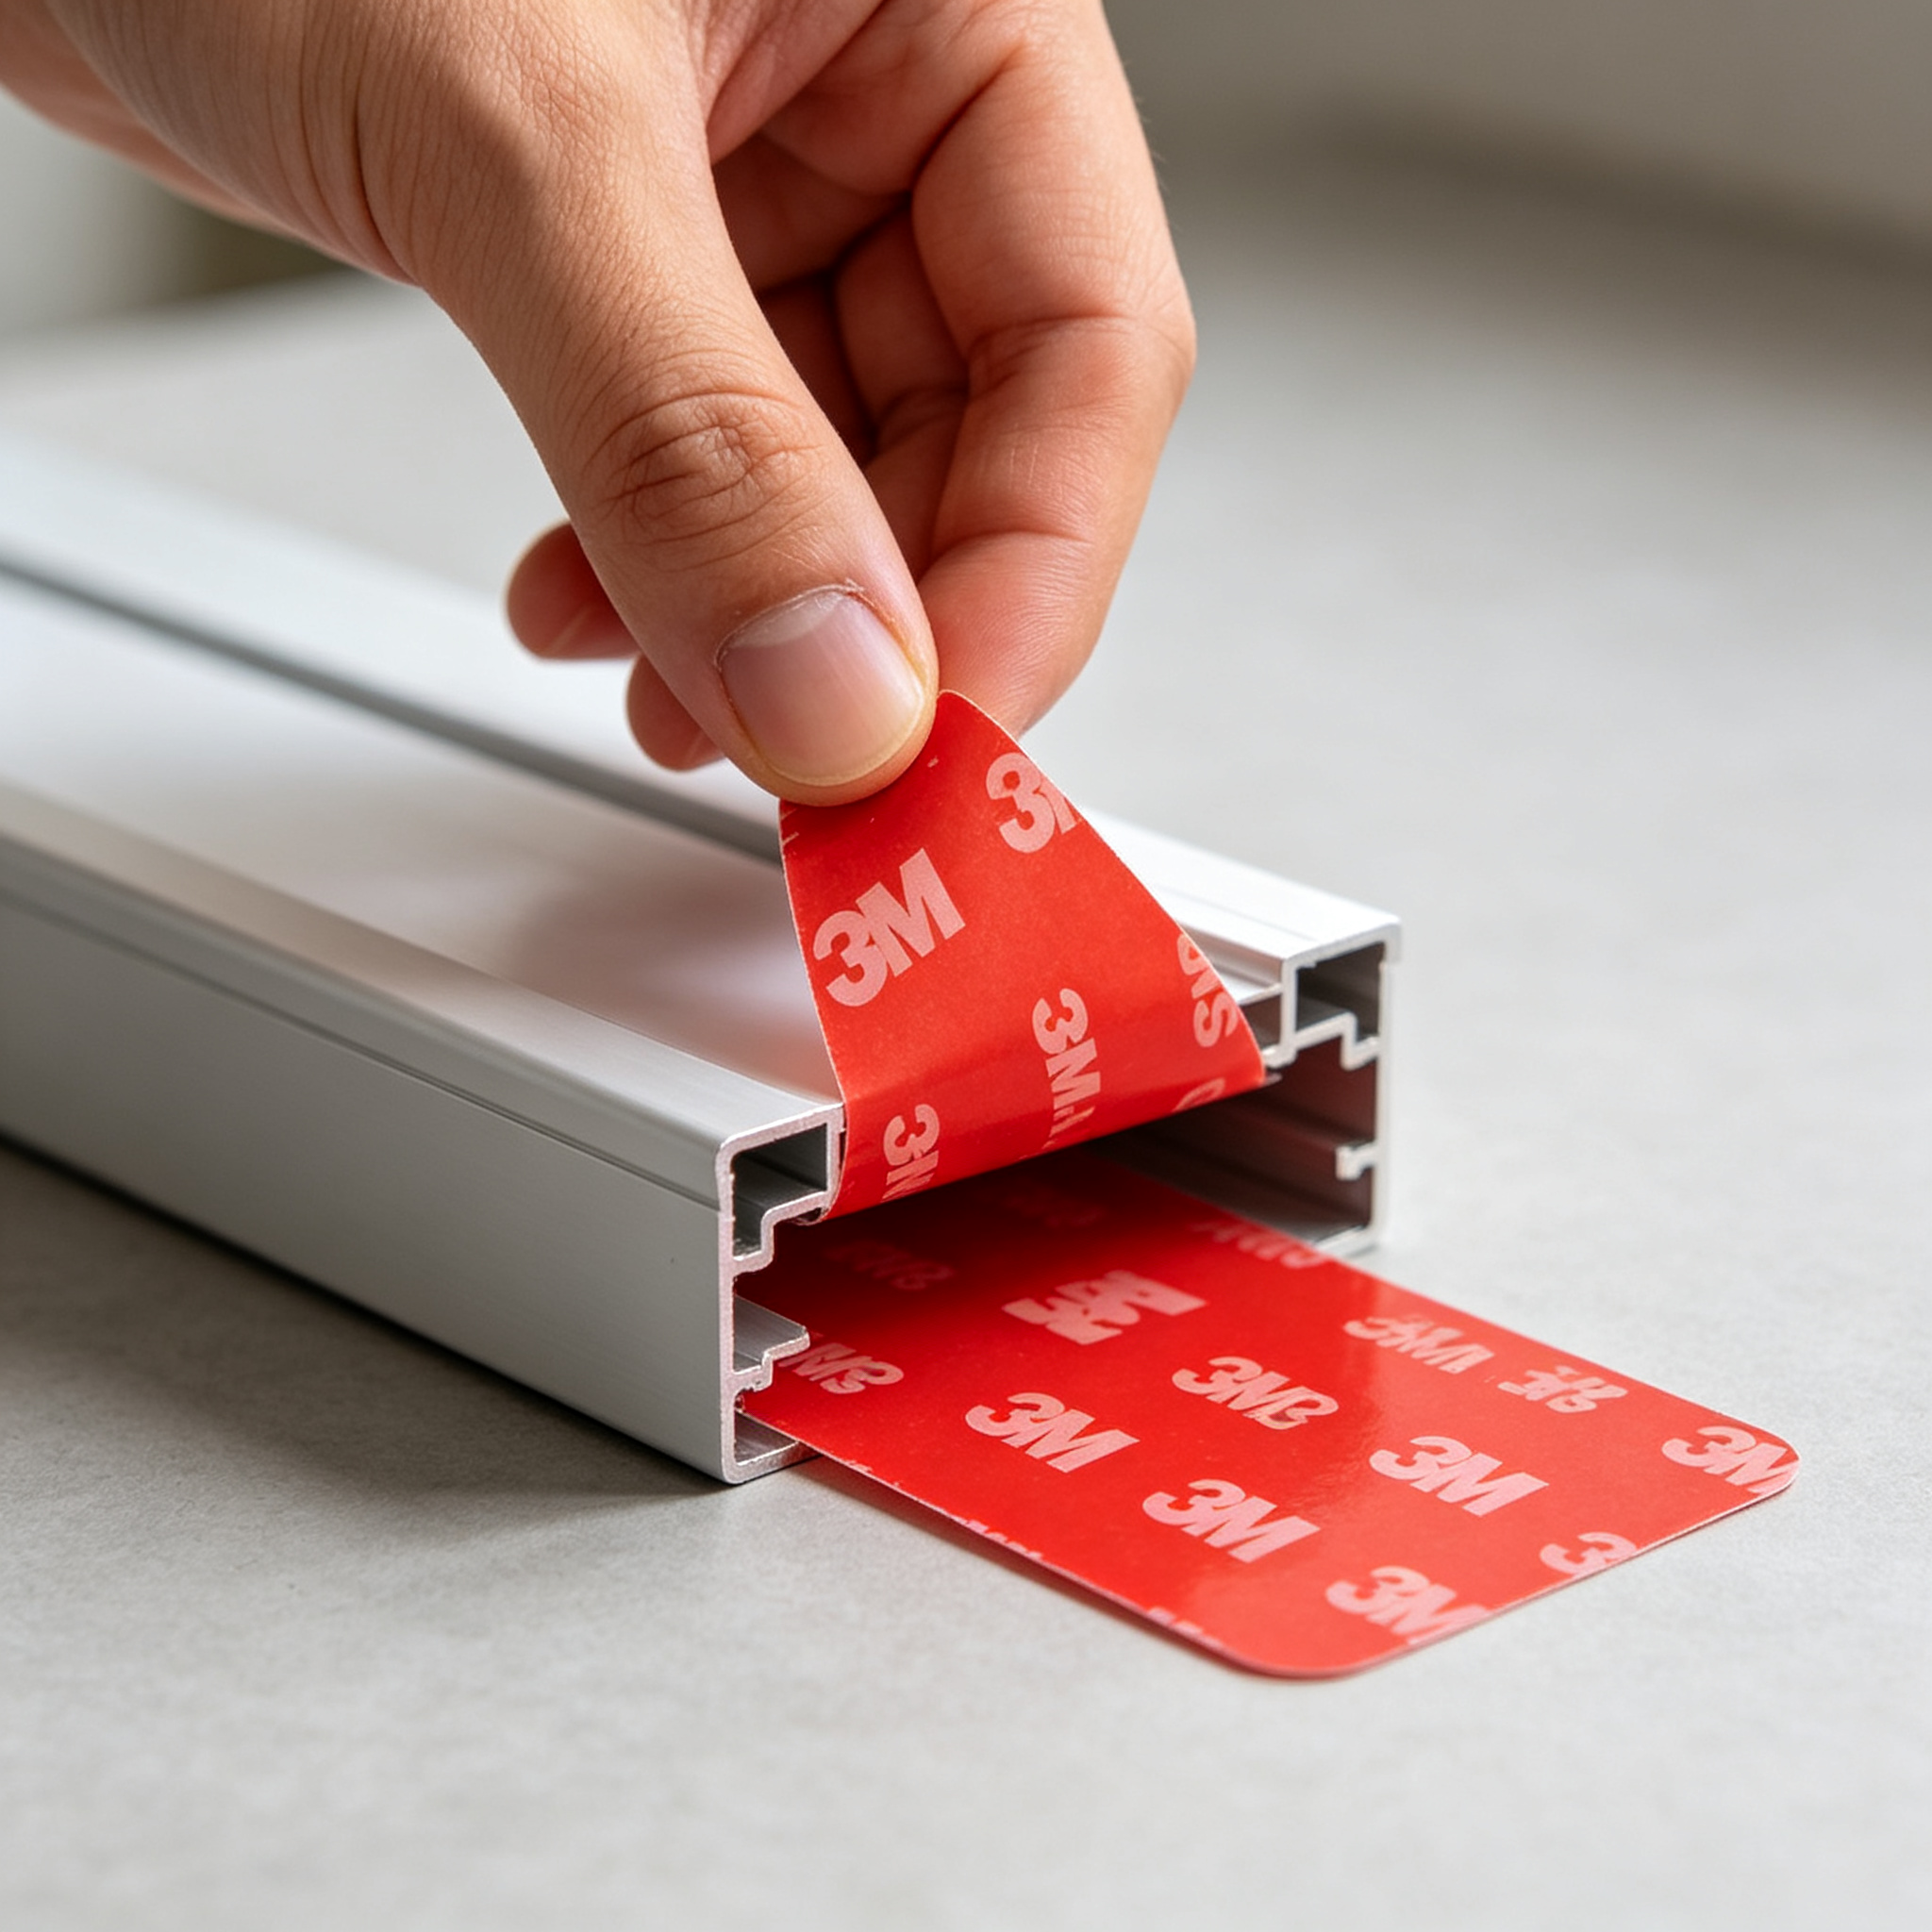
3M Tape / Adhesive
Peel-and-stick for quick, tool-free mounting on clean, dry, smooth surfaces. Surface preparation is critical — degrease with isopropyl alcohol first. Not for textured or greasy walls.
For demanding commercial applications, mechanical fixing is almost always preferable to relying on adhesive alone. Check the surface first: wood, MDF, metal and smooth painted surfaces are easy; textured, curved or dusty surfaces usually need clips or screws.
Surface Mounted vs. Recessed: Which One?
Surface mount and recessed profiles solve different problems. Here is a quick comparison to help you decide:
| Característica | Montado en superficie | Empotrado |
|---|---|---|
| Instalación | Directly on the surface | Inside a groove / opening |
| Cutting required | Usually no | Sí |
| Retrofit projects | Excelente | More difficult |
| Installation speed | Rápido | More involved |
| Appearance | Visible profile | Flush, more integrated |
| Mantenimiento | Relatively easy | More difficult |
| Lo mejor para | Cabinets, shelves, walls, furniture | New architectural interiors |
If you cannot modify the mounting surface, choose surface mount. If you want a fully flush architectural look and the surface can be cut, a recessed or drywall channel is the better match.
Quick Selection Checklist
- Where will it be installed, and how visible will the profile be?
- What is the strip width and height — including waterproof coating?
- What is the wattage per metre, and how many metres in total?
- Clear, frosted or opal diffuser — do you need to hide LED dots?
- Can you drill holes, or should you use 3M tape? Is the surface flat and clean?
- Indoor or outdoor — do you need IP-rated strip and sealed end caps?
- Are matching end caps, clips and connectors available for the profile?
- Does the finish (silver, black, white) match the surrounding design?
Step-by-Step Installation
Installing a surface mount channel takes about 15 minutes per run. Follow these steps in order:
Step 1 · Fix the Profile
Measure and mark the run, then fix the channel with clips, screws or 3M tape. Keep clips evenly spaced (~30 cm / 12 in) and check the channel is level before tightening.
Step 2 · Install the Strip
Clean the inside of the channel, peel the strip backing and press the LED strip onto the aluminum base, keeping it straight and centred. Leave cable entry at the end.
Step 3 · Snap on the Diffuser
Line up the cover at one end, squeeze it into the holding grooves, then press along to the other end until you hear the snap. Fit the end caps and connect the power.
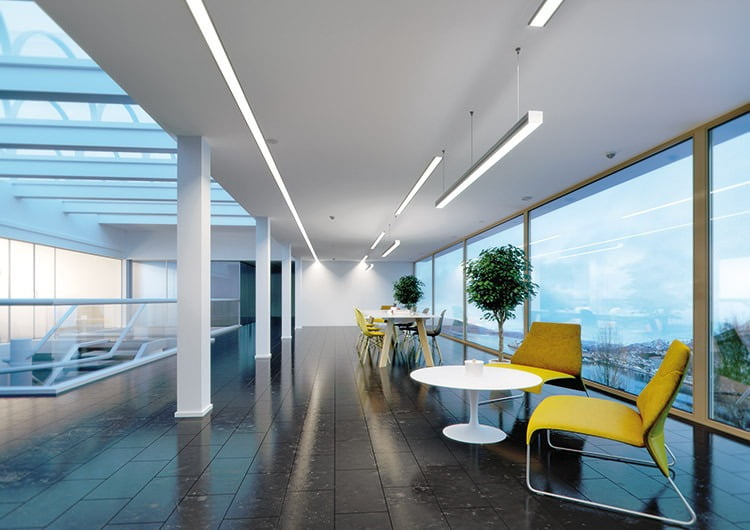


Need more detail? See our full LED aluminum profile installation guide.
Recommended Surface Mounted LED Channels
All profiles below are extruded from 6063-T5 aluminum with anodized or powder-coated finishes, and come with matching diffusers, end caps and mounting clips. Click any product to view specifications and request a quote:
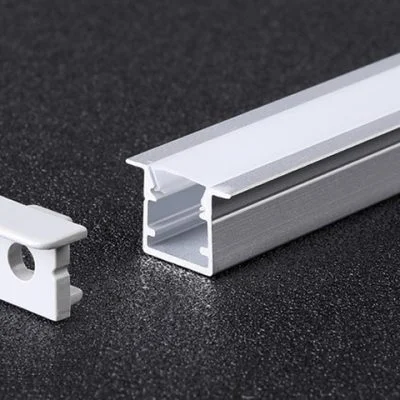
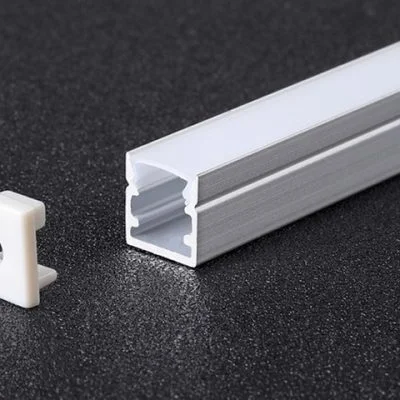
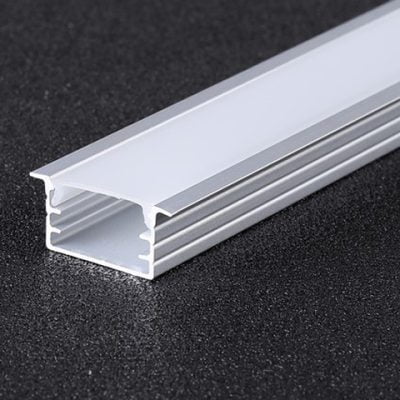
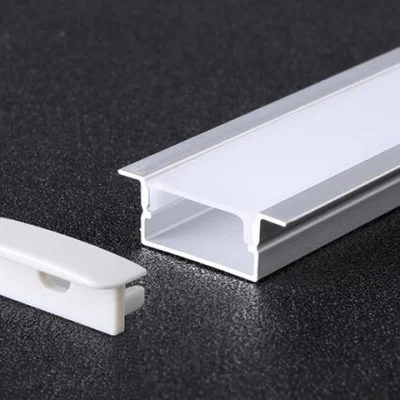
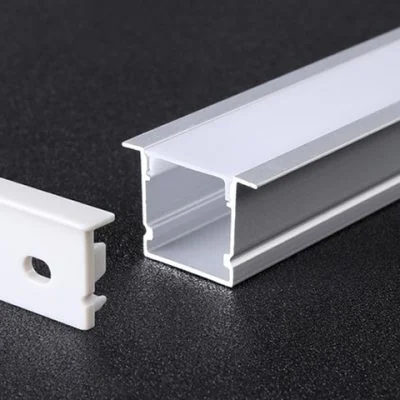
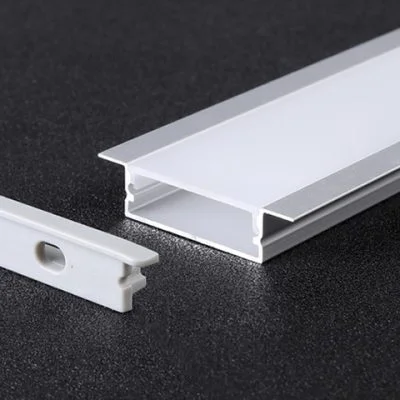
Full range available at our perfiles de aluminio LED page, with custom lengths, finishes and diffuser options for OEM/ODM projects.
Preguntas frecuentes
Can I install a surface mounted LED channel myself?
Yes. With mounting clips, screws or 3M tape, a surface mount channel is a simple three-step DIY job: fix the profile, stick in the strip, snap on the diffuser. No cutting or plastering is needed.
Do I need mounting clips or double-sided tape?
Both work. Use clips or screws for a permanent, secure fix on any surface; use 3M tape for quick, tool-free installation on clean, dry, smooth surfaces. For textured or greasy walls, always use mechanical fixing.
Why can I still see LED dots with a diffuser?
Dot visibility depends on LED density, the distance between the strip and the diffuser, and the diffuser type. A deeper channel, an opal cover, or a COB / high-density strip (120–240 LEDs/m) will remove the dots.
Does the aluminum profile really help with heat?
Yes. Aluminum is a good heat sink and draws heat away from the strip, which keeps output stable and extends LED life. This matters most for high-wattage strips (e.g. 14.4 W/m or more) running for long hours.
Can a surface mount channel be used outdoors?
Only if the whole system is IP-rated — the strip, diffuser, end caps, cable entry and connectors must all be sealed. A standard indoor profile is not automatically waterproof; see our waterproof LED profile guide for outdoor projects.
What is the difference between surface mount and recessed?
Surface mount fixes onto the surface with no cutting — faster and better for retrofits. Recessed sits flush inside a groove for a more integrated architectural look, but requires modifying the surface. Choose based on whether you can cut into the substrate.
Conclusión
The best surface mounted LED channel is not the smallest or the cheapest one — it is the profile that matches your strip, your surface and your lighting goal. Start with the location, match the internal width to your strip, choose the diffuser for the look you want, and size the channel for the heat your strip produces.
If you are sourcing for a project or planning an OEM/ODM line, send us your strip width, wattage and installation site — we will recommend the right profile and provide samples within days.
Ready to Source Surface Mounted LED Channels?
Get factory-direct pricing, free samples and a recommendation within 24 hours.

About the Author
Jerry Liu, founder of Lightstec, has spent over 13 years manufacturing LED strip lights and aluminum profiles in Guangdong, China, serving lighting distributors, furniture brands and project contractors worldwide.
Obtenga más clases dirigidas por profesionales que menos personas le dirán antes de cometer un error.