A practical guide to LED strip light connectors — the 2-wire, 4-wire RGB, screw-terminal and IP67 waterproof families, how to pick the right one, and how to join strips without soldering.
Why LED Strip Connectors Matter More Than You Think
The connector is the smallest part of an LED strip installation, yet it is the most common point of failure. A poor joint means a dead segment, a flickering strip, or even a short circuit that takes out your power supply. A good connector is quick to fit, keeps a solid contact, and — for outdoor work — seals out moisture.
Soldering is the gold standard for a permanent joint, but it is slow and needs skill. LED strip connectors give you the same reliable connection in seconds: you push the strip into a clip, a screw or a snap terminal, and the contacts bite through to the copper pads. That is why they are the default choice for installers, DIY owners and repair technicians.
In this guide we cover the main connector families we supply, how to match a connector to your strip, and a simple step-by-step method that works the first time.
The Connector Families We Offer
Connectors are defined by two things: how many electrical channels they carry, and whether they are sealed for outdoor use. Below are the four families we keep in stock, each shown with the actual product.
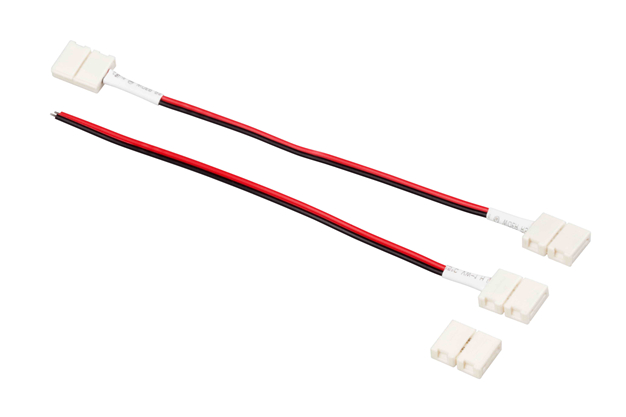
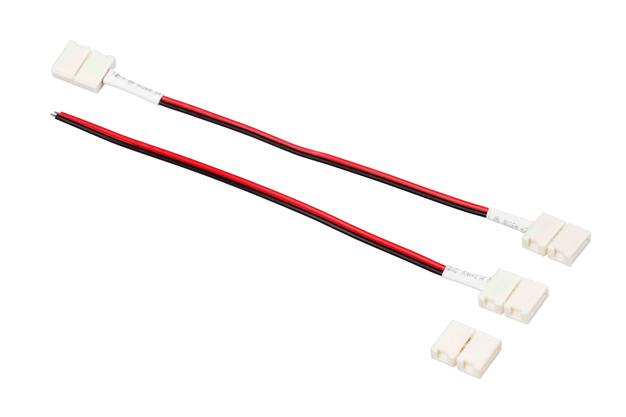
1. 2-Wire Connectors — Single-Color Strips
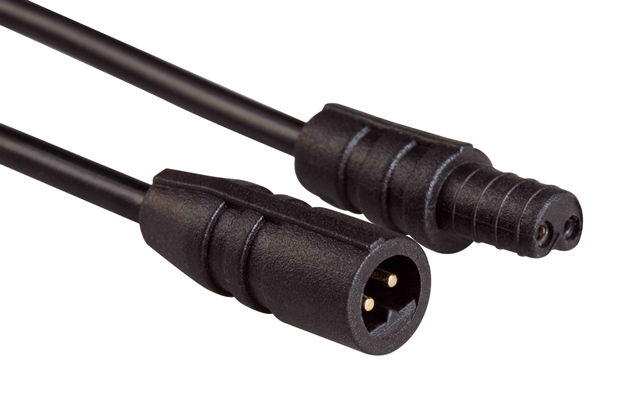
For single-colour strips (warm white, cool white, one colour only) you only need two conductors. These red-and-black lead connectors carry the + / − supply and are ideal for splicing strips, extending a run or fitting a new end. They suit 12 V and 24 V single-colour tape from 2835 to 5050 series.
2. 4-Wire Connectors — RGB & RGBW Strips
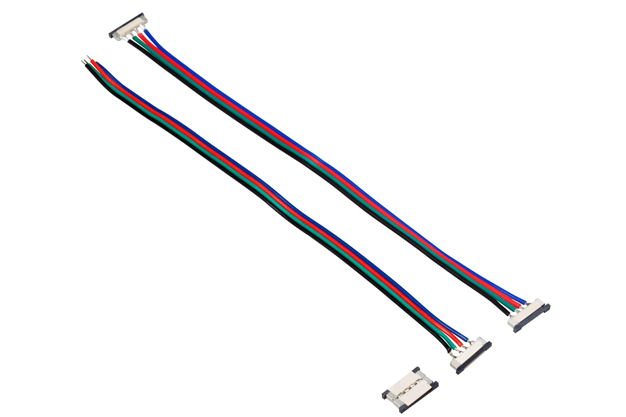
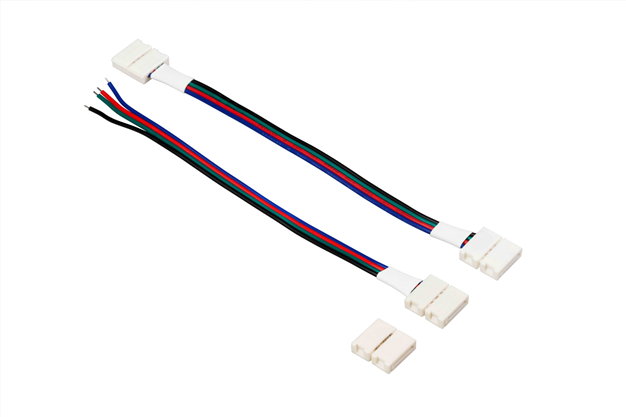
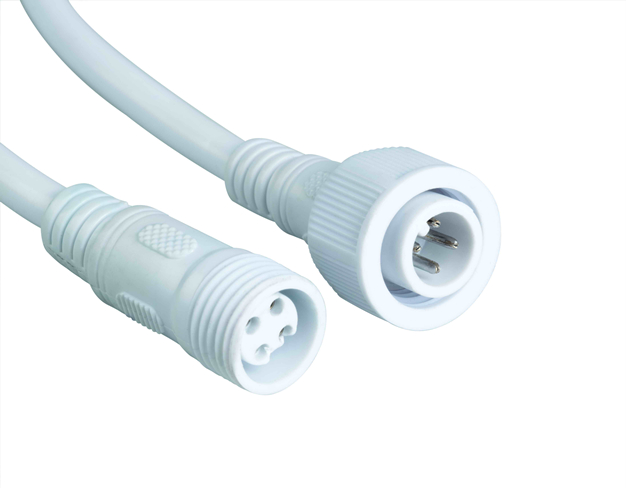
Colour-changing strips need one channel for each colour, so they use a 4-core lead (red, green, blue and black). These white-housing connectors match the R/G/B/+ pads on RGB and RGBW tape and keep each channel isolated, so colours stay clean and you avoid shorting between channels.
3. Screw-Terminal Power Connectors
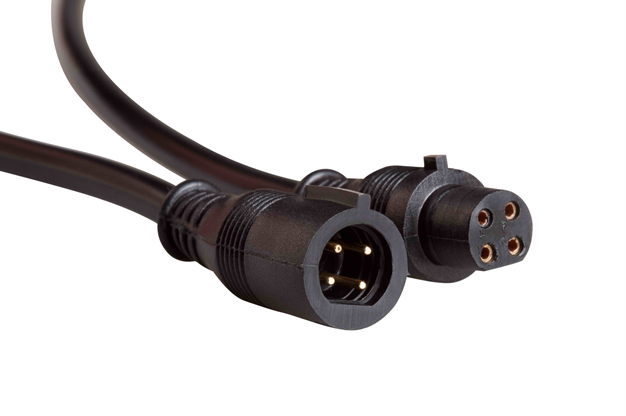
When you need a strong, lock-in connection at the power end — from the driver to the strip — screw or snap terminal connectors give a firm bite and are re-openable if you need to rewire. The black housings with gold pins suit high-current DC feeds.
4. IP67 Waterproof Connectors — Outdoor & Damp Zones
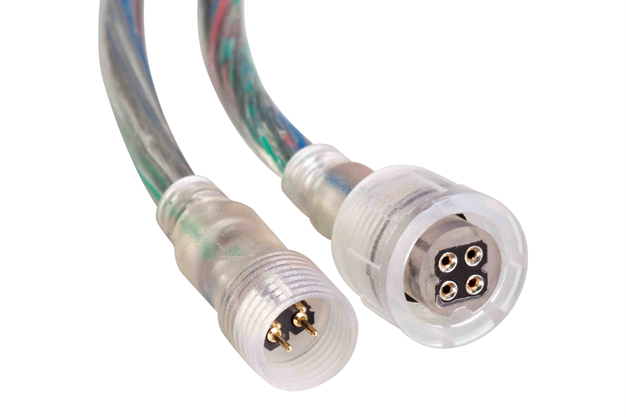
For gardens, patios, signage and bathrooms, moisture is the enemy. IP67 threaded connectors clamp the cable inside a rubber-gasketed housing, so water cannot reach the contacts. Use these wherever the joint could be splashed or rained on.
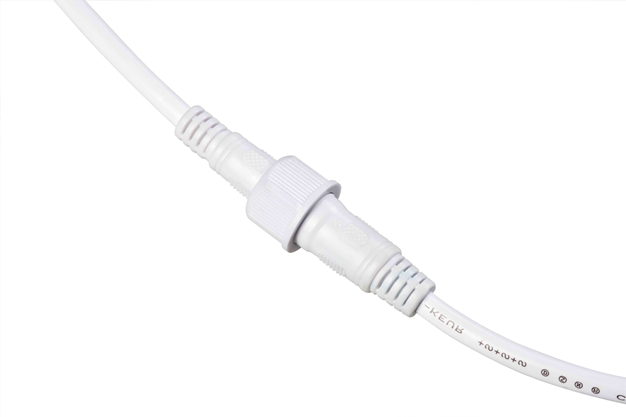
For sealed inline extensions on a waterproof run, a clear-body inline connector lets you join two sealed strip sections and still inspect the joint. The transparent shell shows the pins and keeps the splice protected.
How to Choose the Right Connector
Match four things and you will rarely go wrong:
Single colour = 2-wire; RGB / RGBW = 4-wire. Count the copper pads on your strip first.
Indoor clips are fine in dry rooms. Outdoor, bathrooms and signage need IP67 sealed connectors.
Long or high-power runs need heavier lead wire. Match the connector to your driver output and strip wattage.
12 V and 24 V strips both work, but confirm the pad spacing matches the clip width of your connector.
How to Connect LED Strips with a Connector
Connecting strips without soldering is a two-minute job if you follow the sequence below.
Cut the strip exactly on the marked cut line so the copper pads stay intact and fully exposed.
Open the connector lid or terminal and slide the strip in until the pads sit fully inside the contacts.
Close the lid or tighten the screw firmly so the metal teeth bite through to the copper.
Power on and check the whole run lights up evenly before you fix it in place. No heat at the joint = good contact.
Errores comunes que se deben evitar
- Mixing wire counts — using a 2-wire connector on an RGB strip shorts two channels. Always match 2 or 4 cores.
- Cutting off the pads — a clean cut on the marked line keeps the copper exposed for the clip to bite.
- Using an indoor connector outside — any damp joint corrodes fast. Choose IP67 for outdoor runs.
- Over-tightening screws — snug is enough; over-tightening can crush the pads and break the strip.
- Ignoring voltage drop on long runs — over 10–15 m, feed power at both ends or upgrade to thicker lead wire.
LED Strip Connector FAQ
Can I use a connector instead of soldering?
Yes. For most installations a quality clip connector is just as reliable as solder, is faster, and stays re-openable for repairs.
Are these connectors waterproof?
Only the IP67 threaded models are fully sealed for outdoor and wet zones. The standard 2- and 4-wire connectors are for indoor use.
How do I know if my strip needs a 2- or 4-wire connector?
Single-colour tape has two pads and needs 2-wire. RGB or RGBW tape has four pads and needs 4-wire. Look at the copper pads at the cut line.
Will a connector work with both 12 V and 24 V strips?
Yes — the connector carries DC power regardless of voltage; just make sure the wire gauge matches the current your strip draws.
Can I join two strip sections with a connector?
Yes. A straight-through or inline connector joins two cut ends, and the IP67 inline version keeps outdoor extensions sealed.
Conclusion: Choose the Right Connector and Install Once
The right LED strip connector saves time, prevents dead segments and makes outdoor lighting reliable. Match the wire count, pick IP67 for wet zones, follow the simple press-and-lock steps, and your installation will last. If you are unsure which connector fits your strip, send us the product model and we will match it for you.
Recommended LED Strip Connectors
Haga clic en cualquier producto para ver las especificaciones y solicitar una cotización:

Para ahorrarle tiempo, hemos preparado un catálogo en PDF con todos nuestros últimos productos de iluminación LED. Deja tu correo electrónico y recíbelo inmediatamente.

Need help choosing a connector or strip for your project? Send us your product model and get a free spec match and sample.
Obtenga más clases dirigidas por profesionales que menos personas le dirán antes de cometer un error.