A complete outdoor LED neon flex mounting guide for architects and installers — four mounting methods, clip spacing rules, bending radius, IP67 sealing and the models best suited to each job.
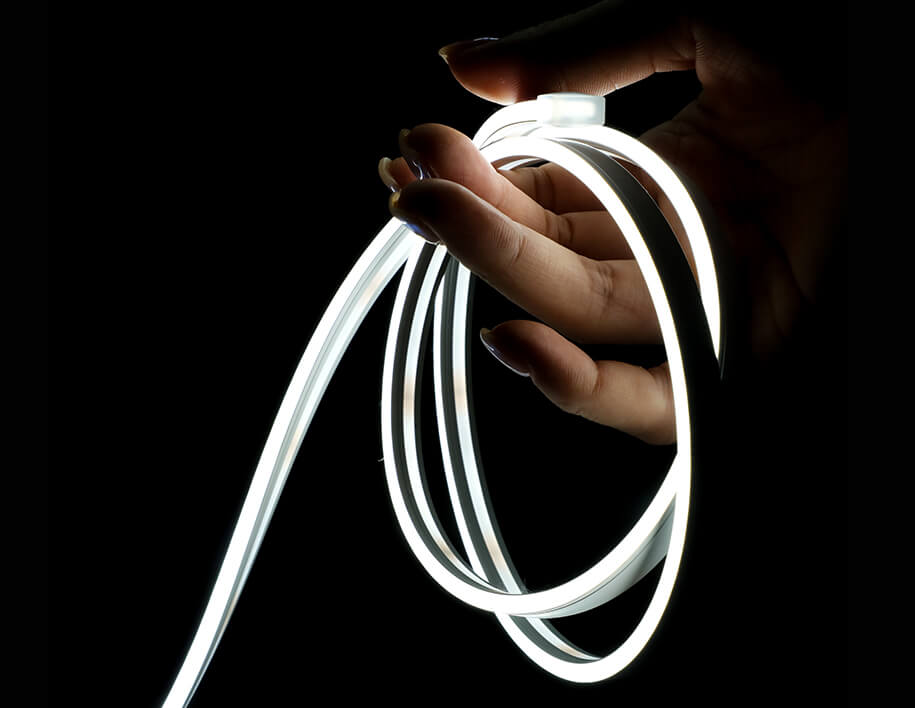

LED Neon Flex is one of the most flexible lighting products you can buy — it curves into letters, follows rooflines and lines garden paths. But out in the wind, rain and sun, how you mount it decides whether it looks clean for five years or sags, warps and fails in one season. This guide covers every mounting method, when to use each one, and the exact steps to install outdoor neon flex that stays put.
- Why the mounting method matters outdoors
- 4 ways to mount outdoor LED neon flex
- Clips vs aluminum channel — which to choose
- Clip spacing & fixing rules
- Outdoor installation step by step
- Bending radius & shaping rules
- Best neon flex models for each outdoor job
- Color & control for outdoor landscape
- Outdoor neon flex FAQ
Why the Mounting Method Matters Outdoors
Inside a room, a clip that slips is a small annoyance. Outside, the same slip means a sagging roofline, a cracked letter sign, or a neon tube swinging in the wind. A well-chosen mounting system will:
Gravity, thermal expansion and wind all pull at outdoor runs. The right clips or channel hold the strip against all three.
Continuous support (channel) or correctly spaced clips stop the jacket from dropping into visible waves between fixings.
Outdoor-rated clips and channels are UV-stable and corrosion-resistant, so they do not crack or rust after a few summers.
Clip-on systems let you release and reinstall a section in minutes when a segment needs replacing.
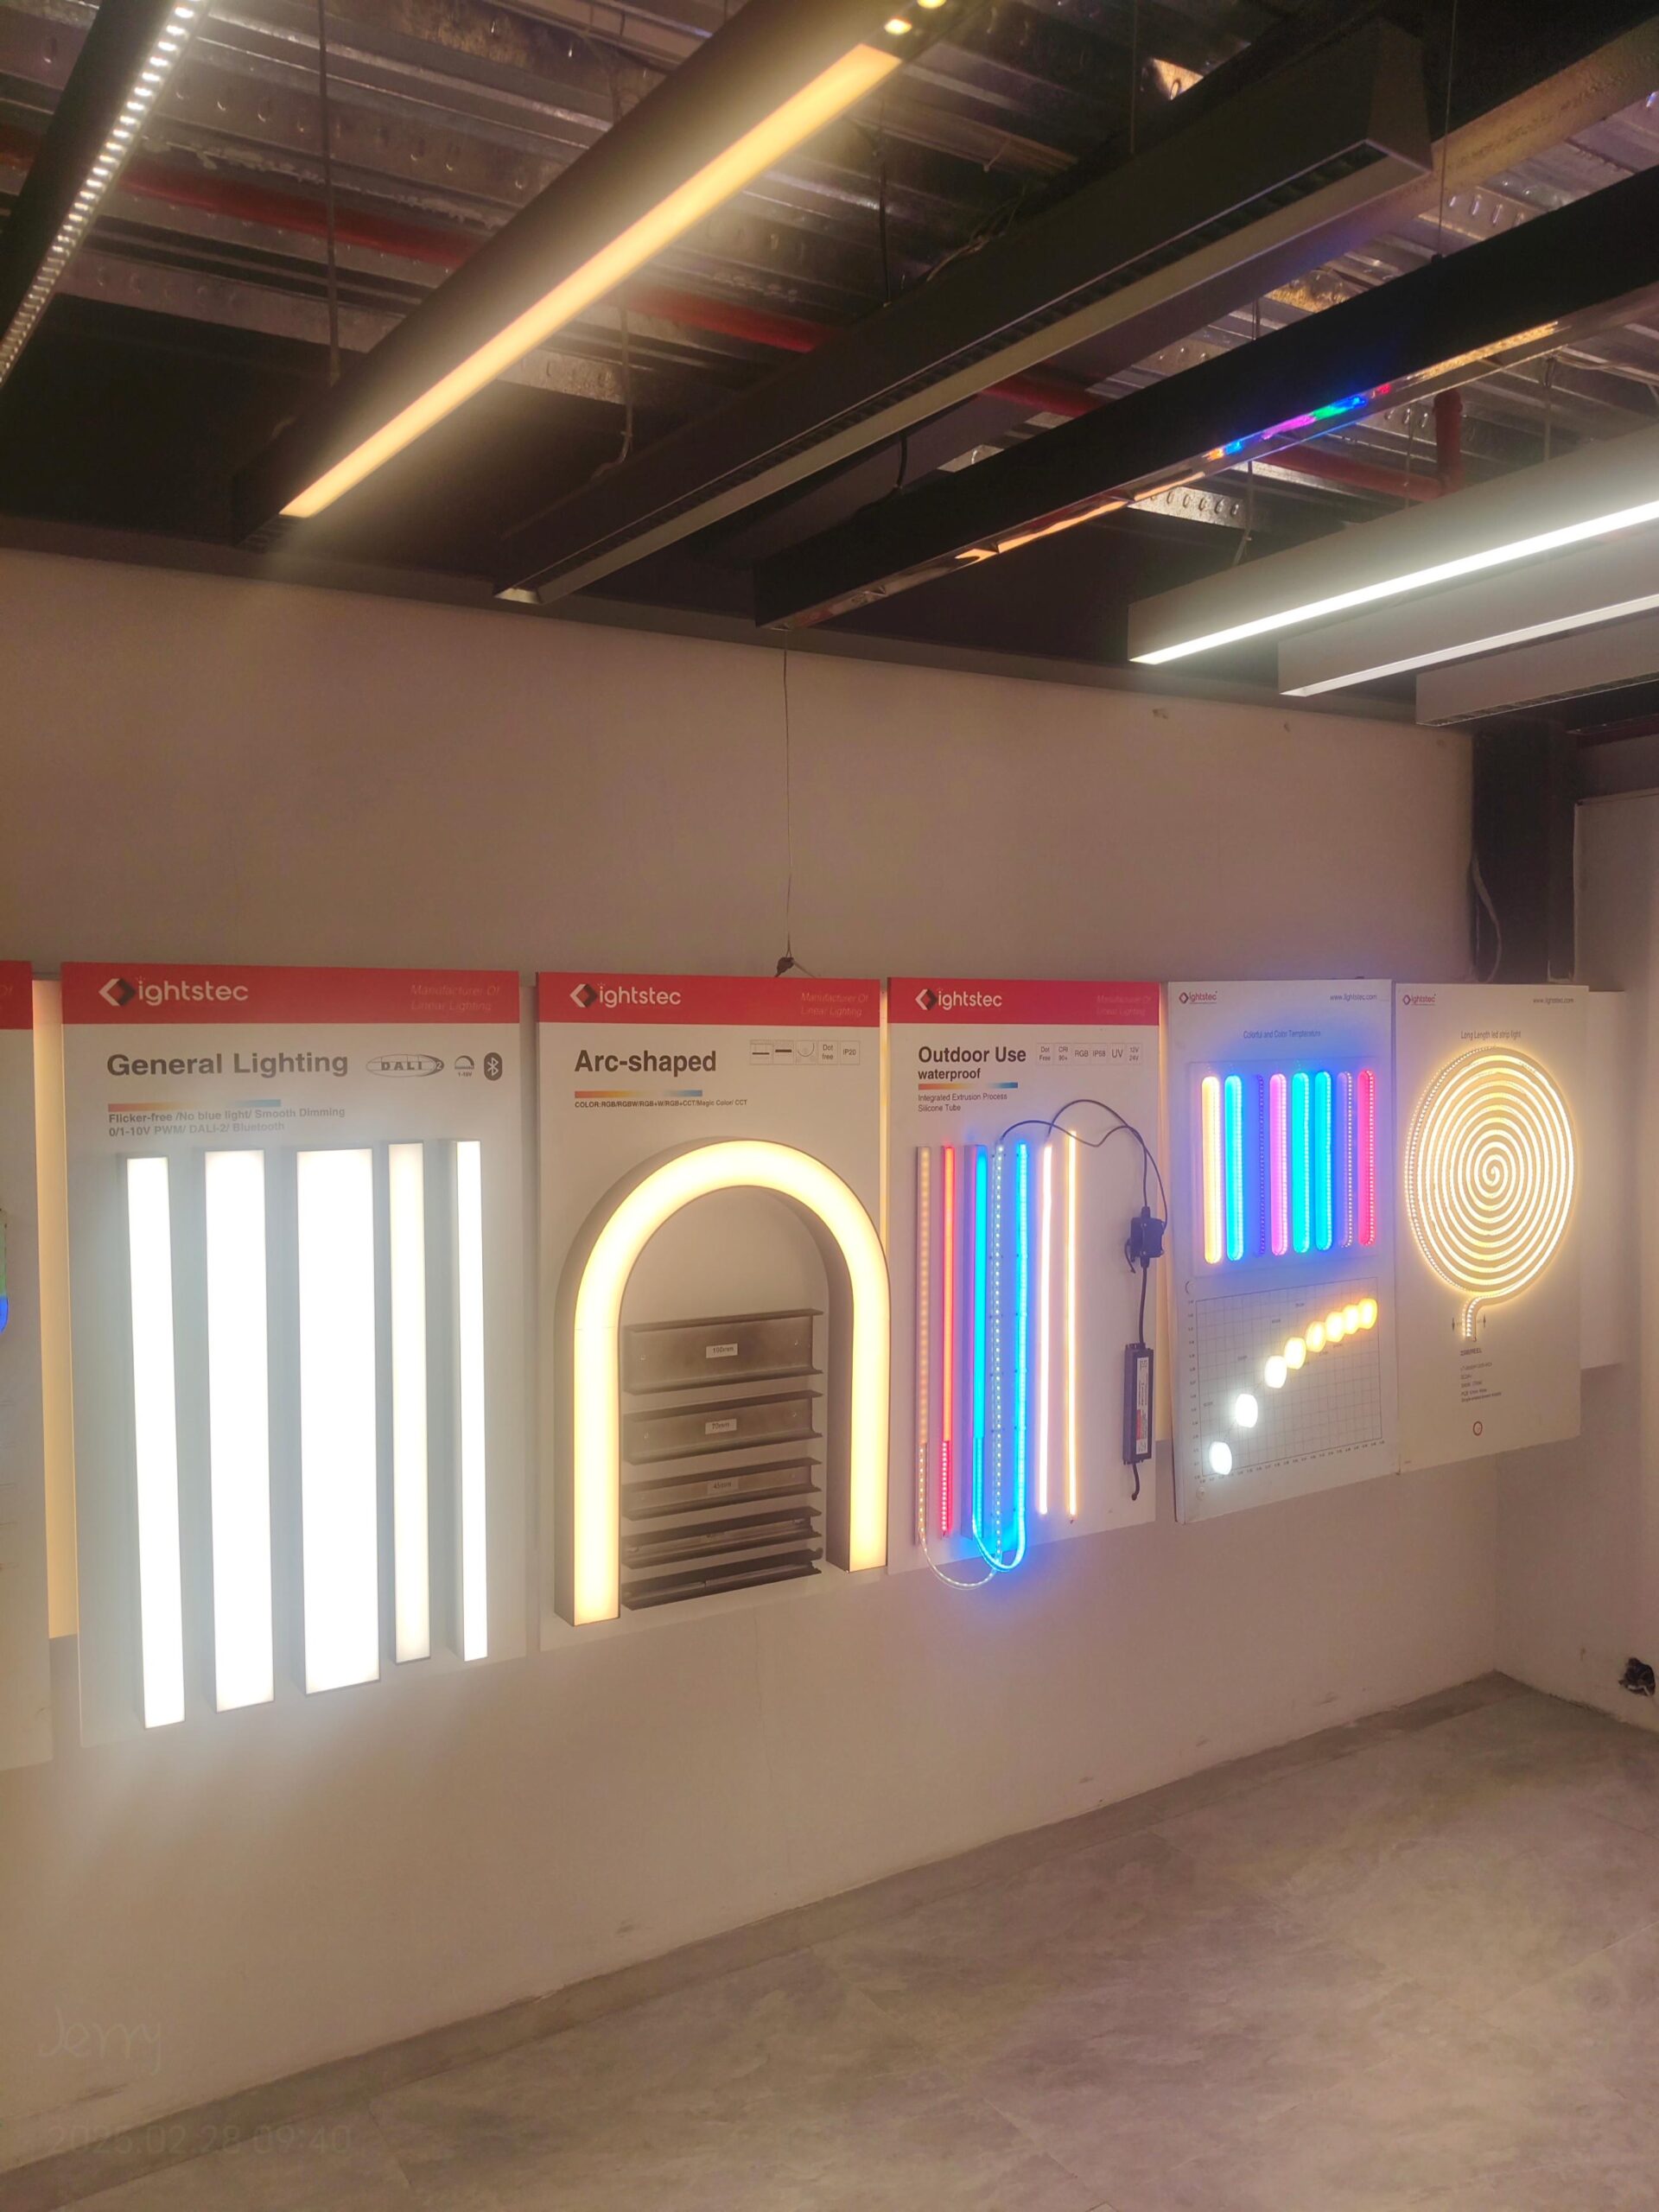
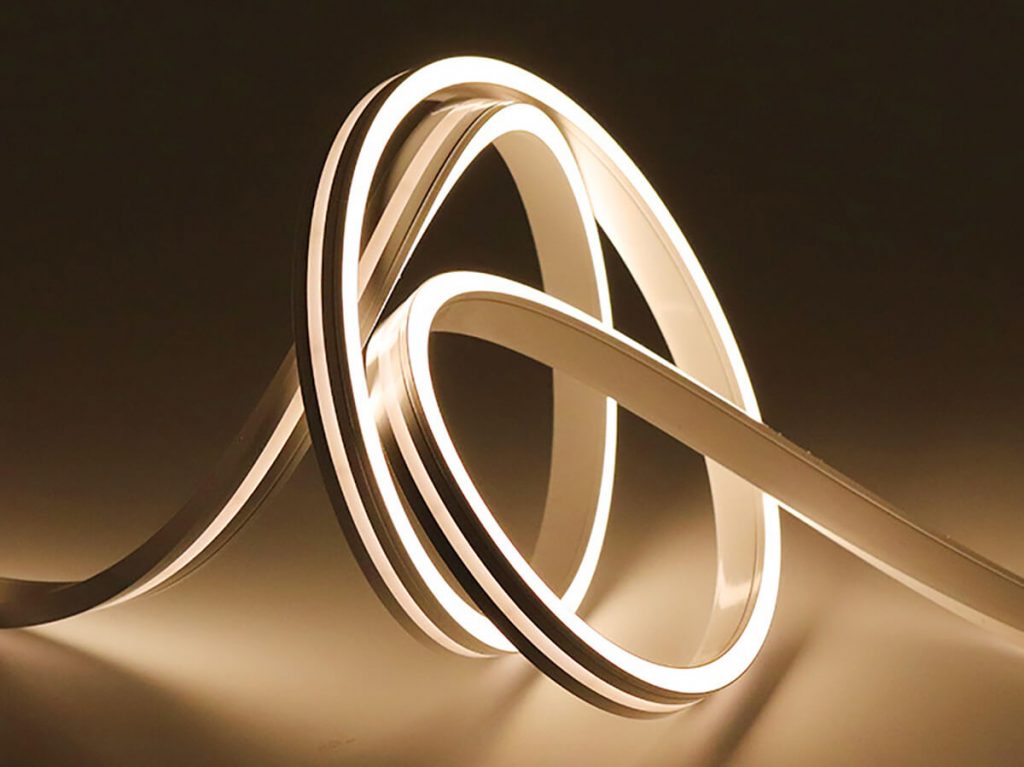
4 Ways to Mount Outdoor LED Neon Flex
There are four families of mounting hardware, each tuned for a different job. Matching the method to the application is the first step to an installation that lasts.
A bendable metal strip that follows smooth curves, letters and logos. Rust-proof, weather-resistant, and it holds neon without restricting its natural curve.
Ideal for: curved signage, branding elements, wavy designs.
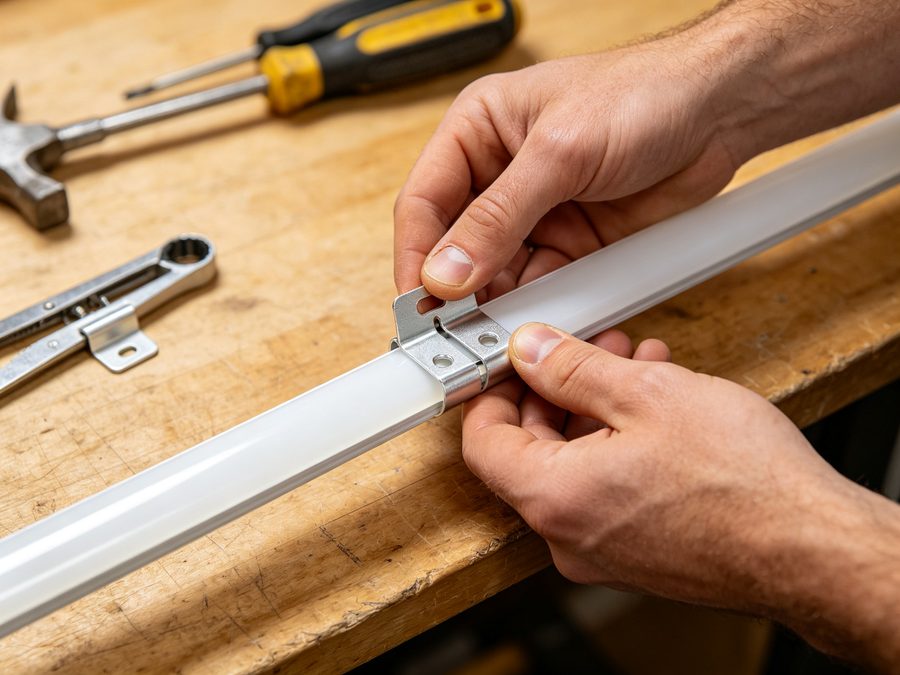
Compact clips, roughly 5 cm each, screwed to the surface. Typically 2–4 per meter give solid support on straight runs.
Ideal for: straight walls, sign borders, architectural lines.
A profile that runs the full length of the strip and embeds the neon inside. Maximum stability, heat dissipation and protection.
Ideal for: high-end commercial facades and permanent outdoor installs.
Lightweight and economical, UV-resistant, installed with screws or adhesive. Best for low-weight or short-term setups.
Ideal for: indoor signs, events, small decorative lighting.

Clips vs Aluminum Channel — Which to Choose?
This is the decision installers face on every outdoor job. Our factory recommendation is a simple rule of thumb:
| Your situation | Best mounting |
|---|---|
| Straight run over 3 m on a facade | Aluminum channel — continuous support prevents gravity sag |
| Curved signage, logos, short accents | Clips — flexible and quick |
| Windy coastal or high-heat zones | Channel — no exceptions; full protection |
| Temporary events or lightweight decor | Plastic clips — cheap, tool-free |
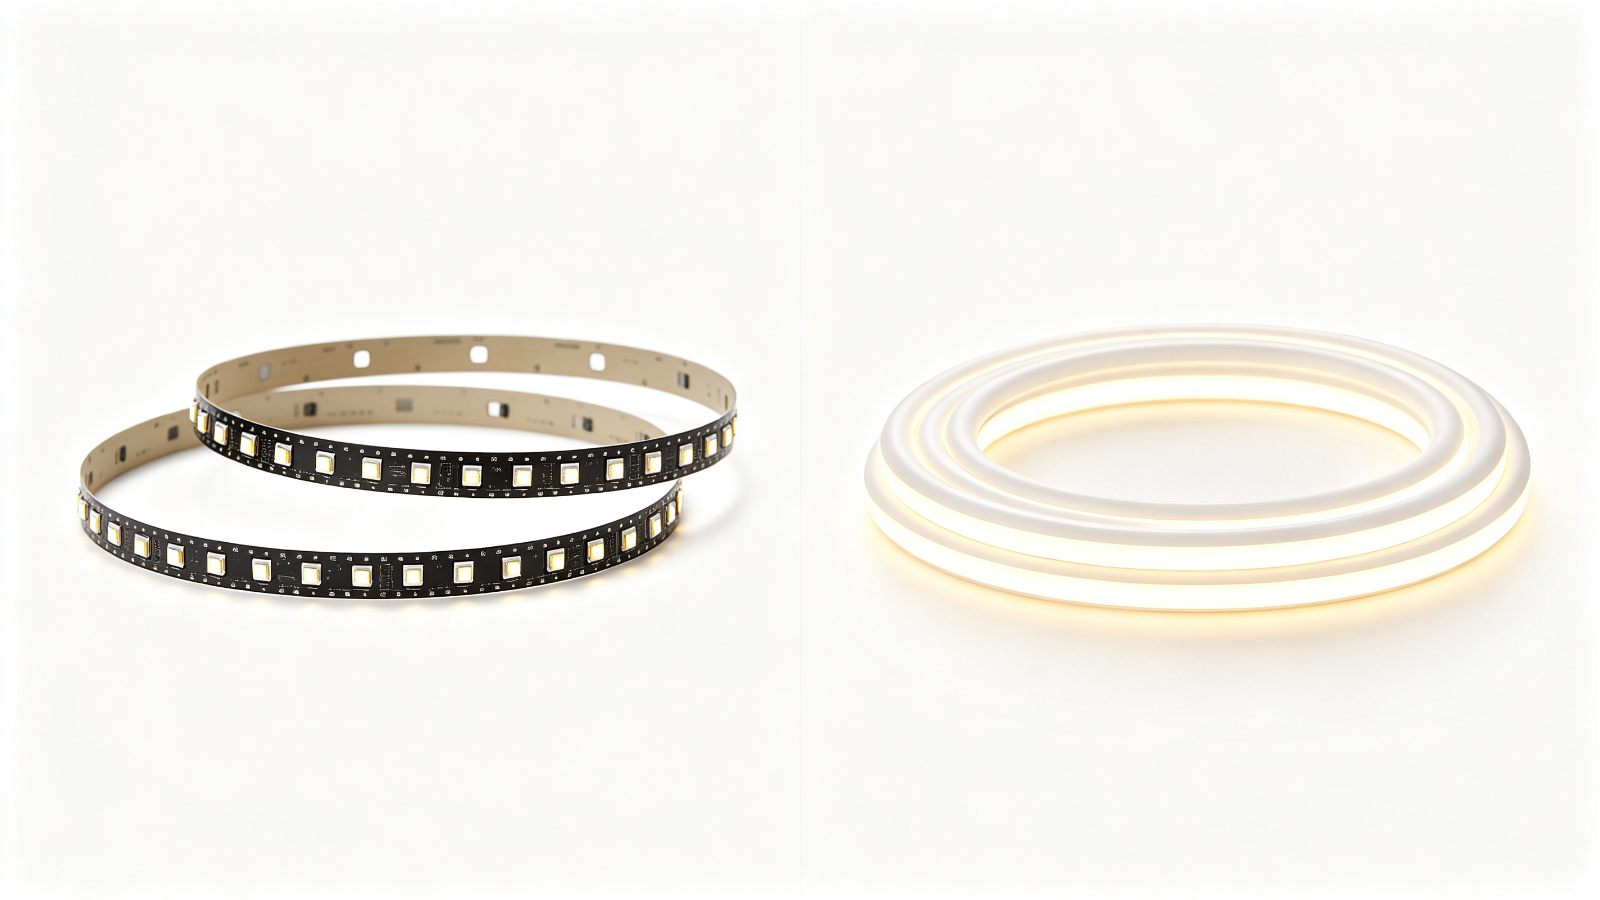
Channels support the strip along its full length, which is why long straight facade runs sag less. For curves, clips (or flexible stainless strips) keep the neon free to follow the shape.
Clip Spacing & Fixing Rules
How far apart you fix your clips is as important as which clip you choose. Space them too far and the jacket sags; too tight and you overwork the install. Use these numbers as a starting point:
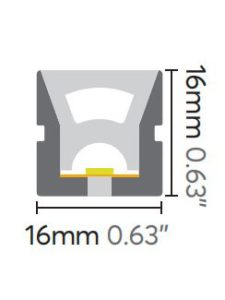
250–300 mm between clips, or roughly 2–4 clips per meter for a standard 12–16 mm neon.
Reduce to 200 mm to stop the neon slowly sliding down under its own weight. Drops over 2 m: use a channel.
Add one clip on each side of every curve — a curve under tension will migrate over time and open up.
Large profiles (20 mm+ or 3D-bend) need tighter spacing; follow the surface rather than a uniform grid on textured walls.
Outdoor Installation Step by Step
Follow these six steps and your outdoor neon flex will be secure, straight and weatherproof.
Add 100–150 mm at each end for connection clearance. Mark the driver position, any power-injection points, and the start and end of the run. For DC24V confirm the total length stays within the maximum run from a single feed (typically 15–20 m).
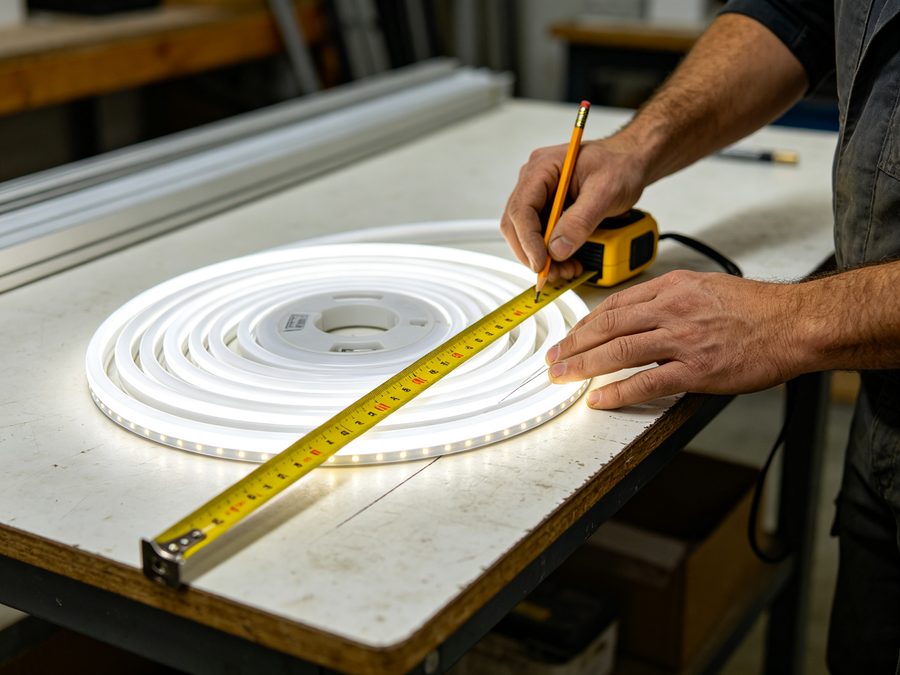
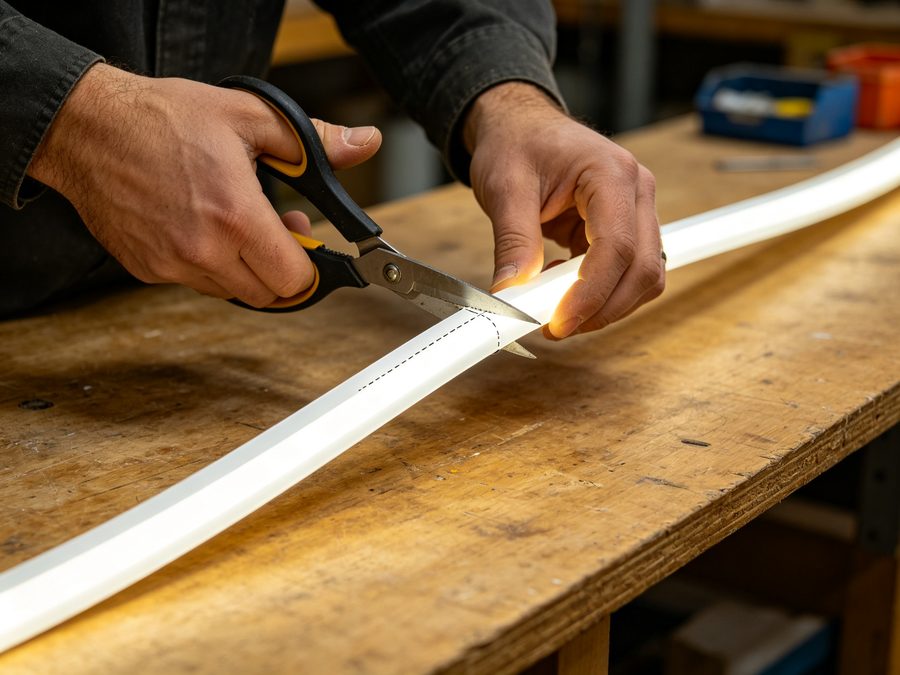
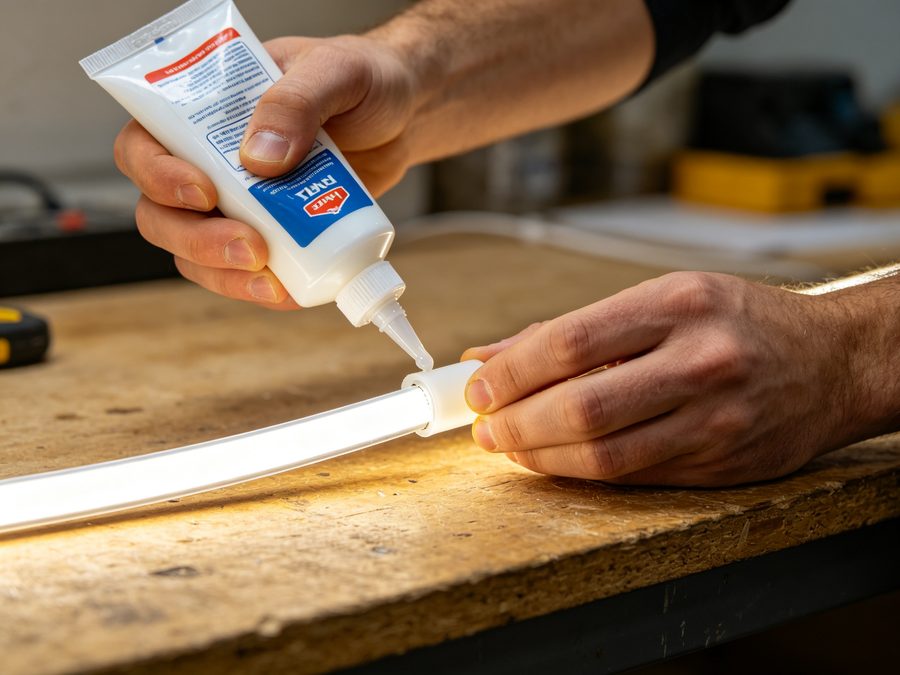
Cut only at the marked cut lines with a sharp blade in one clean stroke. Fill the end cap with neutral-cure silicone (acidic glue corrodes the copper pads), push the cap on and let it cure for at least 4 hours before power-on.
Install surface-mounting clips or the channel directly to the surface with screws. Pre-drill holes or use self-tapping screws on metal. Space clips at 250–300 mm (200 mm on vertical runs) and add a clip each side of every curve.
Use waterproof connectors that match your neon width. Never force a connector — if it does not seat well, water will get in. House all connections in IP-rated junction boxes and keep them in accessible, protected locations away from low points.
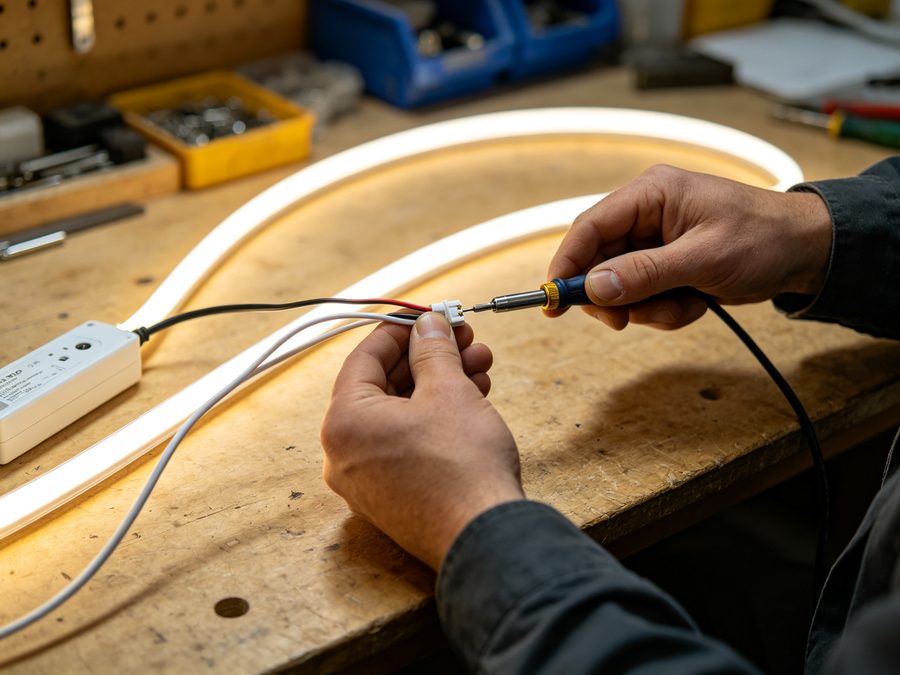
Seal every end, join and wire entry with outdoor-grade silicone. Press the neon into the clips or channel starting from the powered end and never stretch the strip — tension damages the internal PCB.
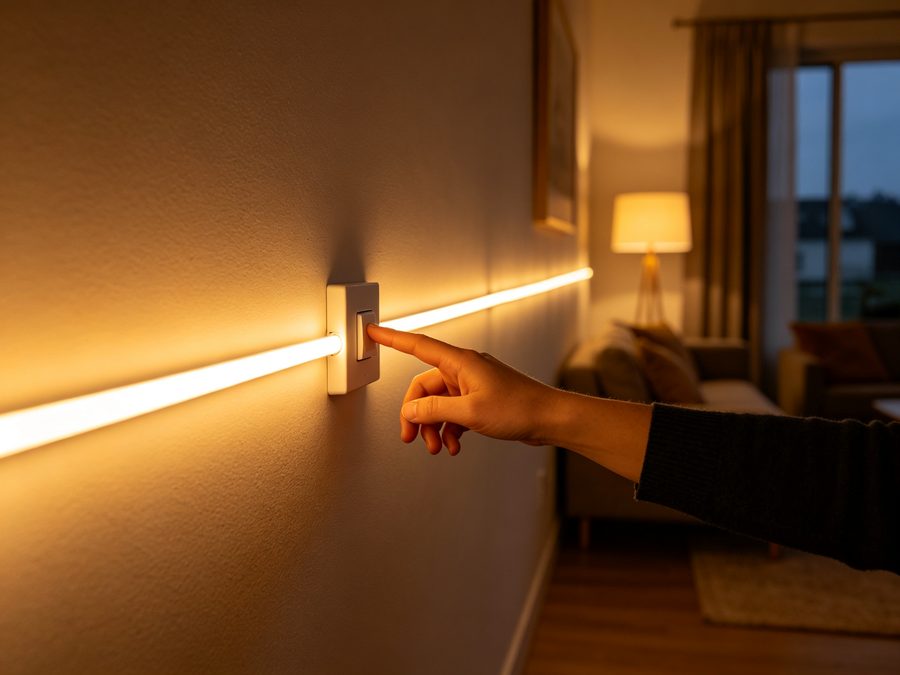
Power up and check brightness, color consistency and that every segment lights. Run a final visual check for sag or loose clips, then tidy the cable routing.
Bending Radius & Shaping Rules
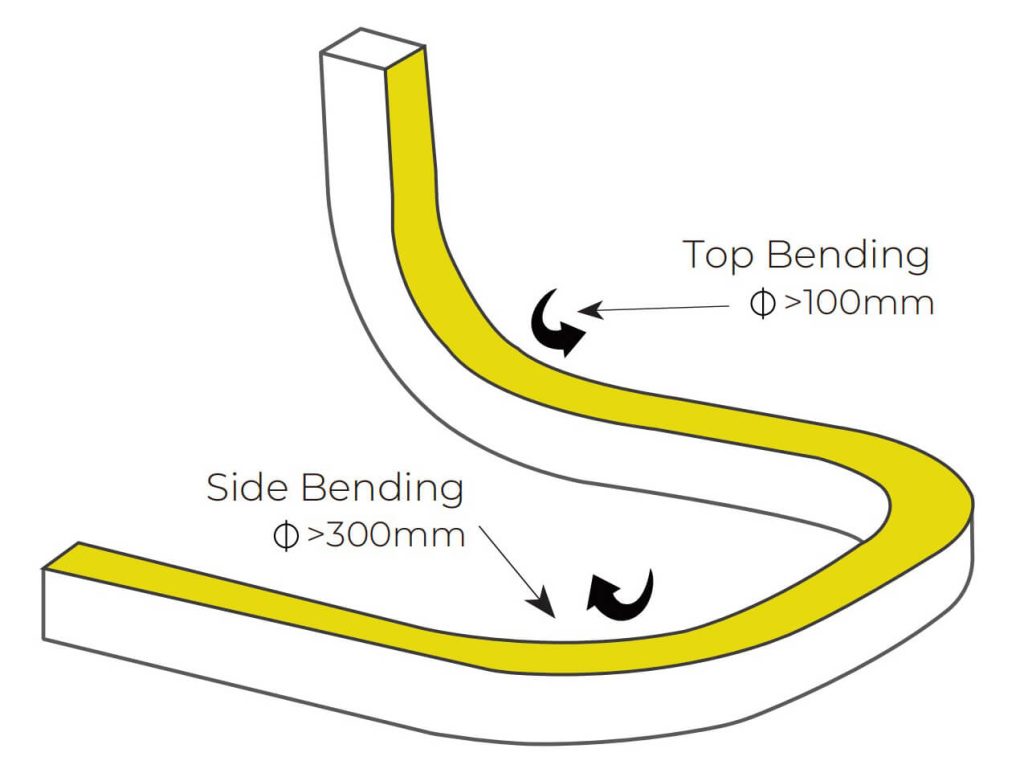
Every silicone neon flex has a minimum bending radius. Exceed it and you get kinking, uneven light output and stress points that crack the silicone over time. Bend against the axis and you can break solder joints — always bend facing the marked direction.
| Profile | Bend type | Min. bending diameter |
|---|---|---|
| T1616 / T2020 top-bend | Top / horizontal | ~100 mm |
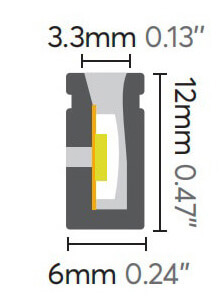
| S0612 side-bend | Side / vertical | ~30 mm |
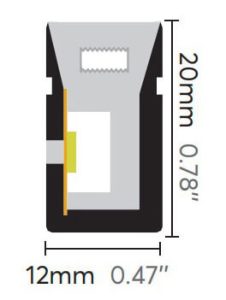
| S1220 side-bend | Side / vertical | ~100 mm |
| 360° D25 round | All sides | ~240 mm |
For sharp 90-degree architectural corners, use solderless corner connectors or dedicated tracks instead of forcing a tight fold — manual sharp folding destroys the internal copper trace layer.
Best Neon Flex Models for Each Outdoor Job
Different outdoor jobs need different neon profiles. Match the shape, bend direction and light angle to the application:
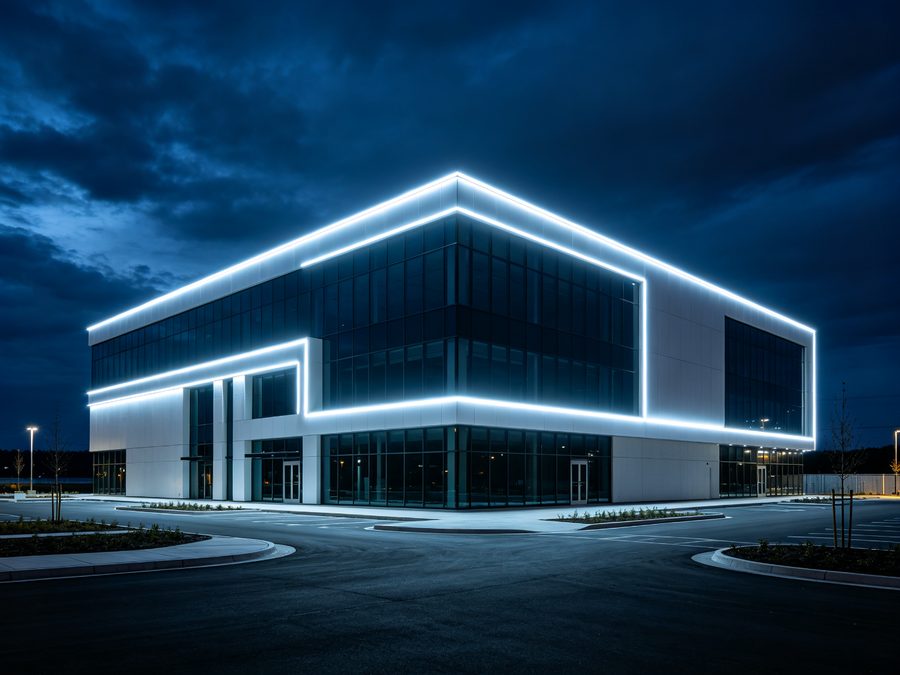
Front-emitting 1616 or 2020 with aluminum clips or channels for clean, straight light along rooftops and walls.
Side-emitting 0612 bends into tight letters; pair with flexible stainless strips for perfect curves.
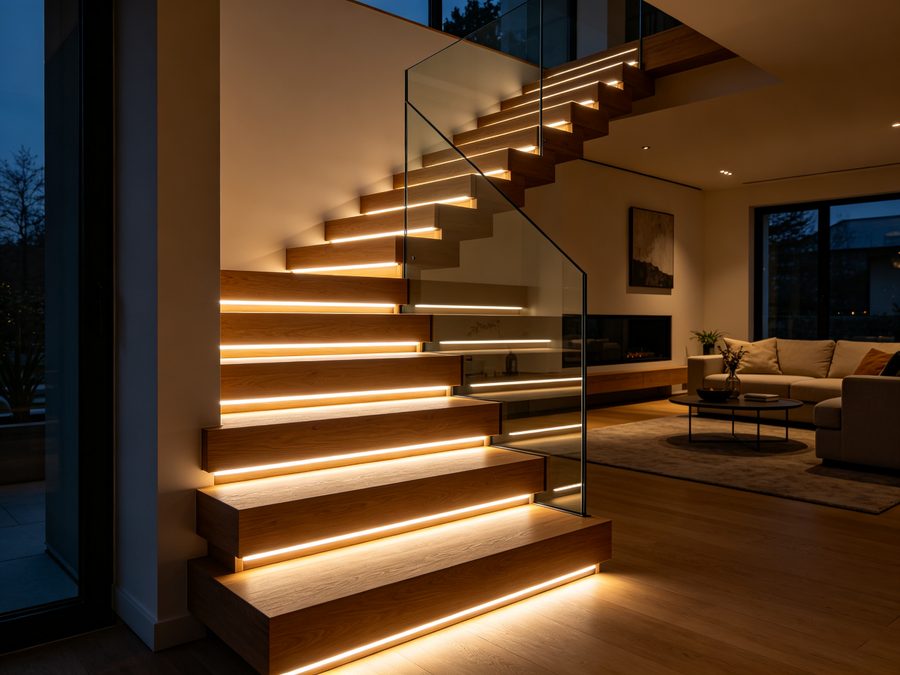
Top-bend 1010 under railings or along steps, secured with standard clips every 30–50 cm.
Side-emitting 1220 addressable curves around barriers for high-visibility public infrastructure lighting.
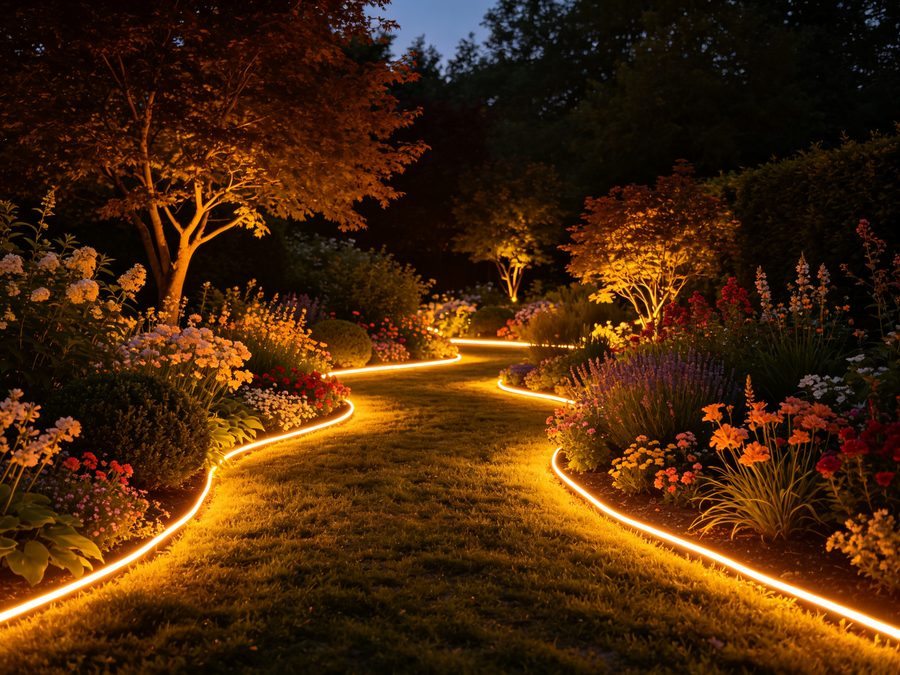
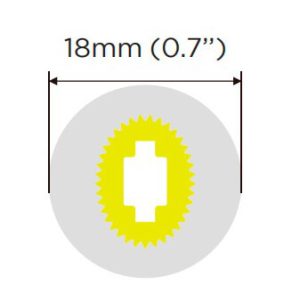
360° D25 round glows on all sides — use full aluminum channels or round clips to line walkways and flowerbeds.
360° neon wraps frames with plastic clips or tailored profiles for quick, tool-free setup.
Color & Control for Outdoor Landscape
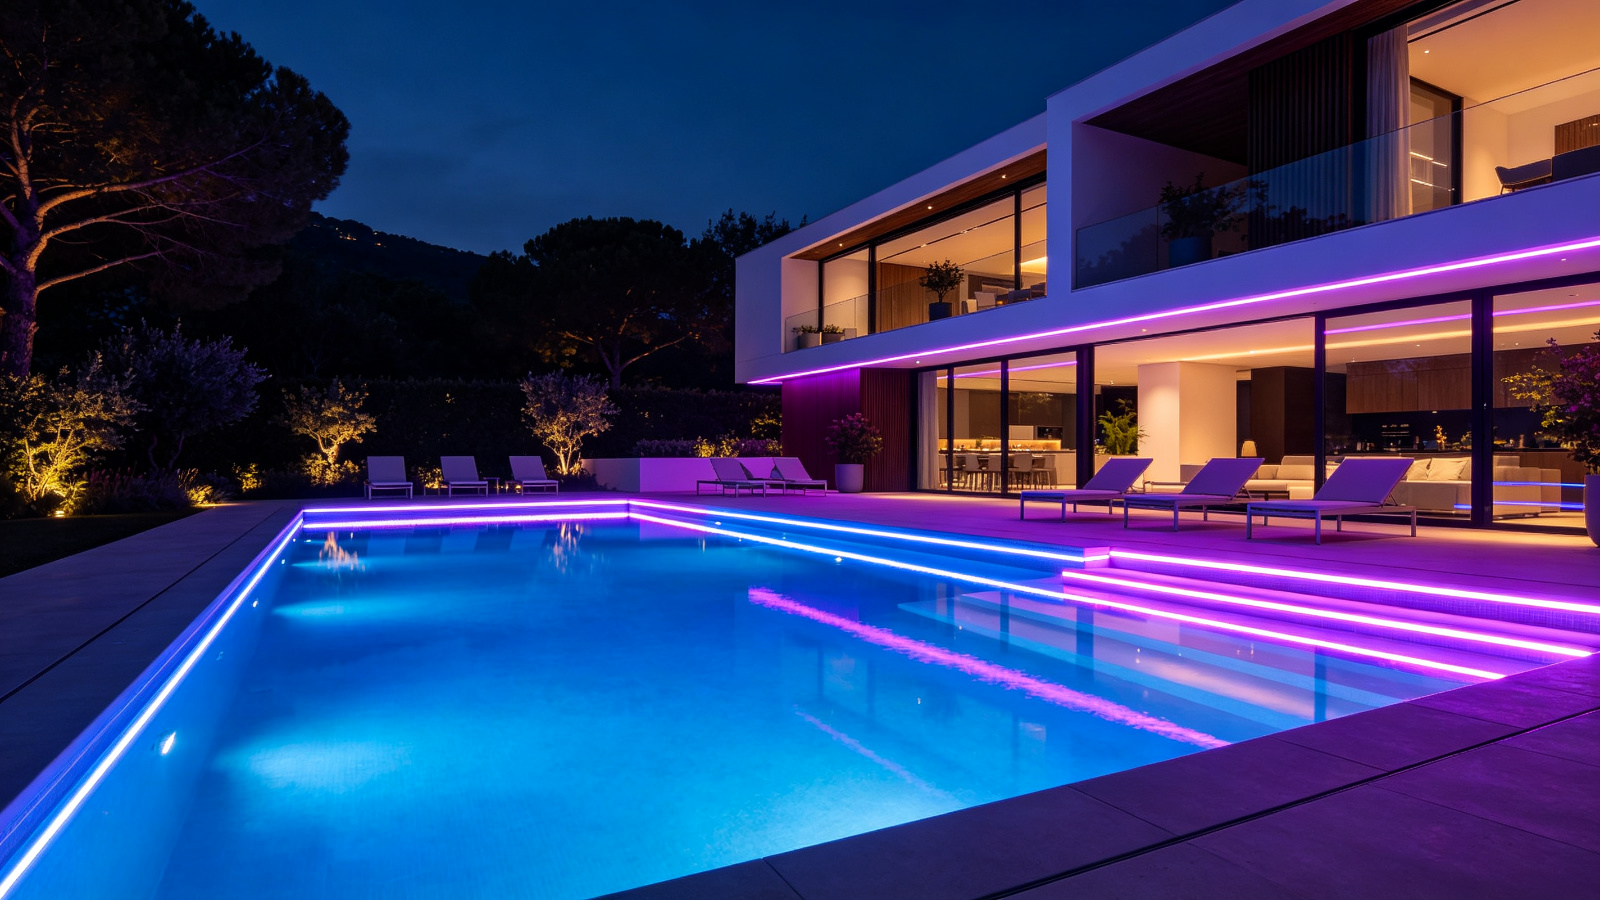
Color and control mode directly shape the atmosphere of an outdoor space. The most common options for landscape neon:
Color-changing effects with basic controllers — smooth transitions and flashing for gardens, pathways and plazas.
Adds a dedicated white channel for richer tones and better whites — mood lighting plus functional illumination in one.
Pixel-level programming, chases, gradients and music sync for commercial and architectural projects.
Outdoor Neon Flex FAQ
Which clip should I use for my neon flex?
Straight lines: aluminum clips or a full channel. Curves or letters: flexible stainless steel strips or plastic clips that follow the shape.
Is LED neon flex suitable for outdoor use?
Yes — as long as you choose a waterproof (IP65/IP67) model and seal all connectors and ends properly. Ground-level use should be IP67.
How many clips do I need per meter?
Typically 2 to 4 clips per meter. Space clips 250–300 mm on horizontal runs and 200 mm on vertical runs; heavier or larger neon needs more.
Can I bend neon flex during installation?
Yes, but always follow the minimum bending radius for your profile and bend in the marked direction. Sharp 90° corners need corner connectors or tracks.
How do I waterproof the ends of outdoor neon?
Fill the end cap with neutral-cure silicone (acidic glue corrodes copper), press it on and cure at least 4 hours. Seal every join and wire entry too.
Why is my neon flex sagging between clips?
Clips are spaced too far apart or the run is vertical/long. Tighten spacing to 200–300 mm, or switch to a full aluminum channel for long runs.
Do you offer custom mounting solutions?
Yes. We supply OEM/ODM mounting accessories and tailored profiles matched to your neon size and project type.
Conclusion: Mount It Right the First Time
The difference between a neon installation that looks sharp for years and one that sags in months is almost always the mounting method. Choose clips for curves and accents, a full channel for long straight facade runs, respect clip spacing and bending radius, and seal every end for IP67.
If you are planning an outdoor neon project, we can help you pick the right profile and the matching mounting hardware — and send a sample to test before you commit.
Recommended Neon Flex Products
Klik på et produkt for at se specifikationer og anmode om et tilbud:
T1616 Top-Bend Neon FlexFront-emitting 24V neon for facades and rooflines.
360° D25 Round NeonGlows on all sides for paths, borders and signs.
S0612 Side-Bend NeonTight letters and custom signage curves.
S1220 Addressable NeonRGB/DMX pixel control for infrastructure.

For at spare dig tid har vi udarbejdet et PDF-katalog med alle vores nyeste LED-lysprodukter. Efterlad din e-mail og få den med det samme.

Need help choosing a neon flex profile and mounting method for an outdoor project? Send us your drawings and get a free spec match and sample.
Lær mere professionelle led-kurser, som færre mennesker fortæller dig, før du tager fejl.