Why Do LED Strip Lights Stop Working After Cutting?
A Practical Guide by Lightstec (Professional LED Strip Manufacturer)
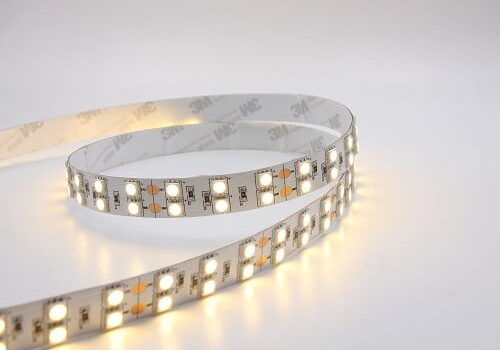
Cutting LED灯条 is a common practice for custom installations, but improper techniques can lead to malfunctions. As a leading LED strip factory, we’ll explain the technical causes and provide actionable solutions for your clients.
Key Reasons & Fixes
1. Incorrect Cutting Points
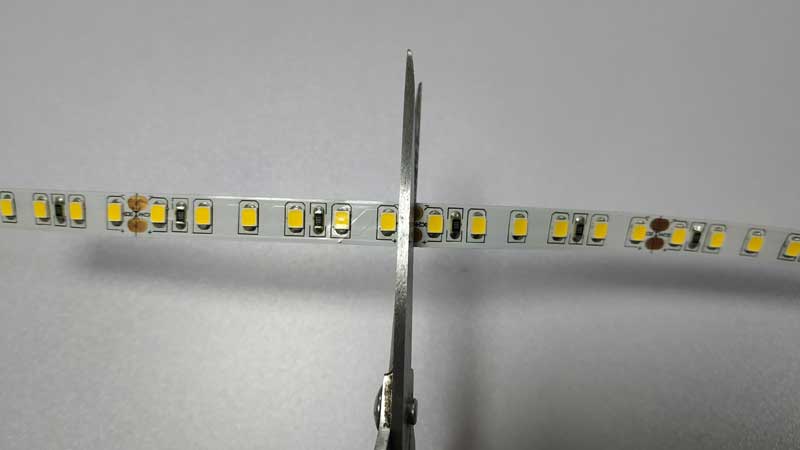
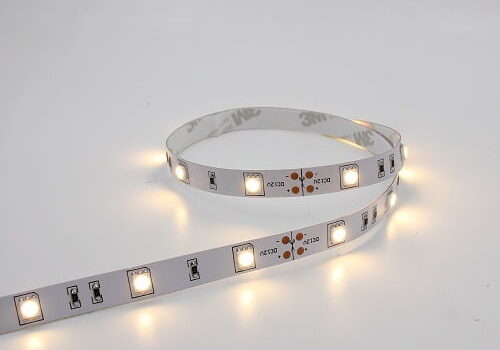
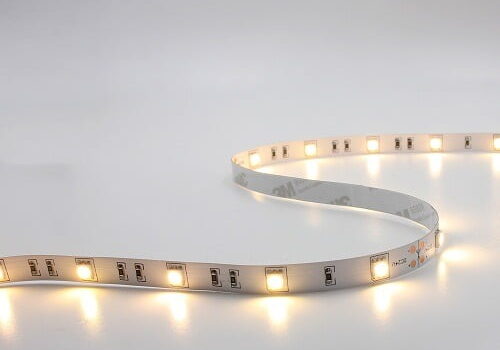
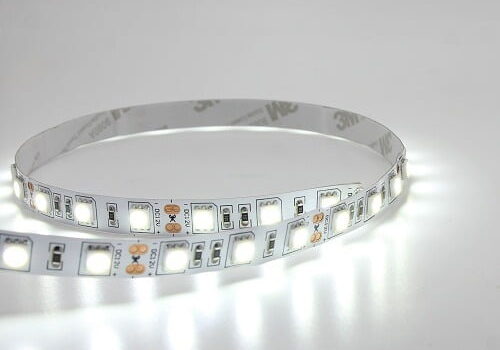
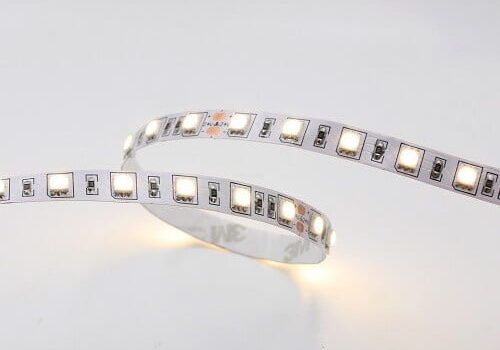
LED strips have scissors icons every 3–6 LEDs indicating safe cutting positions. Cutting elsewhere severs internal circuits, causing partial or total failure.
- ✅ Fix:
- Use sharp scissors or a blade at marked points.
- For accidental cuts, test continuity with a multimeter and solder broken connections.
2. Circuit Damage or Burned LEDs
Cutting exposes copper pads, which can oxidize or short-circuit. Overloading remaining LEDs after trimming may also burn chips (visible as black spots).
- ✅ Fix:
- Insulate cut ends with liquid electrical tape or heat-shrink tubing.
- Replace burned LEDs by soldering matching 3V chips or bypass them with wire.
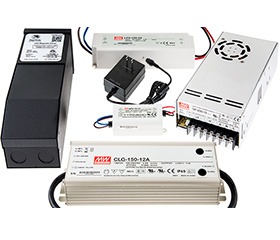
3. Power Supply Mismatch
Shortening strips changes voltage requirements. For example:
- A 12V/5m strip with 60 LEDs = 2.4V per LED.
- Cutting to 3m (36 LEDs) = 12V/36 LEDs = 3.3V per LED (overloading chips)
- ✅ Fix:
- Recalculate power needs:
Required Voltage = (Number of LEDs) × 3V - Replace the driver with a constant-current model matching the new load.
- Recalculate power needs:
4. Reverse Polarity or Driver Failure
Reconnecting cut strips with reversed +/- wires can instantly damage LEDs. Faulty drivers (e.g., capacitor failure) may also cause flickering or no power.
- ✅ Fix:
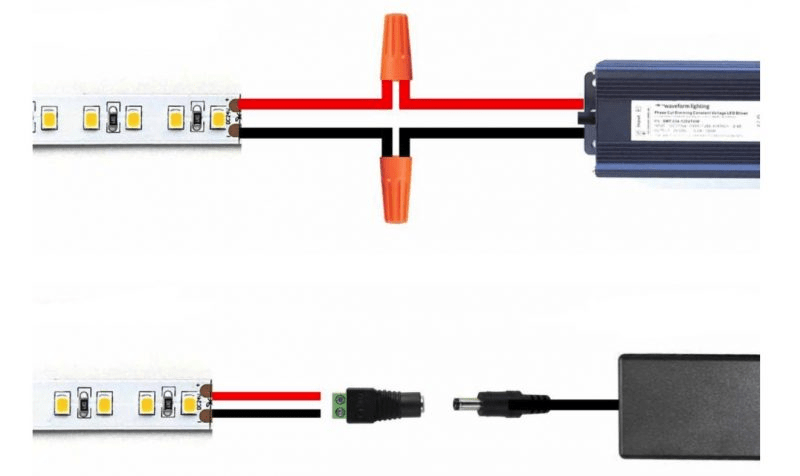
- Verify polarity using a multimeter before reconnecting.
- Test driver output voltage. Replace if dead or unstable.
5. Poor Soldering or Connectors
Loose solder joints or low-quality connectors create resistance, leading to dimming or intermittent faults.
- ✅ Fix:
- Use 60/40 rosin-core solder at 300°C for secure joints.
- Opt for waterproof 4-pin connectors for RGB strips.
Preventive Tips from Lightstec
- Always test strips with a 3V battery before installation.
- Add aluminum channels for heat dissipation if shortening >50%.
- Use drivers with 20% higher capacity than calculated needs.
- Avoid cutting high-voltage (120V/220V) strips—replace damaged sections instead.
FAQ
Q: Can I reconnect cut strips without soldering?
A: Yes! Use solderless 4-pin connectors (ideal for RGB), but ensure copper pads are clean.
Q: Why do some LEDs stay dim after cutting?
A: Likely due to voltage drop. Install a 24V strip or add power injection points.
Q: How to waterproof cut ends?
A: Seal with silicone gel connectors or epoxy resin.
When to Replace vs. Repair
- ✅ Repairable: Minor burns, clean cuts at marked points, functional driver.
- ❌ Replace: Corroded pads, burnt circuit traces, or water damage.
Lightstec’s Professional Support
As a factory-direct supplier, we provide:
- Free cutting guides and voltage calculators.
- Custom drivers and connectors for bulk orders.
- 24/7 technical support via [[email protected]].
Need OEM/ODM solutions? [Contact Lightstec] for durable, cut-to-size LED strips with 5-year warranties.

关于作者
杰瑞胡
Lightstec创始人。工程学位。超过13年的LED照明业务工作经验。熟悉生产LED照明产品。本博客分享您在LED照明方面的知识和解决方案。欢迎从中国采购LED灯。
了解更多专业指导课程,在您犯错之前告诉您的人更少。


