Why Do LED Strip Lights Stop Working After Cutting?
A Practical Guide by Lightstec (Professional LED Strip Manufacturer)
Cutting Jiro LED strip is a common practice for custom installations, but improper techniques can lead to malfunctions. As a leading LED strip factory, we’ll explain the technical causes and provide actionable solutions for your clients.
Key Reasons & Fixes
1. Incorrect Cutting Points
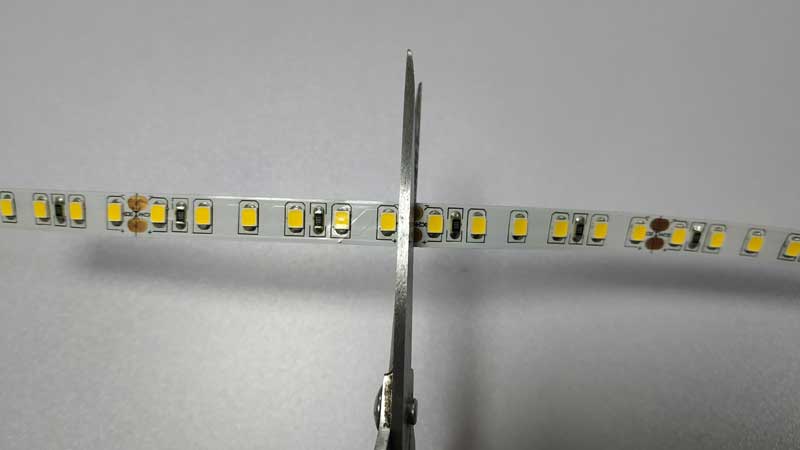
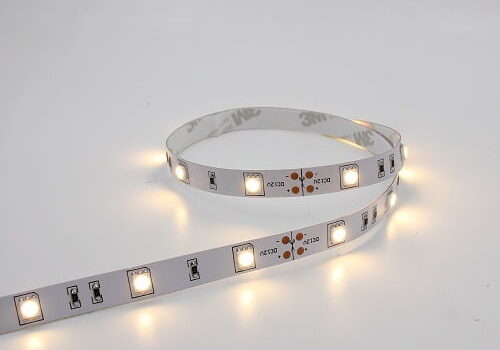
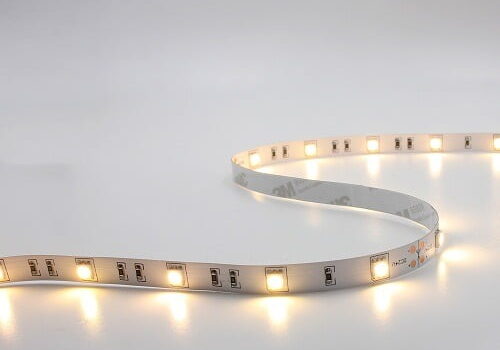
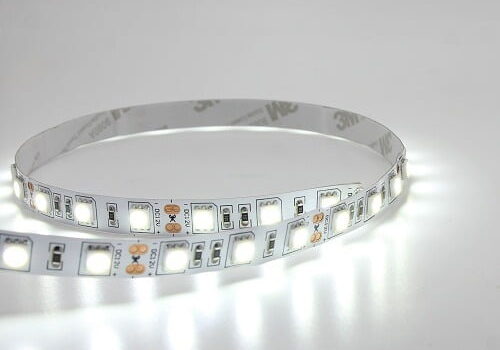
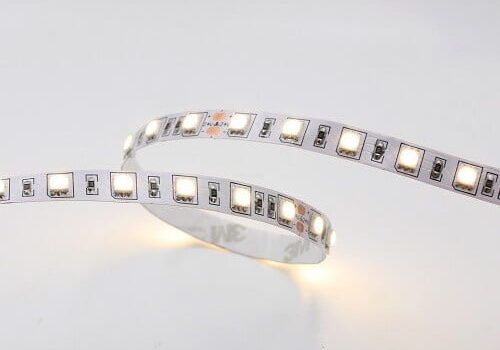
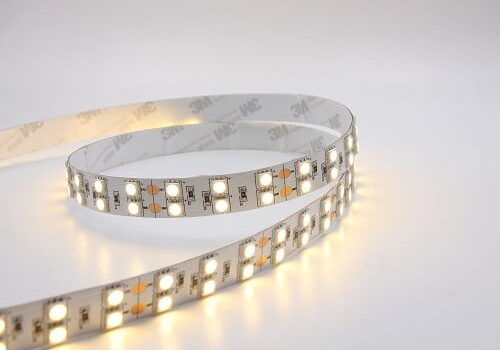
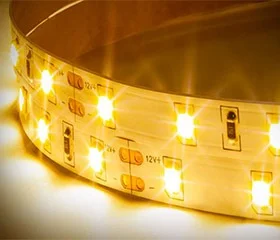
LED strips have scissors icons every 3–6 LEDs indicating safe cutting positions. Cutting elsewhere severs internal circuits, causing partial or total failure.
- ✅ Fix:
- Use sharp scissors or a blade at marked points.
- For accidental cuts, test continuity with a multimeter and solder broken connections.
2. Circuit Damage or Burned LEDs
Cutting exposes copper pads, which can oxidize or short-circuit. Overloading remaining LEDs after trimming may also burn chips (visible as black spots).
- ✅ Fix:
- Insulate cut ends with liquid electrical tape or heat-shrink tubing.
- Replace burned LEDs by soldering matching 3V chips or bypass them with wire.
3. Power Supply Mismatch
Shortening strips changes voltage requirements. For example:
- A 12V/5m strip with 60 LEDs = 2.4V per LED.
- Cutting to 3m (36 LEDs) = 12V/36 LEDs = 3.3V per LED (overloading chips)
- ✅ Fix:
- Recalculate power needs:
Required Voltage = (Number of LEDs) × 3V - Replace the driver with a constant-current model matching the new load.
- Recalculate power needs:
4. Reverse Polarity or Driver Failure
Reconnecting cut strips with reversed +/- wires can instantly damage LEDs. Faulty drivers (e.g., capacitor failure) may also cause flickering or no power.
- ✅ Fix:
- Verify polarity using a multimeter before reconnecting.
- Test driver output voltage. Replace if dead or unstable.
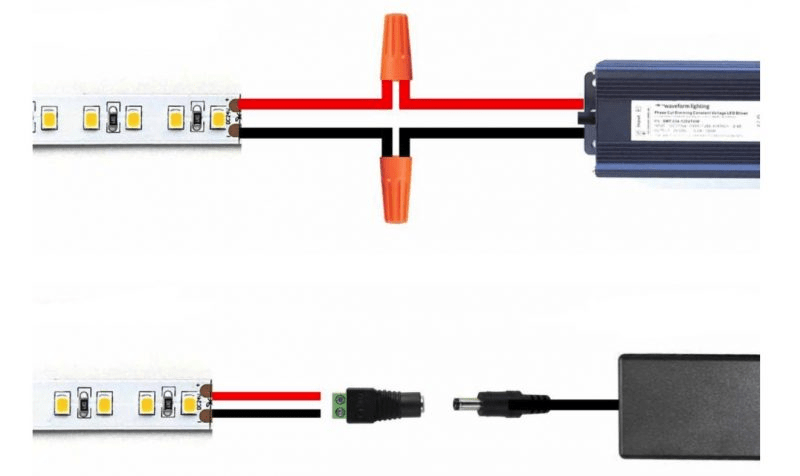
5. Poor Soldering or Connectors
Loose solder joints or low-quality connectors create resistance, leading to dimming or intermittent faults.
- ✅ Fix:
- Use 60/40 rosin-core solder at 300°C for secure joints.
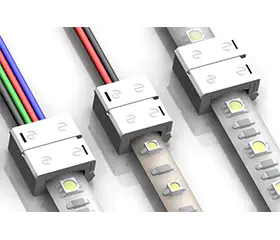
- Opt for waterproof 4-pin connectors for RGB strips.
Preventive Tips from Lightstec
- Always test strips with a 3V battery before installation.
- Add aluminum channels for heat dissipation if shortening >50%.
- Use drivers with 20% higher capacity than calculated needs.
- Avoid cutting high-voltage (120V/220V) strips—replace damaged sections instead.
FAQ
Q: Can I reconnect cut strips without soldering?
A: Yes! Use solderless 4-pin connectors (ideal for RGB), but ensure copper pads are clean.
Q: Why do some LEDs stay dim after cutting?
A: Likely due to voltage drop. Install a 24V strip or add power injection points.
Q: How to waterproof cut ends?
A: Seal with silicone gel connectors or epoxy resin.
When to Replace vs. Repair
- ✅ Repairable: Minor burns, clean cuts at marked points, functional driver.
- ❌ Replace: Corroded pads, burnt circuit traces, or water damage.
Lightstec’s Professional Support
As a factory-direct supplier, we provide:
- Free cutting guides and voltage calculators.
- Custom drivers and connectors for bulk orders.
- 24/7 technical support via [[email protected]].
Need OEM/ODM solutions? [Contact Lightstec] for durable, cut-to-size LED strips with 5-year warranties.

Momba ny Mpanoratra
JerryHu
Mpanorina ny Lightstec.Engineering diplaoma.Maherin'ny 13 taona traikefa miasa amin'ny fandraharahana jiro nitarika. Mahazatra amin'ny famokarana vokatra jiro.
Mianara Kilasy Led Matihanina bebe kokoa izay vitsy kokoa ny olona miteny aminao alohan'ny hanaovanao fahadisoana.


