
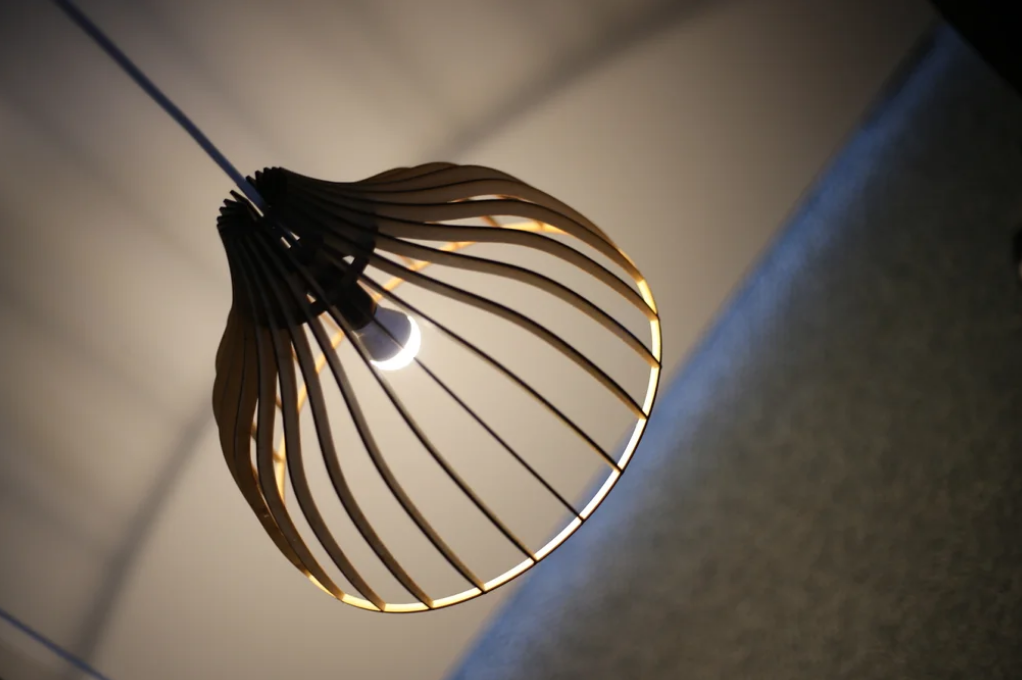
Ny fanaovana jiro LED dia tsy sarotra be. Afaka mampiasa fitaovana tsotra isika hanaovana DIY jiro mihantona LED.
Ity misy dingana manaraka DIY mba hamoronana jiro mihantona.
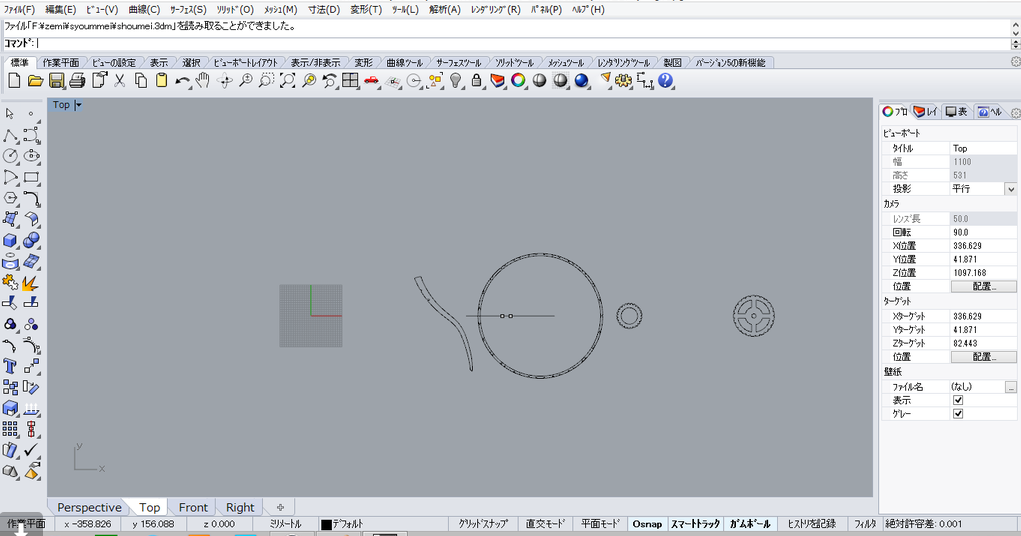
Dingana 1: Amboary ny endrik'ilay jironao
- nyaingam-panahy: Jereo ny famolavolana jiro akrilika mamorona toy ny Jiro Acrylic Bent na takelaka modular maoderina
. Soraty amin'ny taratasy ny endrika irinao (oh : geometrika, boribory, na malalaka).
- nyFitaovana ilaina: Pensil, tsipika, marika, fitaovana fanapaka akrilika na antsy maranitra.
Ity misy dingana DIY amin'ny famoronana jiro mihantona amin'ny fampiasana jiro LED sy tontonana mangarahara acryl:
nyDingana 2: Manomana fitaovana
- nyEssentials:
- jiro LED (Misafidiana takamoa misy fototra midadasika ho an'ny fanaparitahana hafanana tsara kokoa.
- Acrylic mangarahara tontonana (ny hatevin'ny 3-5mm atolotra ho an'ny faharetana.
- Fitaovana: Antsy fanaovana asa tanana, tsihy fanapahana, tsipika, fametahana, visy, lakaoly AB, farango mihantona.
- tsy voatery: Mpamily LED (raha mila iray ny jironao), fantsona fampihenana hafanana (ho fiarovana tariby).
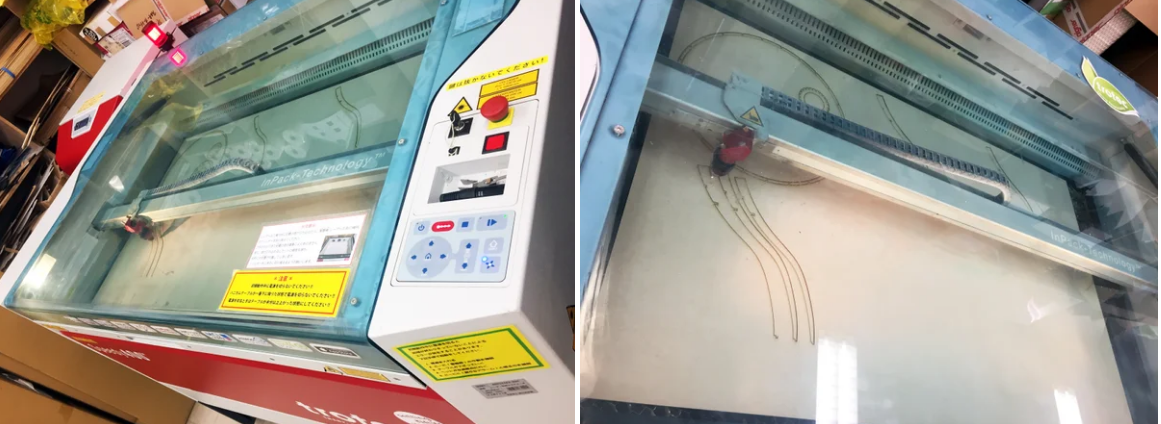
Dingana 3: Tapaho ary aforeto ny tontonana Acrylic
- nyTapaho ny Panel:
- Ampidiro eo amin'ny tontonana acrylic ny famolavolanao.
- Mampiasà antsy vita amin'ny asa tanana sy tsipika hanesorana ny acryl amin'ny tsipika (na ampiasao ny CNC cutter ho marina).
- Ho an'ny fiolahana, hafanaina moramora amin'ny fanamainana volo na basy fanamainana ny acryl, avy eo atsofoka eo ambonin'ny lasitra miolikolika (ohatra: vilia baolina).
- nySmooth Edges:
- Sasao amin'ny sandpaper tsara ny sisiny notapatapahina mba hanesorana ireo burrs maranitra.
nyDingana 4: Apetraho ny jiro LED
- nyOmano ny LED Circuit:
- Raha mampiasa tady ny Jiro LED strip, mampifandray azy ireo amin'ny loharanon-kery (12V DC dia azo antoka kokoa ho an'ny acrylic).
- Ho an'ny jiro tokana, ataovy azo antoka fa mifanaraka amin'ny fototra LED ny socket.
- nyAmpifandraiso ny LED:
- Apetaho eo amin'ny tontonana acryl ny LED amin'ny alàlan'ny lakaoly AB, apetraho amin'ny toerana mifanaraka amin'ny hazavana voalanjalanja.
- Avela ho maina tanteraka ny lakaoly (24 ora).
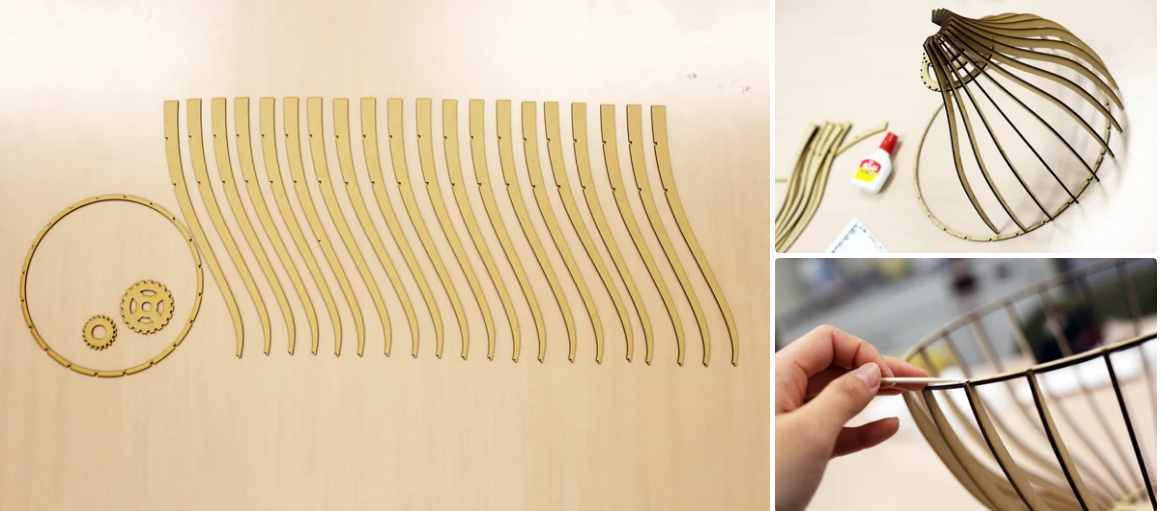
nyDingana 5: Angony ny rafitra jiro
- nyFanamboarana Frame:
- Hetezo ny tapa-kazo na metaly mba hamoronana rafitra mifanaraka amin'ny endrikao acrylic.
- Asio na apetaho eo amin'ny lamosin'ny tontonana acryl ny frame.
- nyMekanisma mihantona:
- Ampifandraiso amin'ny tampon'ny frame ny farango na eyelets.
- Mampiasà tariby na tady mafy hanantonana ny jiro amin'ny valindrihana.
nyDingana 6: Andramo ary amboary
- Ampidiro ny LED (s) mba hijerena ny jiro sy ny fifandraisana mety.
- Ampifanaraho ny zoro amin'ny tontonana acryl na avereno apetraka ny LED (s) mba hahazoana hazavana tsara indrindra.
nyTorohevitra momba ny fiarovana
- Manaova fonon-tanana rehefa manapaka acryl mba hisorohana ny fahatapahana.
- Miasa amin'ny faritra misy rivotra tsara rehefa mampiasa adhesive na fitaovana hafanana.
- Ataovy azo antoka fa mifanaraka amin'ny fepetra takian'ny jiro ny loharanon-jiro LED mba hisorohana ny hafanana be loatra.
nyFanatsarana azo atao
- Manampia switch dimmer ho an'ny jiro azo amboarina.
- Ampiasao ny takamoa LED RGB mba hamoronana vokatra manova loko.
- Ampidiro sensor (oh : sensor motion na hazavana) ho an'ny fampiasa marani-tsaina.
Ity tetikasa ity dia manambatra ny famoronana miaraka amin'ny fahaiza-manao azo ampiharina, mamadika fitaovana tsotra ho jiro mihantona tsy manam-paharoa!
Shina")
")
ina")
")
")
ina")
FAQ
F: Azoko atao ve ny mampifandray ireo tapa-kazo tsy misy fametahana?
A: Eny! Mampiasà connecteur 4-pin tsy misy solder (mety ho an'ny RGB), fa ataovy azo antoka fa madio ny pad varahina.
F: Nahoana ny LED sasany no mijanona manjavozavo aorian'ny fanapahana?
A: Mety noho ny fihenan'ny voltase. Install a24V strip na ampio teboka fanindronana herinaratra.
F: Ahoana ny fomba hanadiovana ny faran'ny rano?
A: Tombo-kase amin'ny connecteur gel silicone na resin epoxy.


Momba ny Mpanoratra
JerryHu
Mpanorina ny Lightstec.Engineering diplaoma.Maherin'ny 13 taona traikefa miasa amin'ny fandraharahana jiro nitarika. Mahazatra amin'ny famokarana vokatra jiro.
Mianara Kilasy Led Matihanina bebe kokoa izay vitsy kokoa ny olona miteny aminao alohan'ny hanaovanao fahadisoana.


Lahatsoratra tsara. Mianatra zavatra vaovao tanteraka sy sarotra aho amin'ny tranokala