Why Hide LED Strip Lights? Professional Insights for Perfect Lighting
- Reduce Glare & Reflections
- Direct exposure to LED strips creates harsh glare, especially in reflective environments (e.g., kitchens with glossy tiles, bathrooms with mirrors).
- Lightstec Tip: Use diffused LED strips (e.g., silicone-coated options) to soften light output.
- Enhance Aesthetic Appeal
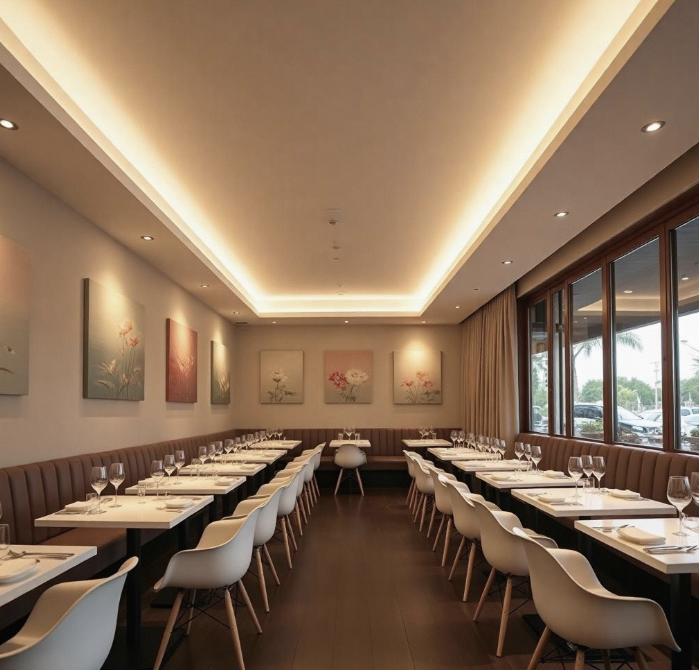
- Hidden strips eliminate visible hardware, creating a minimalist "light without a source" effect. Highlight architectural details like curved walls or artwork frames.
- Case Study: A luxury hotel used Lightstec’s ultra-thin 10mm strips behind headboards to accentuate textile textures.
- Protect LED Components
- Concealing strips prevents physical damage (e.g., scratches in high-traffic areas) and moisture ingress (critical for IP65+ rated outdoor strips).
- Focus on Design Intent
- Indirect lighting directs attention to focal points. Example: Warm white strips under floating stairs enhance safety while adding drama.
4 Professional Methods to Hide LED Strips
- Materials: Painter’s tape, removable PVC channels, or magnetic covers.
- Best For: Rentals or temporary setups. Lightstec’s adhesive-backed strips allow residue-free removal.
- Hotspots:
- Under kitchen cabinets (task lighting)
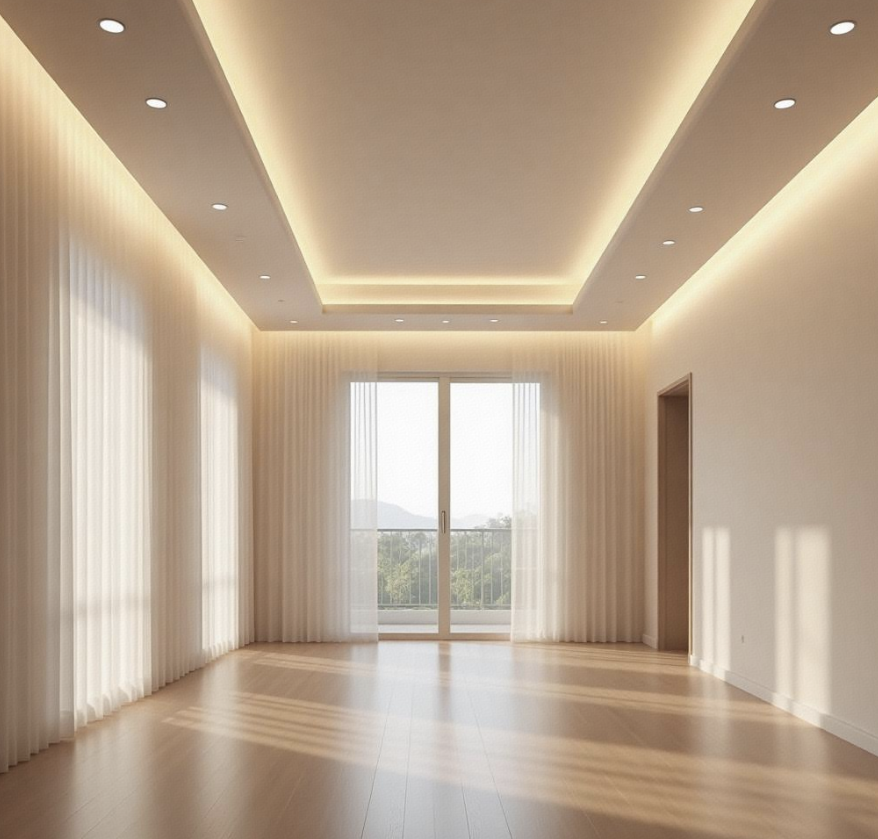
- Along ceiling coves (ambient glow)
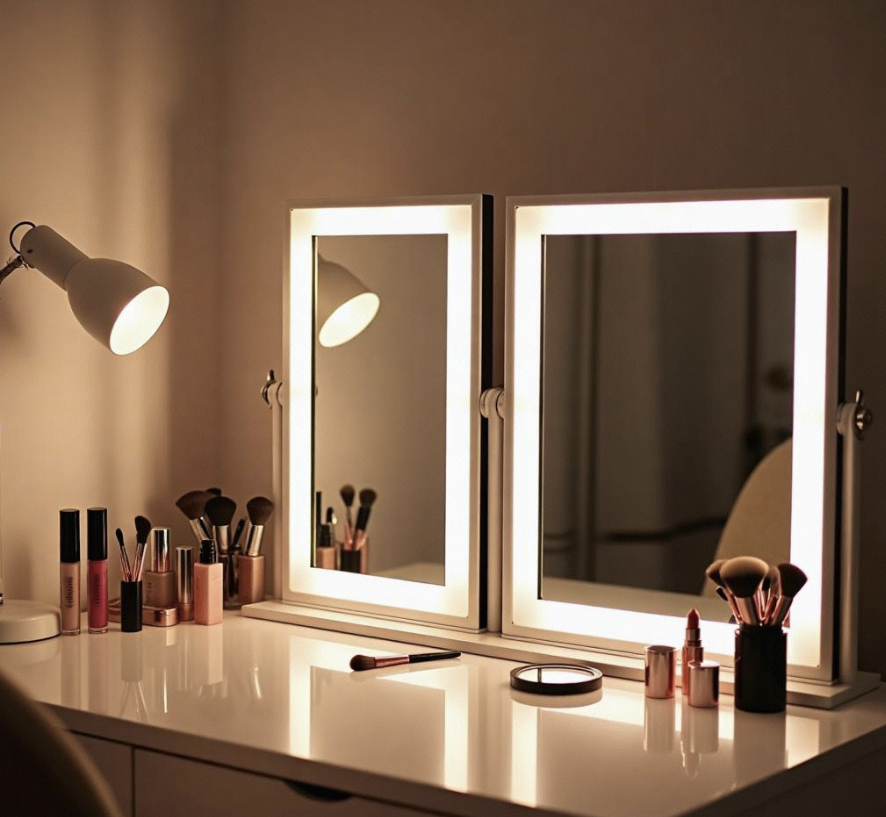
- Behind mirrors (vanity lighting)
- Pro Tip: Pair Lightstec’s flexible RGB strips with smart controllers for mood-based color transitions.
- Aluminum Channels: Our extruded aluminum profiles (U-shaped, corner, or recessed types) offer superior heat dissipation.
- Cove Lighting: Create layered illumination by mounting strips in ceiling/wall recesses.
- Natural Elements: Train ivy over balcony railings with weatherproof strips.
- Textured Surfaces: Hide strips behind 3D wall panels or woven rattan dividers.
ca in Sinis")
inis")
 in Sinis")
.nis")
pe (4)")
 in Sinis")
17 Innovative Ideas to Inspire Your Projects
- Tray Ceilings Install tunable white strips for adjustable ambiance.
2.Floating Walls Backlight gypsum board partitions with RGBIC strips for smooth color gradients.
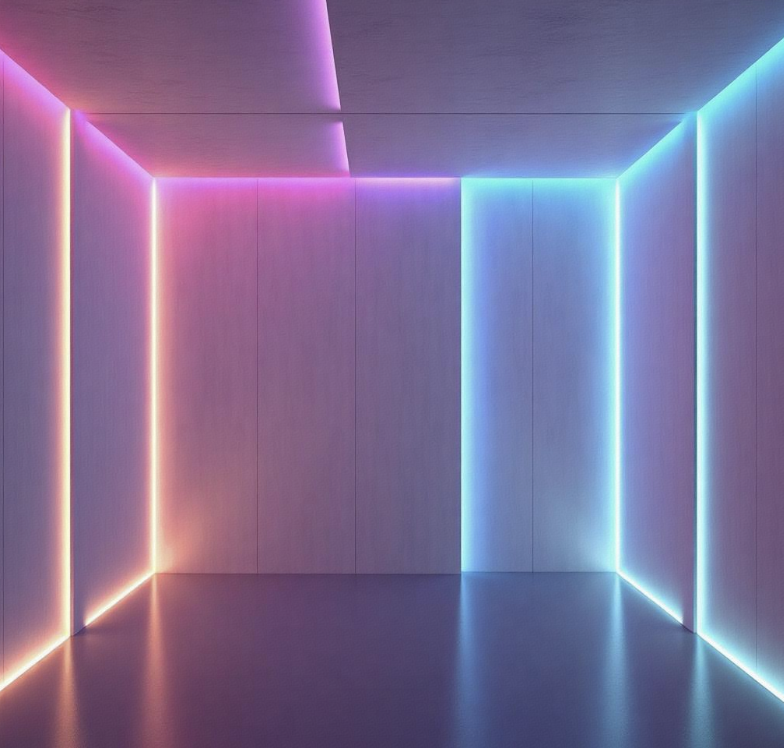
Lightstec Pro Tip: Use 24V strips to prevent voltage drop in long runs.
3.Floating Walls Backlight gypsum board partitions with RGBIC strips for smooth color gradients.
4.Archways & Columns Outline architectural curves with high-density strips (120 LEDs/m).

5.Recessed Cove Lighting Hide strips in ceiling/wall niches for layered indirect lighting.
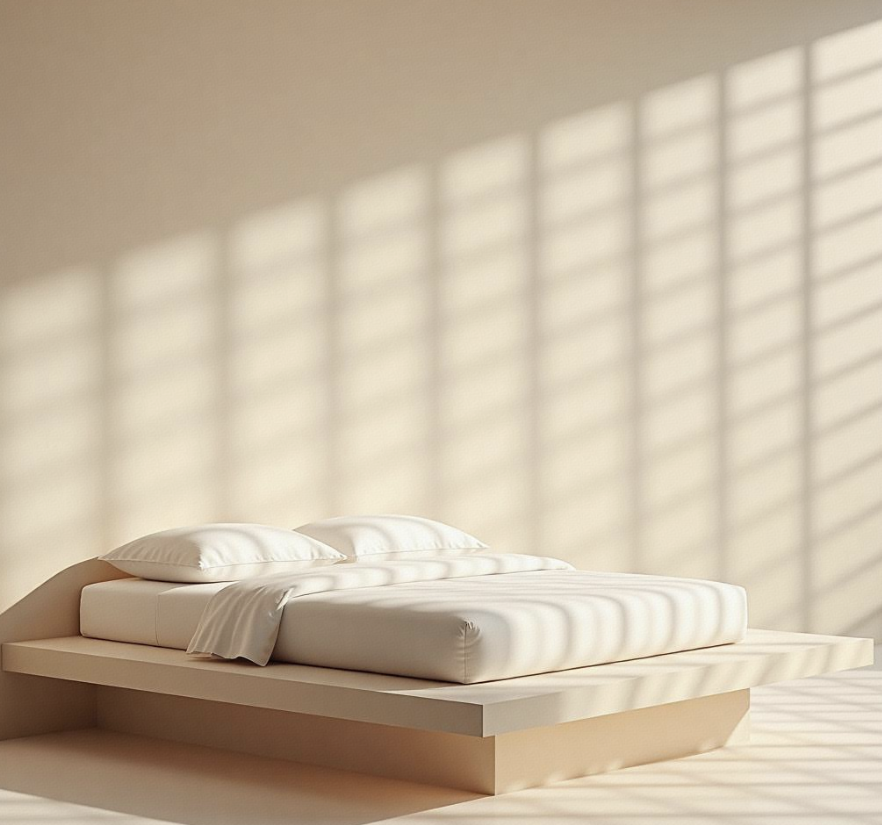
- Bed Base Illumination Create a floating bed effect with warm white (2700K) strips.
2.Staircase Step Lighting Embed IP65 strips in treads for safety and drama.

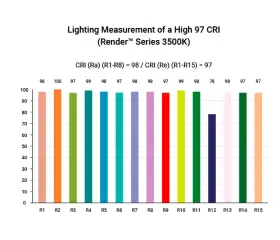
3.Mirror Backlighting Frame vanities with dimmable strips (CRI>90 for makeup accuracy).
4.Closet Accent Lights Motion-activated strips with 3000K warm white for luxury walk-ins.


C. Decorative Hacks
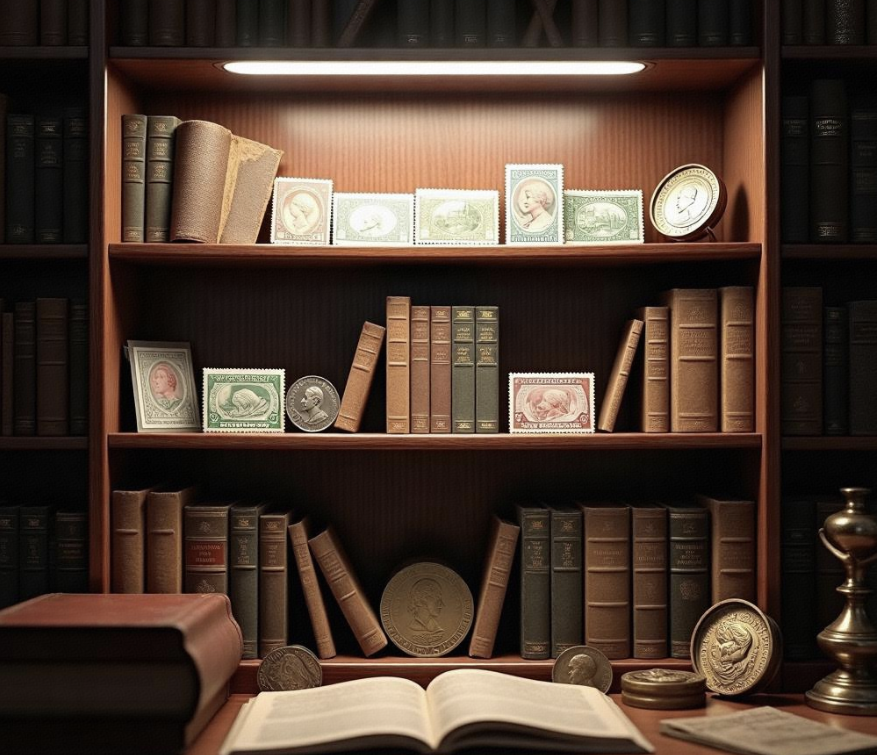
10. Bookshelf Backlighting Highlight collectibles with adjustable beam angle strips.
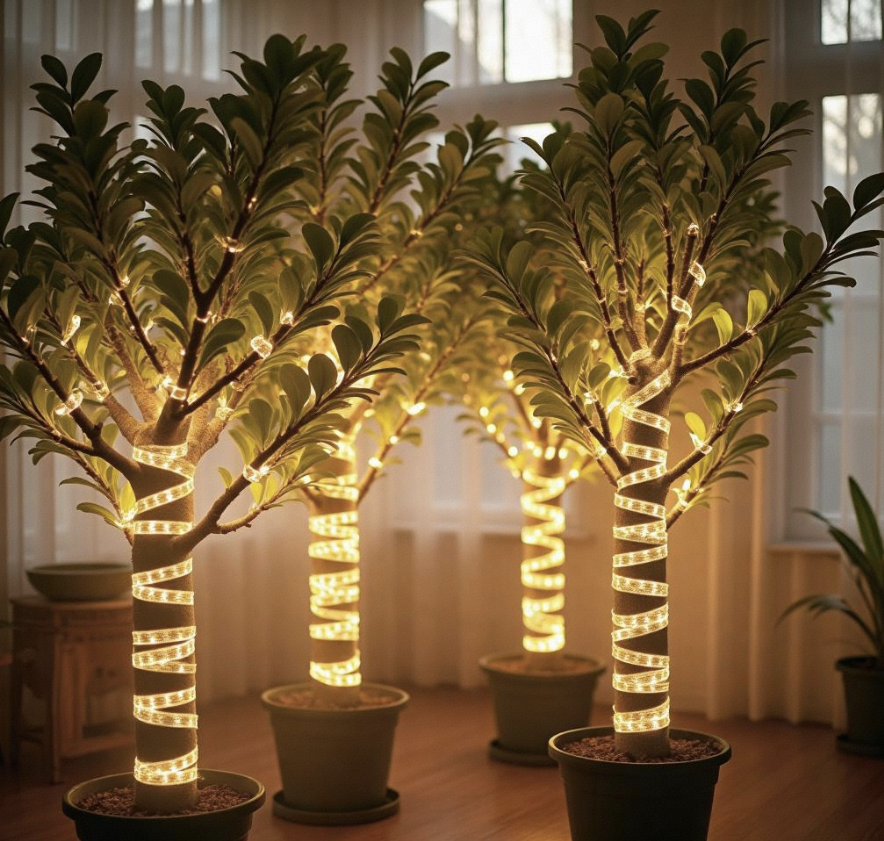
1.Plant Cove Lighting
Wrap waterproof strips around indoor trees for ethereal glow.
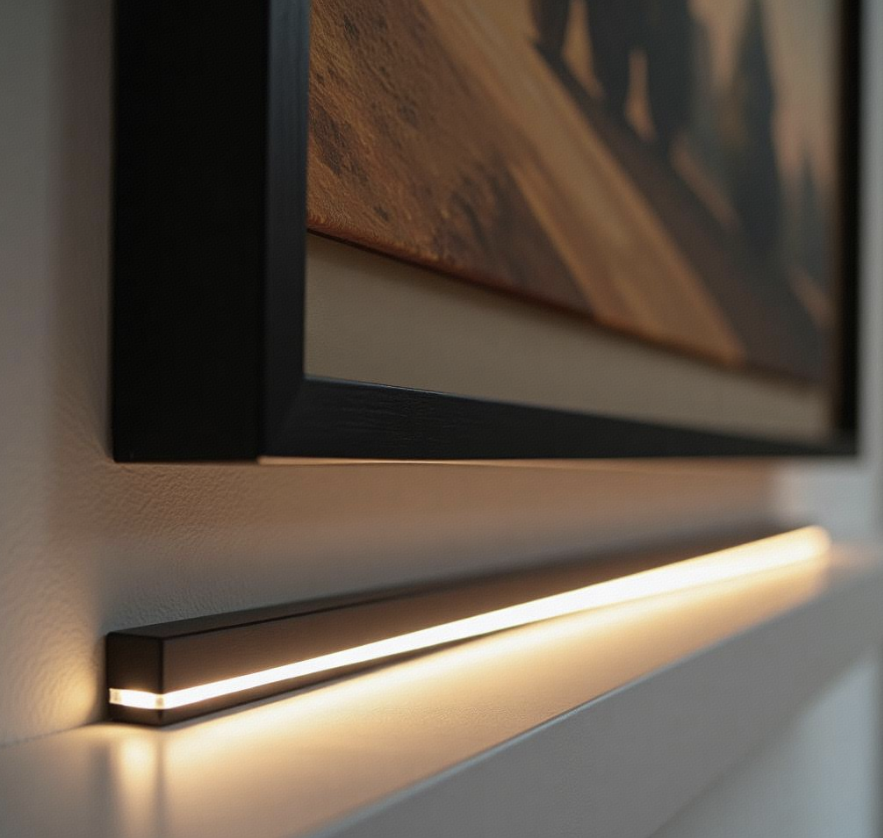
2.Art Frame Highlights
LED strip light use ultra-thin 6mm strips behind canvas edges.
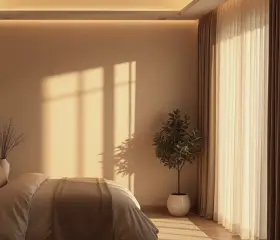
3.Curtain Pelmet Lighting
Soften rooms with diffused 2200K amber strips.
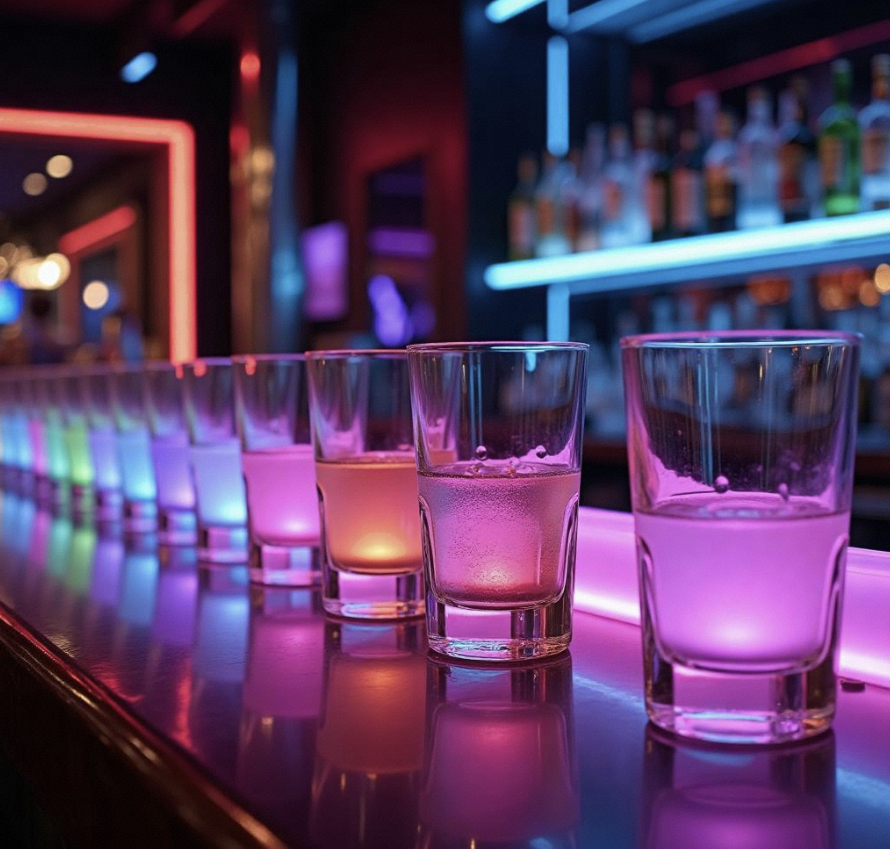
- Bar Counter Undersides IP68 RGB strips under glass bars for nightclub ambiance.
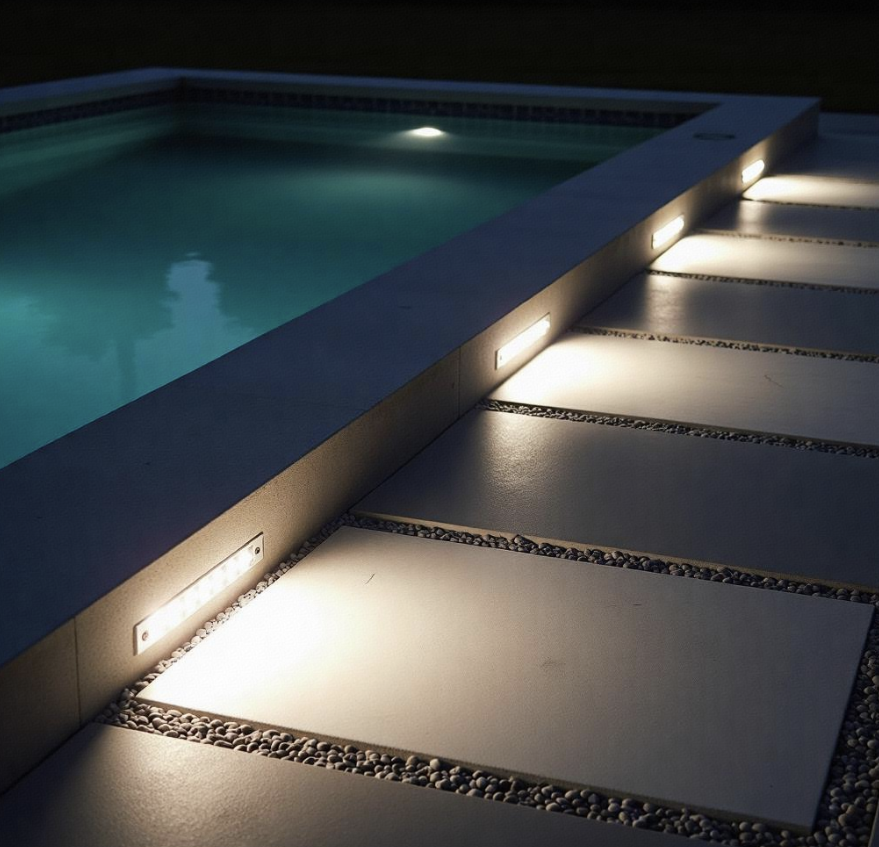
2.Poolside Pathways
Submersible led strips in concrete (IP68 rated).
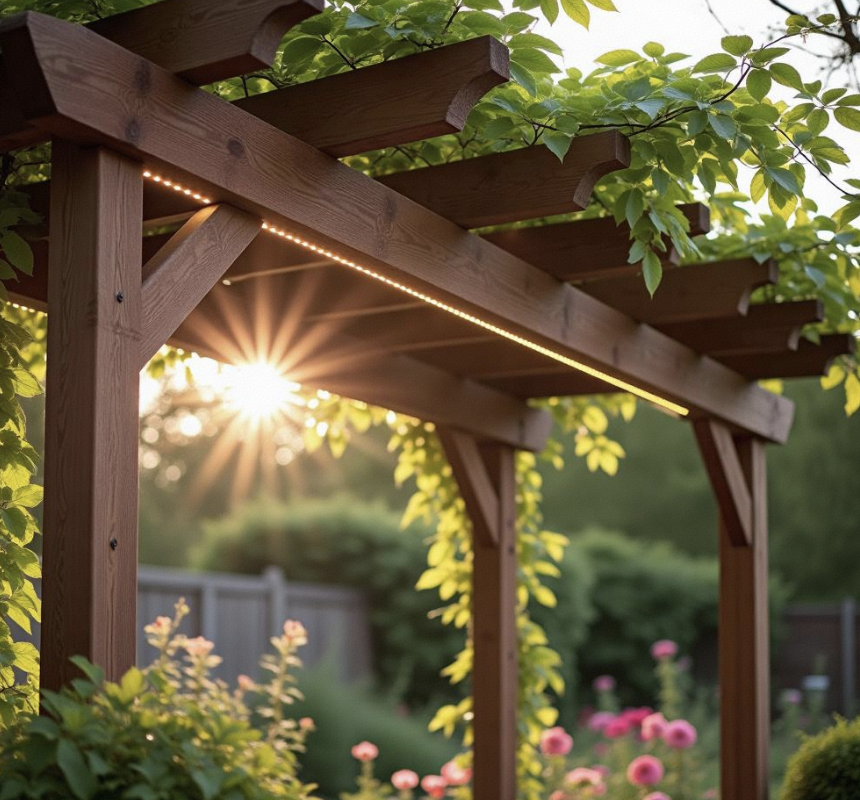
3.Garden Pergola Accents
Weatherproof led strips along wooden beams (IK10 impact resistance).
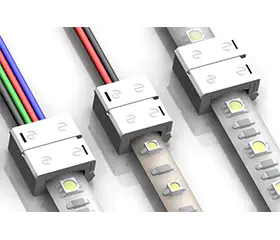
Wiring & Power Supply: Professional Management Guide
- Low-Voltage Systems: Use 24V strips (vs. 12V) to minimize voltage drop over long runs.
- Routing Paths:
- False ceilings
- Furniture cavities (e.g., TV console backs)
- Conduit pipes painted to match walls
- Centralized Control: Link multiple strips to a single 200W driver (with 20% headroom).
- Hidden Locations:
- Attic spaces
- Dedicated electrical cabinets
- Custom-built benches
- Always match driver wattage to total strip load.
- Use our online Wattage Calculator for precise planning.
Step-by-Step Installation Guide
- Measure Twice: Account for corners – our 90° connectors prevent awkward bends.
- Select Strips:
- Indoor: 2835 SMD LEDs (balance of brightness & efficiency)
- Outdoor: Anti-UV coating strips for sun resistance
- Surface Prep: Clean mounting areas with isopropyl alcohol for better adhesion.
- Channel Mounting: Secure aluminum profiles with screws every 30cm.
- Strip Placement: Press-fit strips into channels (no tools needed for Lightstec’s snap-in design).
- Test all connections before final concealment.
- Use light diffusers to eliminate hotspots in visible areas.
FAQ: Expert Answers from Lightstec Engineers
Quid eligere lightstec?
- Certified Quality: CE, RoHS, ENEC certified with 50,000-hour lifespan.
- Customization:
- Lengths (1m to 100m reels)
- Colors (CCT 2700K-6500K, RGB, RGBW)
- Special formats (circular, mesh, or high-voltage 220V strips)
- Global Support: 72-hour sample shipping, multilingual technical assistance.
conclusio


De Auctore
JerryHu
Founder of Lightstec.Engineering degree. Plus quam XIII annos experientiam laborantis in rebus ducti illustrandis. Familiaris cum producendo ducitur ad lucem producta. Hoc blog communicare tibi scientiam et solutionem in luce ducti. Gratus accedens lumina e Sinis duxit.
Disce Magis Professio led Classes Quod Minus Populi Dic tibi Ante Erras.