COB LED 스트립 조명 설치에 대한 단계별 지침
소개: COB LED 스트립 조명 are revolutionizing the lighting industry with their high-density light output, uniform illumination, and energy-efficient performance. If you're looking to enhance your space with this advanced lighting solution, this comprehensive guide will walk you through the process of installing COB LED 스트립 조명 쉽게.
1단계: 요구 사항 평가
시작하기 전에 조명의 목적과 원하는 효과를 결정하십시오. 올바른 길이의 COB LED 스트립을 구입하려면 면적을 측정하세요. 전압 요구 사항을 고려하고 전원 공급 장치에 맞는 스트립을 선택하십시오.
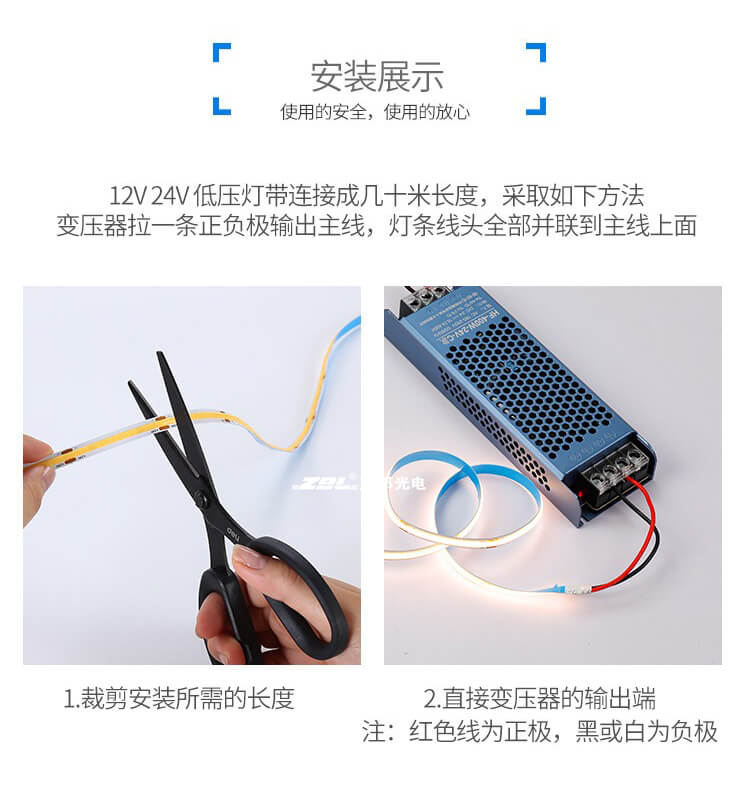
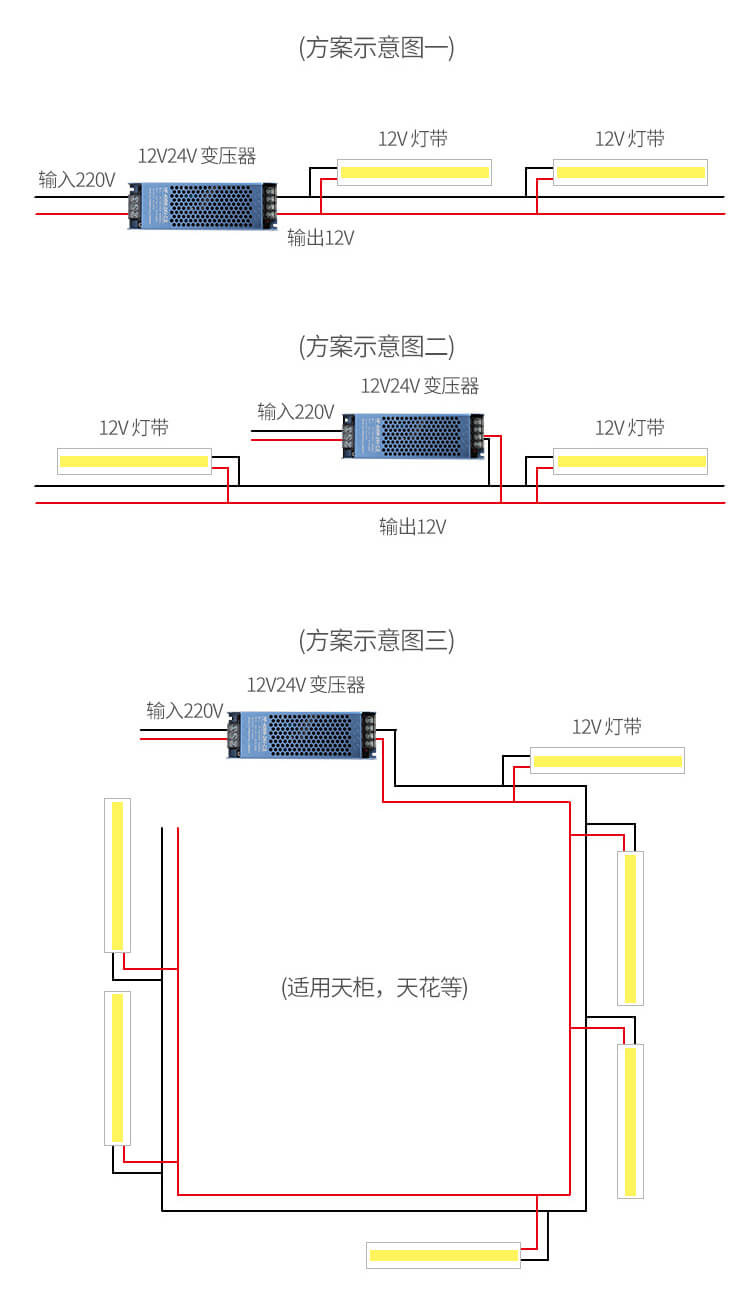
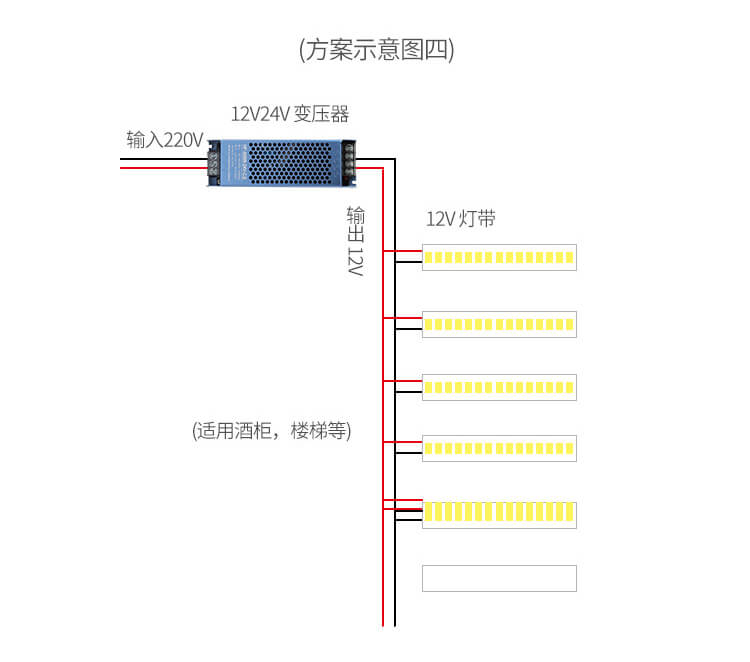
2단계: 필요한 도구 및 재료 수집
You'll need a few essential tools for the job, including wire cutters, a soldering iron, heat shrink tubing, and possibly a multimeter for testing connections. Ensure you have the appropriate power supply unit (PSU) that matches the voltage and current specifications of your COB LED strip.
3단계: 설치 표면 준비
Clean the surface where the COB LED strip will be installed. Remove any dirt, grease, or debris to ensure proper adhesion. If you're installing outdoors, make sure the surface is dry.
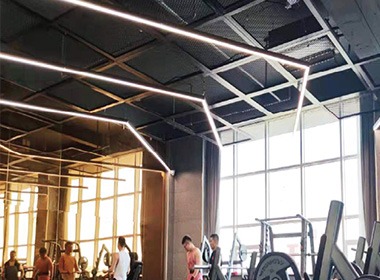
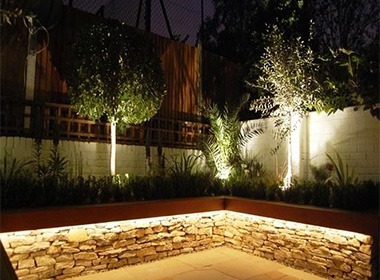

4단계: 스트립 측정 및 자르기
필요한 경우 COB LED 스트립을 측정하고 조심스럽게 원하는 길이로 자릅니다. 절단선에 주의하고 회로가 손상되지 않도록 깔끔하게 절단하십시오. 올바른 연결을 위해 양극(+) 및 음극(-) 단자를 확인하십시오.
5단계: LED 스트립을 PSU에 연결
끝 부분을 벗겨 도체를 노출시켜 PSU의 전선을 준비합니다. 납땜하거나 커넥터를 사용하여 PSU 전선을 연장하여 COB LED 스트립에 도달합니다. 안전한 연결을 확인하고 스트립과 PSU의 양극 단자를 일치시키십시오.
6단계: 연결부 절연
합선을 방지하고 단단히 고정되도록 열수축 튜브나 전기 테이프로 납땜된 접합부를 보호하십시오.
7단계: 스트립 테스트
최종 설치 전에 PSU를 전원에 연결하고 COB LED 스트립의 조명이 적절한지 테스트하세요. 필요한 경우 멀티미터를 사용하여 전압을 확인하십시오. 연결을 다시 확인하고 손상된 구성 요소가 있는지 검사하여 문제를 해결하십시오.
8단계: 스트립 고정
Using the appropriate adhesive—such as the backing on the strip or additional mounting hardware—secure the COB LED strip in place. Ensure it's firmly attached and avoid sharp bends that could damage the strip.
9단계: 배선 관리
Plan and route the power supply and wiring in a way that's both safe and aesthetically pleasing. Use cable clips or channels to manage the wires and prevent them from being a tripping hazard.
10단계: 최종 확인 및 즐기기
스트립이 제자리에 단단히 고정되고 배선이 깔끔하게 관리되면 최종 테스트를 수행하여 모든 것이 올바르게 작동하는지 확인하십시오. 새로운 고품질 조명 솔루션을 즐겨보세요.
결론:
COB LED 스트립 조명을 설치하는 것은 공간의 분위기와 효율성을 크게 향상시킬 수 있는 간단한 과정입니다. 이러한 세부 단계를 따르면 COB LED 스트립 조명을 자신있게 설치하고 이 최첨단 기술의 이점을 누릴 수 있습니다.
Remember, when working with electrical components, always prioritize safety. If you're unsure about any step in the process, consult with a professional electrician.
- "COB LED strip light installation guide"
- "How to install COB LED strip lights"
- "COB LED strip installation tutorial"
- "COB vs SMD LED strip installation"
- "LED strip light installation tips"
- "COB LED strip light setup"
- "COB LED lighting installation advice"
- "DIY COB LED strip light installation"
- "COB LED strip light mounting instructions"
- "LED strip light installation for beginners"
연락하다 라이트텍 COB LED 스트립이 필요한 경우.

저자 소개
제리후
Lightstec의 설립자. 엔지니어링 학위. led 조명 사업에서 13년 이상의 경력. led 조명 제품 생산에 익숙합니다. 이 블로그는 led 조명에 대한 지식과 솔루션을 공유합니다. 중국에서 led 조명을 소싱하는 것을 환영합니다.
실수를 하기 전에 더 적은 사람들이 알려주는 전문 주도형 수업에 대해 자세히 알아보세요.

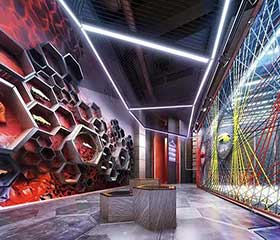

우리는 알루미늄 패널, 천공 패널, 알루미늄 스크린, 벽 클래딩, 벌집 패널, 천장 패널, 코르텐 강철 패널, 압출 프로파일 등 모든 종류의 장식용 알루미늄 제품을 제조합니다.
우리는 13년 동안 국제 프로젝트를 진행해 왔습니다. 그리고 고객의 특정 요구 사항을 충족하는 맞춤형 솔루션을 제공하기 위해 노력합니다.
어떤 종류의 문의든 환영합니다!