COB LED ストリップライトの取り付けに関するステップバイステップの説明
導入: COB LED ストリップライト are revolutionizing the lighting industry with their high-density light output, uniform illumination, and energy-efficient performance. If you're looking to enhance your space with this advanced lighting solution, this comprehensive guide will walk you through the process of installing COB LED ストリップライト 簡単に。
ステップ 1: ニーズを評価する
始める前に、照明の目的と望ましい効果を決定してください。面積を測定して、正しい長さの COB LED ストリップを購入したことを確認してください。電圧要件を考慮し、電源に適合するストリップを選択してください。
ステップ 2: 必要なツールと材料を集める
You'll need a few essential tools for the job, including wire cutters, a soldering iron, heat shrink tubing, and possibly a multimeter for testing connections. Ensure you have the appropriate power supply unit (PSU) that matches the voltage and current specifications of your COB LED strip.
ステップ 3: 設置面を準備する
Clean the surface where the COB LED strip will be installed. Remove any dirt, grease, or debris to ensure proper adhesion. If you're installing outdoors, make sure the surface is dry.
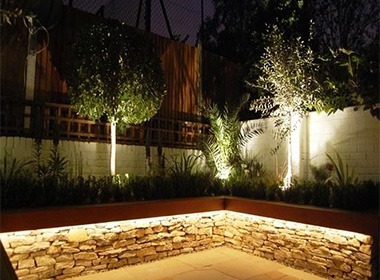

ステップ 4: ストリップを測定してカットする
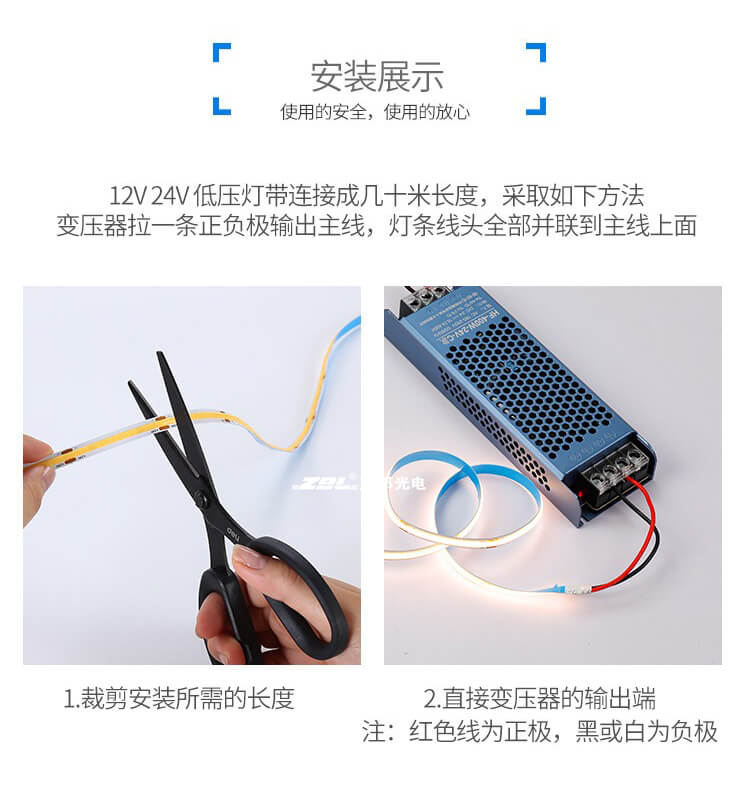
必要に応じて、COB LED ストリップを測定し、必要な長さに慎重に切ります。回路を損傷しないように、切断線に注意してきれいに切断してください。正しく接続するために、プラス (+) 端子とマイナス (-) 端子に注意してください。
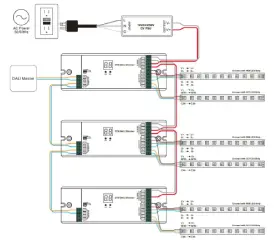
ステップ 5: LED ストリップを PSU に接続する
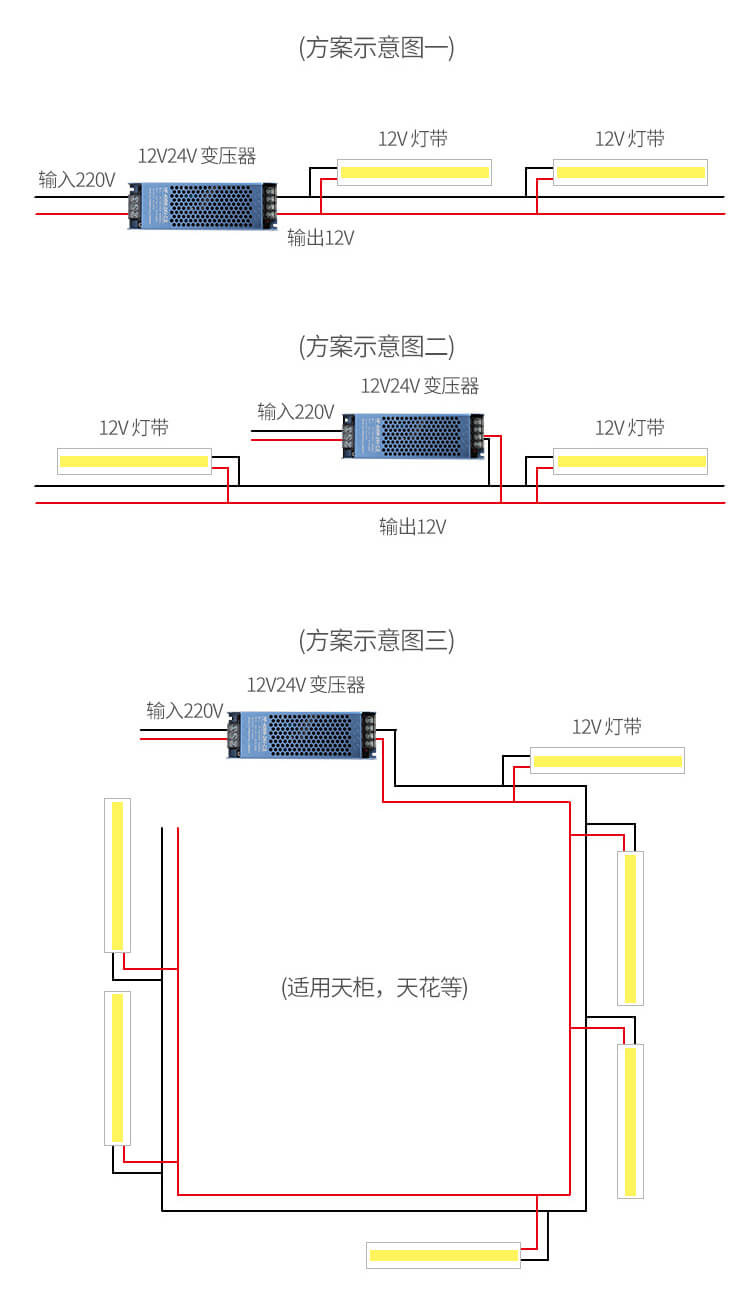
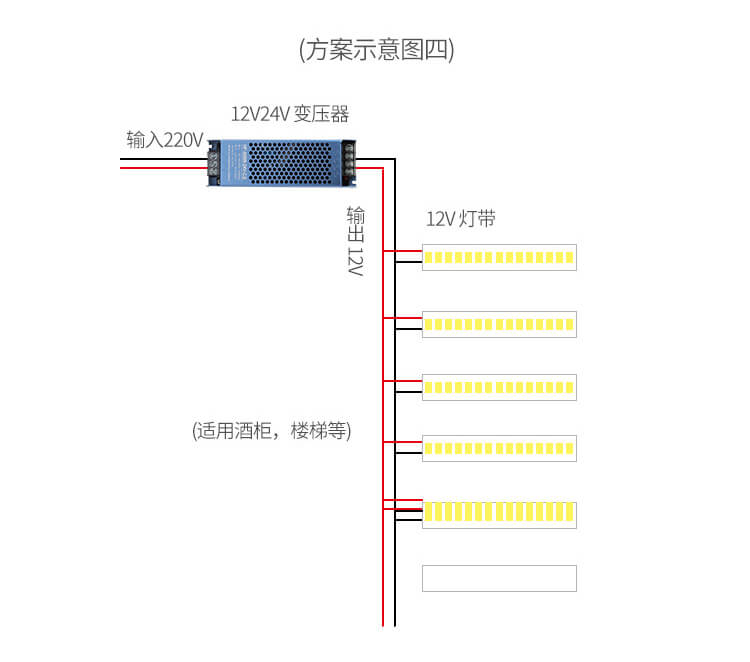
PSU からのワイヤの端を剥がして導体を露出させて準備します。はんだ付けするかコネクタを使用して PSU ワイヤを延長し、COB LED ストリップに到達します。確実に接続されていることを確認し、ストリップと PSU の両方のプラス端子を一致させてください。
ステップ 6: 接続を絶縁する
はんだ付け接合部を熱収縮チューブまたは電気テープで保護し、短絡を防止し、しっかりと固定されていることを確認します。
ステップ 7: ストリップをテストする
最終的な設置の前に、PSU を電源に接続し、COB LED ストリップが適切に点灯するかテストします。必要に応じてマルチメータを使用して電圧を確認します。接続を再確認し、コンポーネントが損傷していないか検査することで、問題に対処します。
ステップ 8: ストリップを固定する
Using the appropriate adhesive—such as the backing on the strip or additional mounting hardware—secure the COB LED strip in place. Ensure it's firmly attached and avoid sharp bends that could damage the strip.
ステップ 9: 配線を管理する
Plan and route the power supply and wiring in a way that's both safe and aesthetically pleasing. Use cable clips or channels to manage the wires and prevent them from being a tripping hazard.
ステップ 10: 最終チェックして楽しむ
ストリップが所定の位置にしっかりと取り付けられ、配線がきちんと管理されたら、最終テストを実行して、すべてが正しく機能していることを確認します。新しい高品質の照明ソリューションをお楽しみください。
結論:
COB LED ストリップ ライトの取り付けは簡単なプロセスで、空間の雰囲気と効率を大幅に向上させることができます。これらの詳細な手順に従うことで、自信を持って COB LED ストリップ ライトを設置し、この最先端テクノロジーの利点を楽しむことができます。
Remember, when working with electrical components, always prioritize safety. If you're unsure about any step in the process, consult with a professional electrician.
- "COB LED strip light installation guide"
- "How to install COB LED strip lights"
- "COB LED strip installation tutorial"
- "COB vs SMD LED strip installation"
- "LED strip light installation tips"
- "COB LED strip light setup"
- "COB LED lighting installation advice"
- "DIY COB LED strip light installation"
- "COB LED strip light mounting instructions"
- "LED strip light installation for beginners"
連絡先 Lightstec COB LED ストリップが必要な場合。

著者について
JerryHu
Lightstecの創設者。エンジニアリングの学位。LED照明ビジネスで13年以上の実務経験。LED照明製品の製造に精通している。このブログでは、LED照明の知識とソリューションを共有している。中国からのLEDライトの調達を歓迎する。
あなたが間違いを犯す前に、より少ない人々があなたに話すプロのLEDクラスをもっと学びましょう。

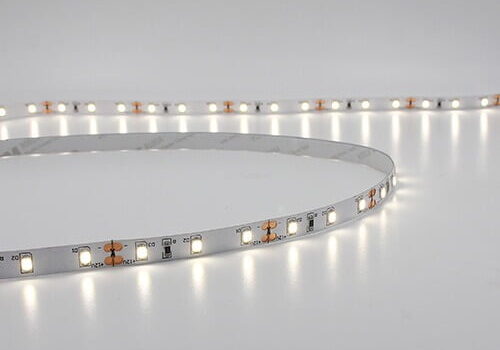
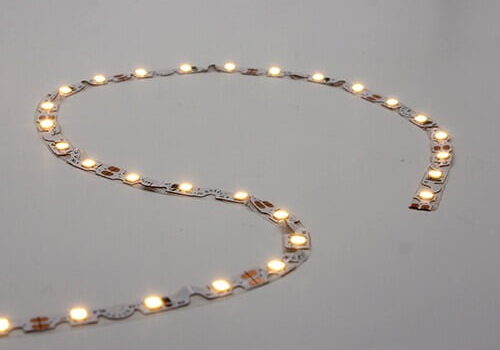


当社は、アルミニウムパネル、穴あきパネル、アルミニウムスクリーン、壁被覆材、ハニカムパネル、天井パネル、コールテン鋼パネル、押出形材など、あらゆる種類の装飾アルミニウム製品を製造しています。
当社は13年間の国際プロジェクトの実績があります。そして、お客様の特定の要件を満たすカスタマイズされたソリューションを提供するよう努めます。
各種お問い合わせも大歓迎です!